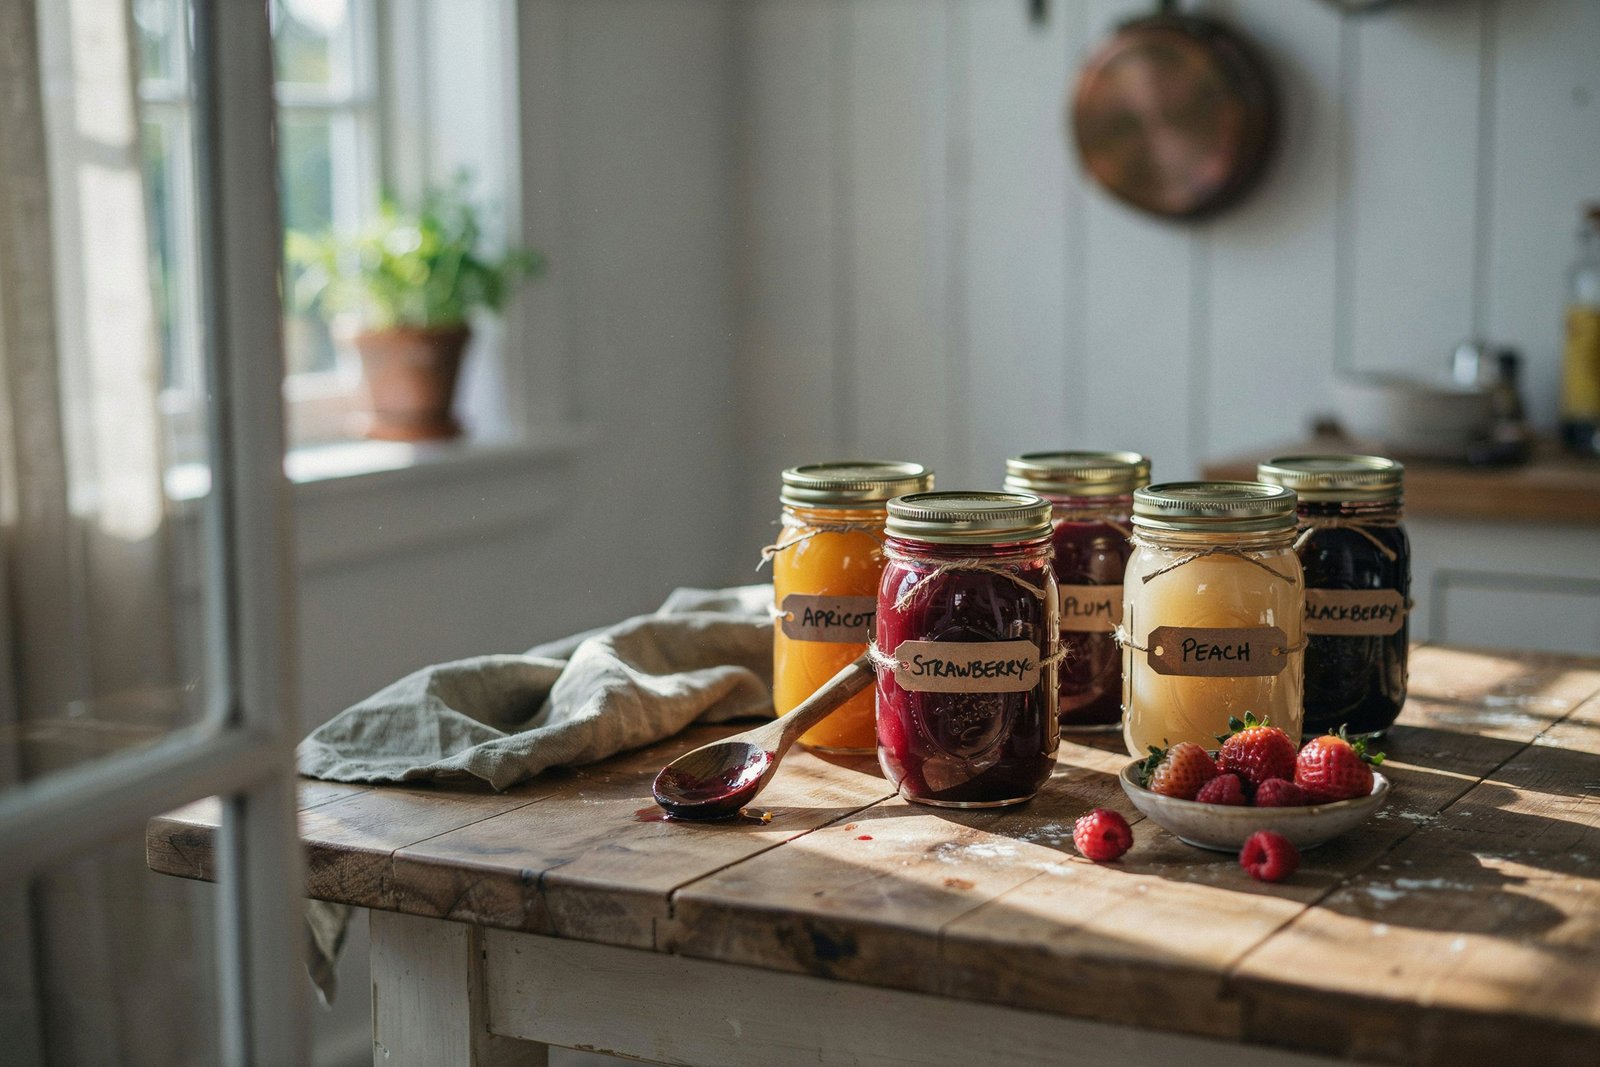
Nothing feels quite as warm as handing someone a jar of jam you made yourself. It carries a kind of thoughtfulness that store bought gifts simply cannot match.
When you give homemade jam, you are giving your time, your patience, and a little piece of your kitchen to someone you love.
This guide will walk you through everything you need to know to create beautiful, delicious jam gifts that your friends and family will actually treasure, not just politely accept.
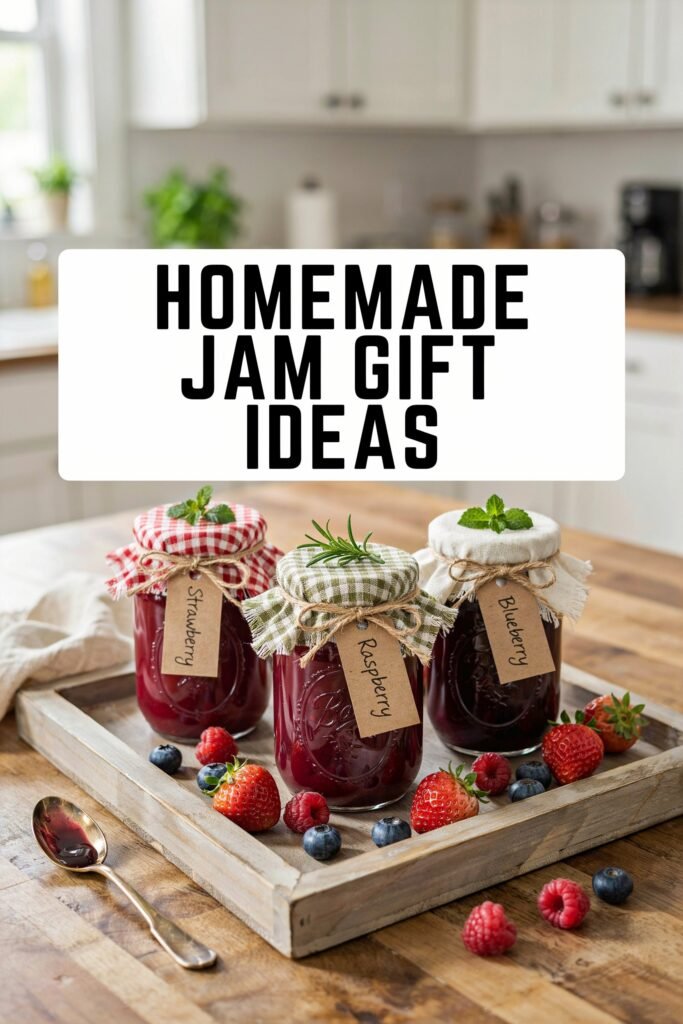
Whether you are preparing gifts for the holidays, a birthday, a housewarming, or simply because you want to spread some joy, this post will give you all the information you need.
We will cover the ingredients, the tools, the step by step process, flavor combinations, packaging ideas, and storage tips so your jam stays fresh and safe to eat.
Disclaimer
This post may contain affiliate links. As an Amazon Associate, I earn from qualifying purchases at no additional cost to you. The information in this article is for educational and informational purposes only. Always follow tested canning and food preservation instructions when making homemade jam or preserves.
Amazon Shopping List
- Ball 8 oz Mason Jars with Lids and Bands
- Norpro Stainless Steel Canning Funnel
- Granite Ware Water Bath Canner
- Ball Canning Utensil Set
- Digital Kitchen Food Scale
- Avery Printable Waterproof Labels
- Decorative Gift Baskets for Homemade Jam
Why Homemade Jam Makes Such a Meaningful Gift
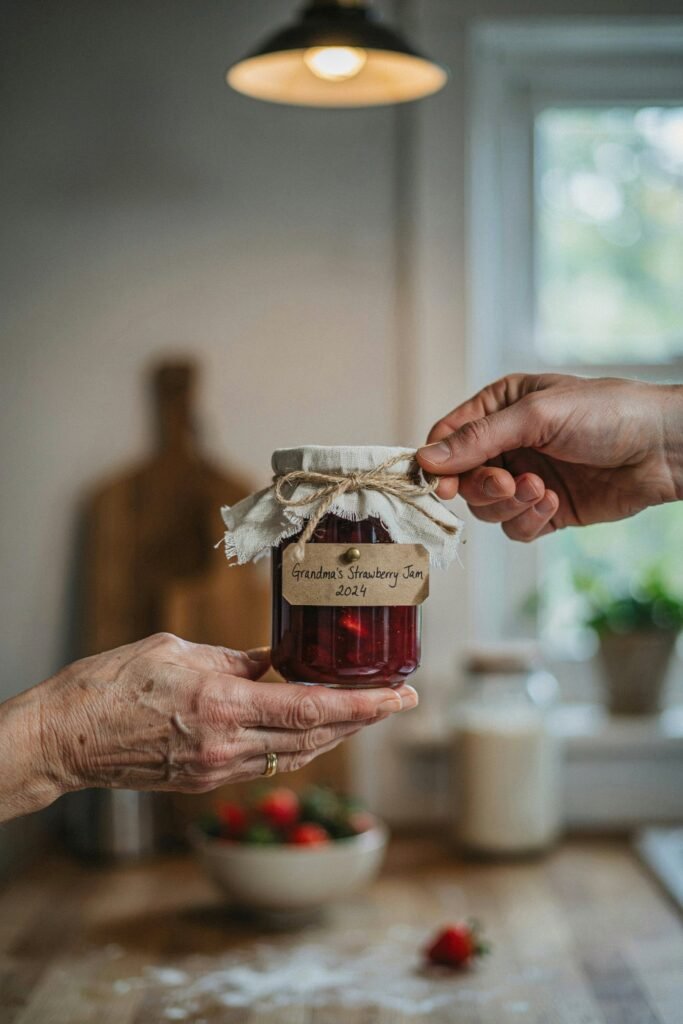
Before we get into the process, it helps to understand why homemade jam is such a special present. Store bought jam is convenient, but it lacks personality.
When you make your own, you control the sweetness, the fruit quality, and even the little touches like a hand written label or a ribbon around the lid.
People remember gifts that feel personal, and jam checks that box perfectly.
It is practical too, since everyone eats breakfast, and a jar of jam fits into almost any lifestyle or dietary preference with a few tweaks.
Another reason jam works so well as a gift is its versatility.
You can make small batches in different flavors, package them together in a gift basket, or make one large batch for several people.
It also stores well, meaning your recipient does not have to rush to use it right away. They can enjoy it slowly, thinking of you every time they open the jar.
The Ingredients You Will Need and What Each One Does
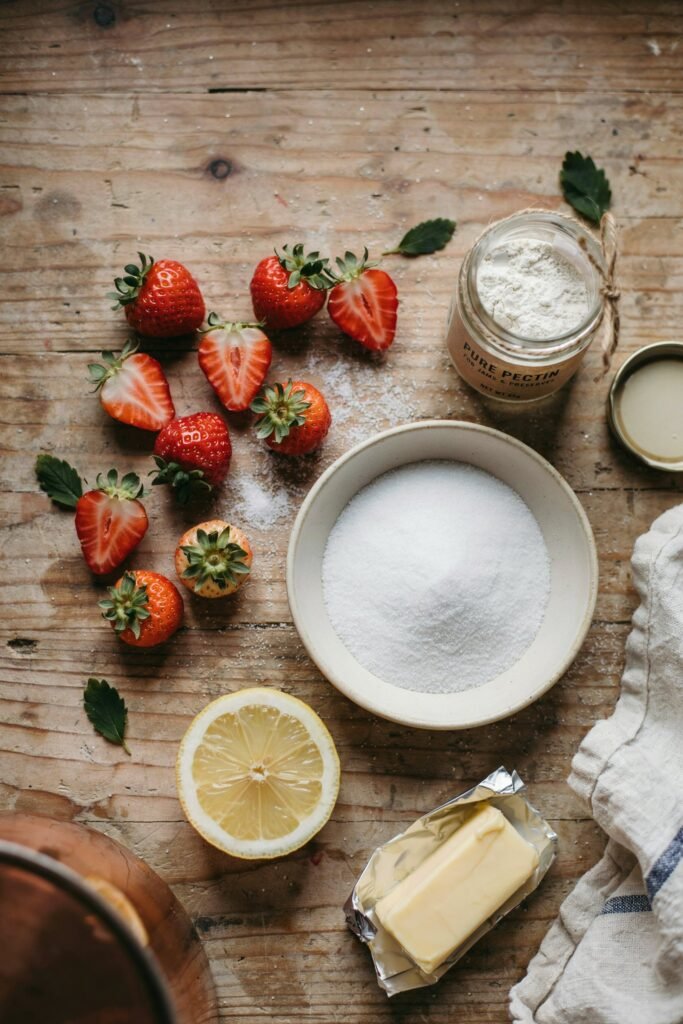
Understanding your ingredients makes the entire process smoother and gives you confidence in the kitchen. Here is a breakdown of what each one brings to your jam.
Fresh Fruit Fruit gives your jam its flavor, color, and natural sweetness that no shortcut can replace.
Granulated Sugar Sugar balances tartness, helps preserve the fruit, and thickens the jam as it cooks.
Lemon Juice Lemon juice brightens flavor and adds acidity needed for proper setting and safe preservation.
Pectin Pectin is the thickening agent that turns cooked fruit into that classic spreadable jam texture.
Water Water helps dissolve sugar evenly and prevents the fruit from scorching early in cooking.
Butter or Ghee A small amount reduces foam during boiling, giving your jam a smoother, cleaner finish.
Vanilla or Spices Optional extras like cinnamon or vanilla add warmth and a unique personal signature to your batch.
Salt A pinch of salt rounds out sweetness and helps the natural fruit flavors stand out more.
Equipment You Will Need Before You Start
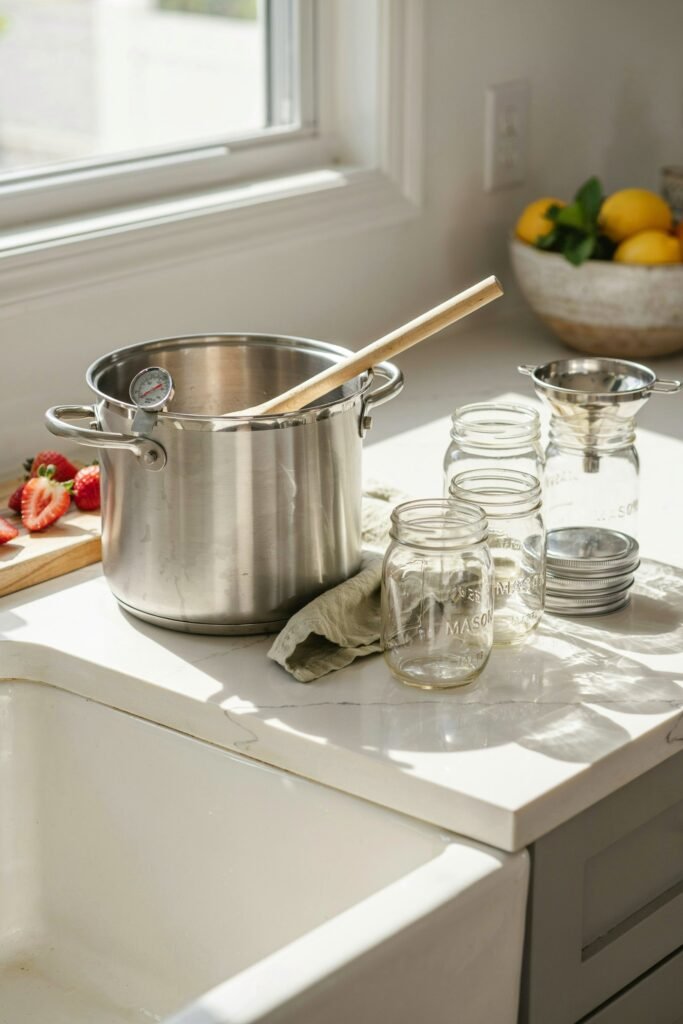
Having the right tools ready before you begin saves you from scrambling mid recipe.
Gather a large heavy bottomed pot, a wooden spoon or heat resistant spatula, a ladle, a candy thermometer if you have one, clean glass jars with lids, a funnel for easy pouring, and a kitchen towel for wiping spills.
If you plan to can your jam for longer shelf life, you will also need a water bath canner or a large pot deep enough to fully submerge your jars.
Step by Step Guide to Making Homemade Jam
Follow these steps closely, and take your time with each one. Jam making rewards patience far more than speed.
Step One: Choose and Prepare Your Fruit
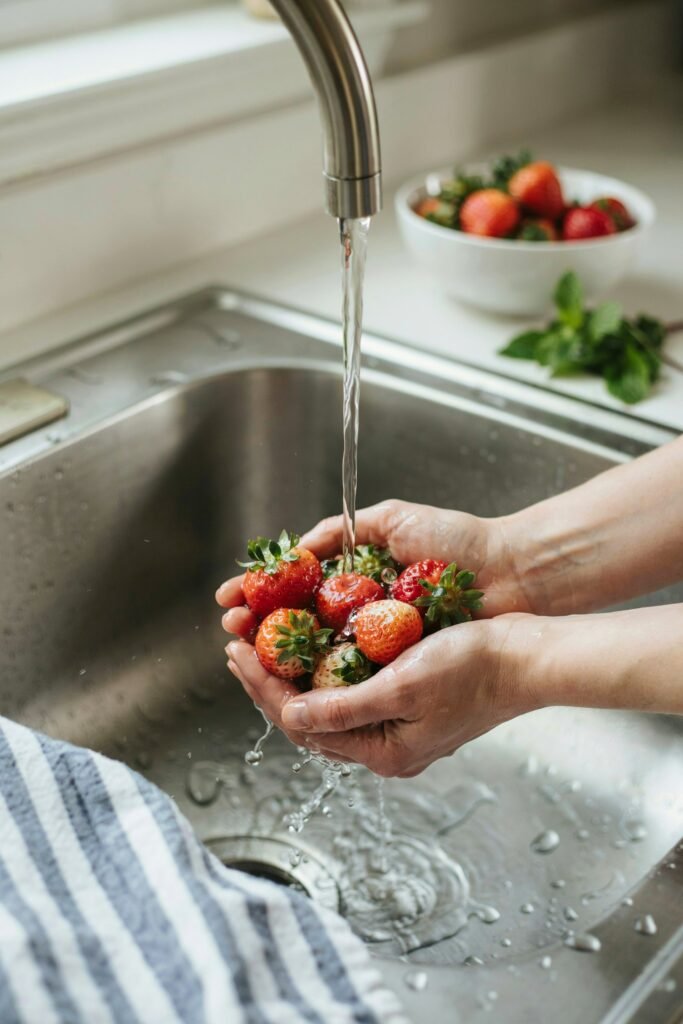
Pick fruit that is ripe but still firm, since overripe fruit can make your jam too watery and dull in flavor.
Wash the fruit thoroughly under cool running water, then remove any stems, pits, or bruised sections.
Chop larger fruits like strawberries or peaches into small even pieces so they cook down evenly.
If you are using berries like blueberries or raspberries, you can leave them whole or lightly crush them depending on the texture you want in your final jam.
Step Two: Measure Your Ingredients Accurately
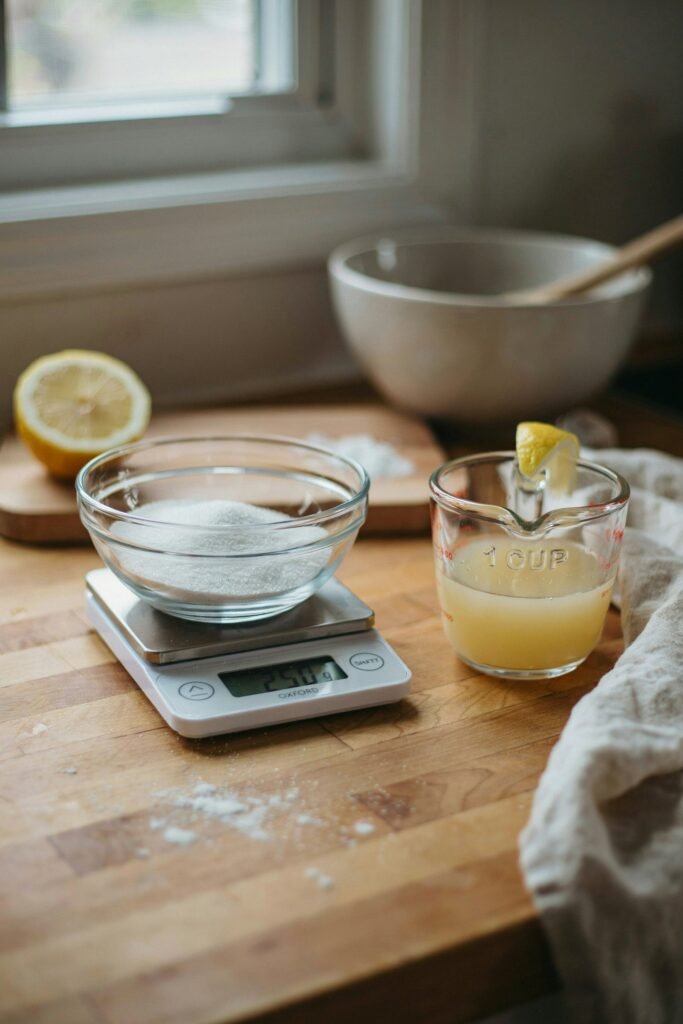
Jam making is part science, so precision matters more here than in regular cooking.
Measure your fruit, sugar, lemon juice, and pectin exactly as your recipe calls for.
Too little sugar can prevent proper setting, while too much can make the jam overly sweet and mask the fruit flavor.
If you are using powdered pectin, mix it with a small portion of your sugar before adding it to the pot, since this prevents clumping and helps it dissolve smoothly.
Step Three: Combine and Begin Cooking
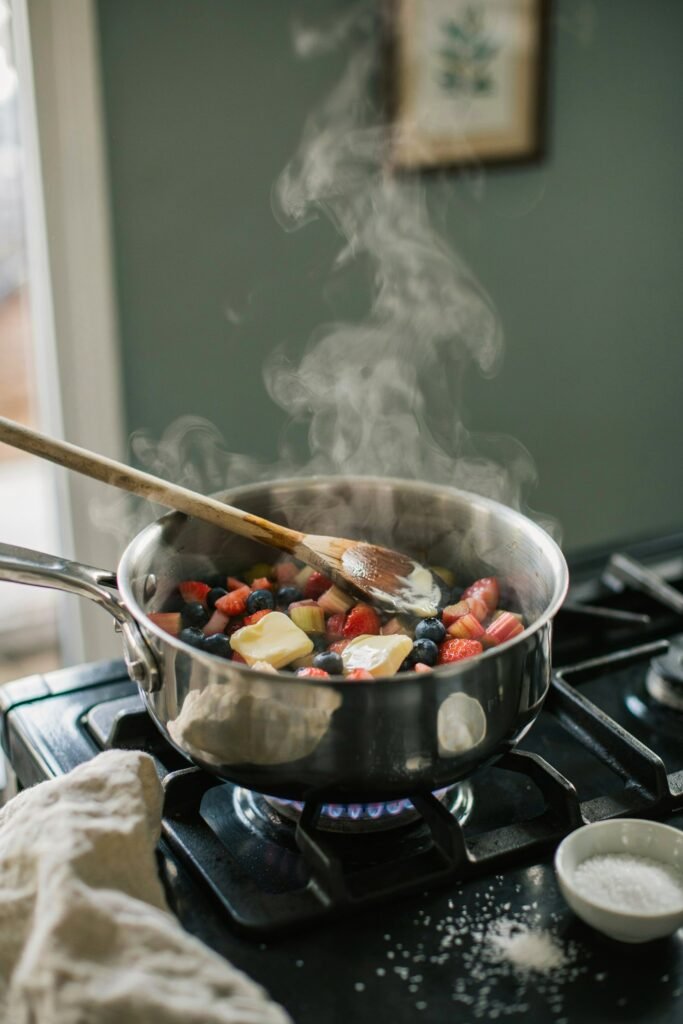
Place your prepared fruit into the heavy bottomed pot along with the lemon juice and a small pat of butter or ghee to reduce foaming.
Turn the heat to medium and stir gently as the fruit begins to release its natural juices.
Avoid rushing this stage, since slow heating allows the fruit to break down evenly without burning at the bottom of the pot.
Step Four: Add Sugar and Pectin
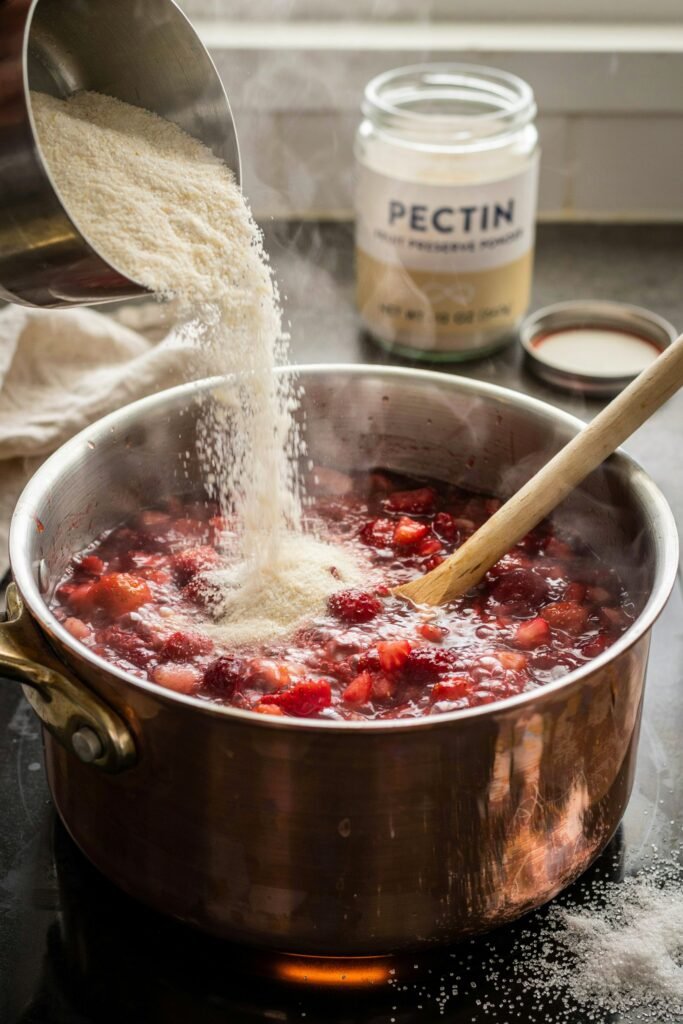
Once the fruit is softened and juicy, stir in your sugar and pectin mixture gradually rather than all at once.
Continue stirring consistently so the sugar dissolves fully and does not stick or caramelize unevenly on the bottom.
This is the stage where your kitchen will start smelling incredible, so take a moment to enjoy it.
Step Five: Bring to a Rolling Boil
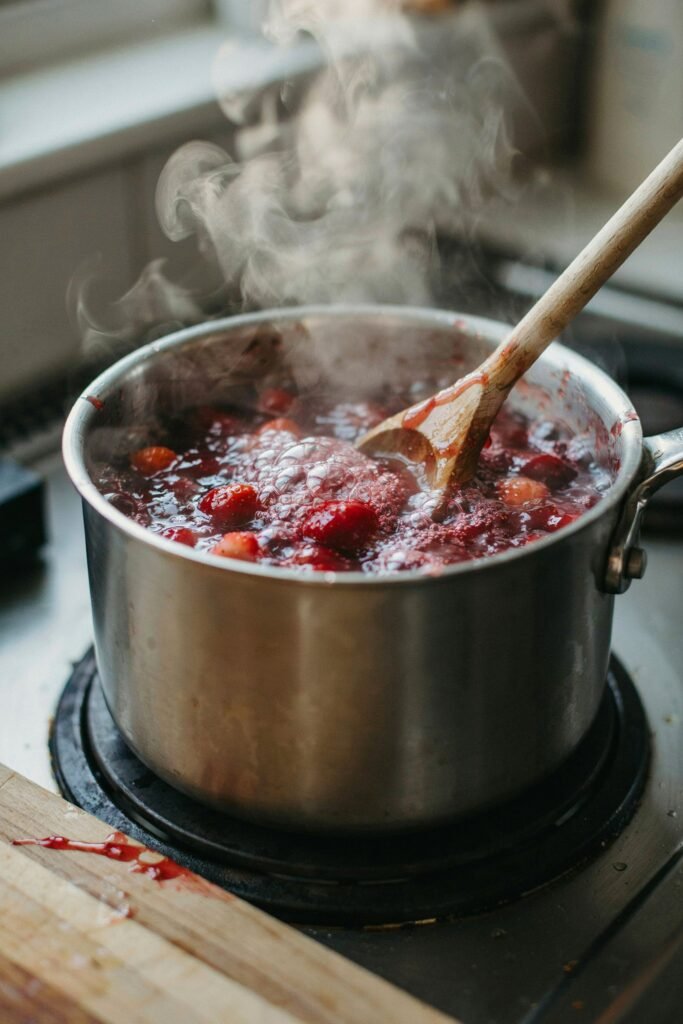
Increase the heat and bring your mixture to a full rolling boil, meaning one that continues bubbling even while you stir it.
Keep stirring constantly during this stage to prevent scorching.
Depending on your fruit and pectin type, this boil usually needs to last between one and ten minutes, so check your specific recipe or pectin package instructions for exact timing.
Step Six: Test for the Right Consistency
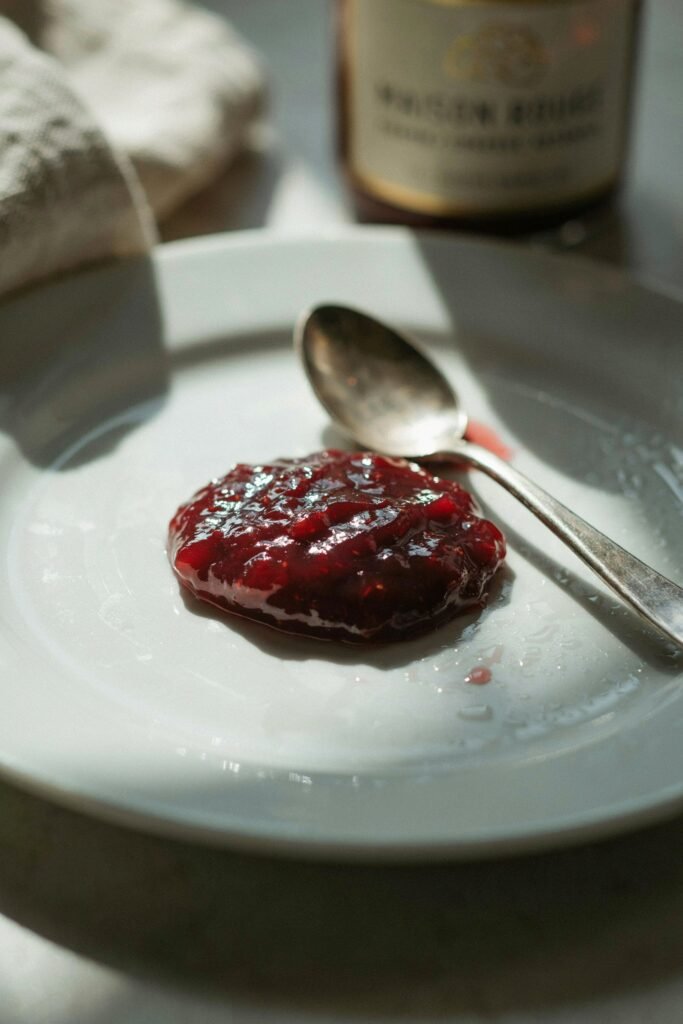
To check if your jam has reached the correct set, place a small spoonful onto a chilled plate and let it sit for a minute.
If it wrinkles slightly when you push it with your finger, it is ready.
If it is still runny, continue boiling for another minute or two and test again.
This small test saves you from ending up with jam that is either too thin or overly stiff.
Step Seven: Remove From Heat and Skim
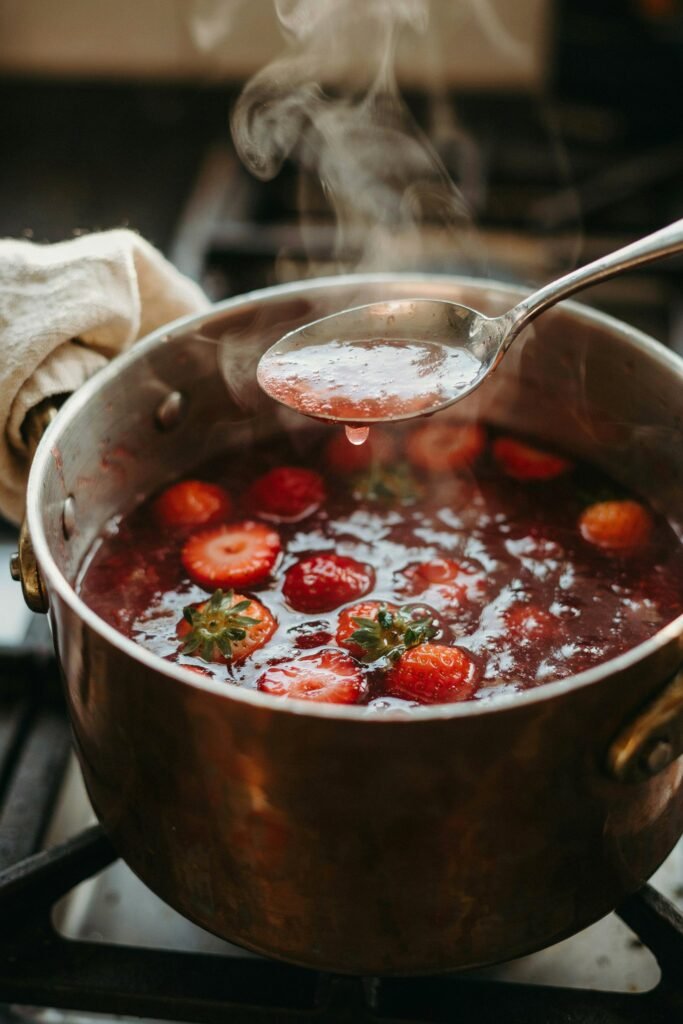
Once your jam reaches the right consistency, remove the pot from heat immediately to stop the cooking process.
Skim off any foam that has formed on the surface using a spoon, since this foam can affect the appearance and shelf life of your finished jars.
Step Eight: Fill Your Jars Properly
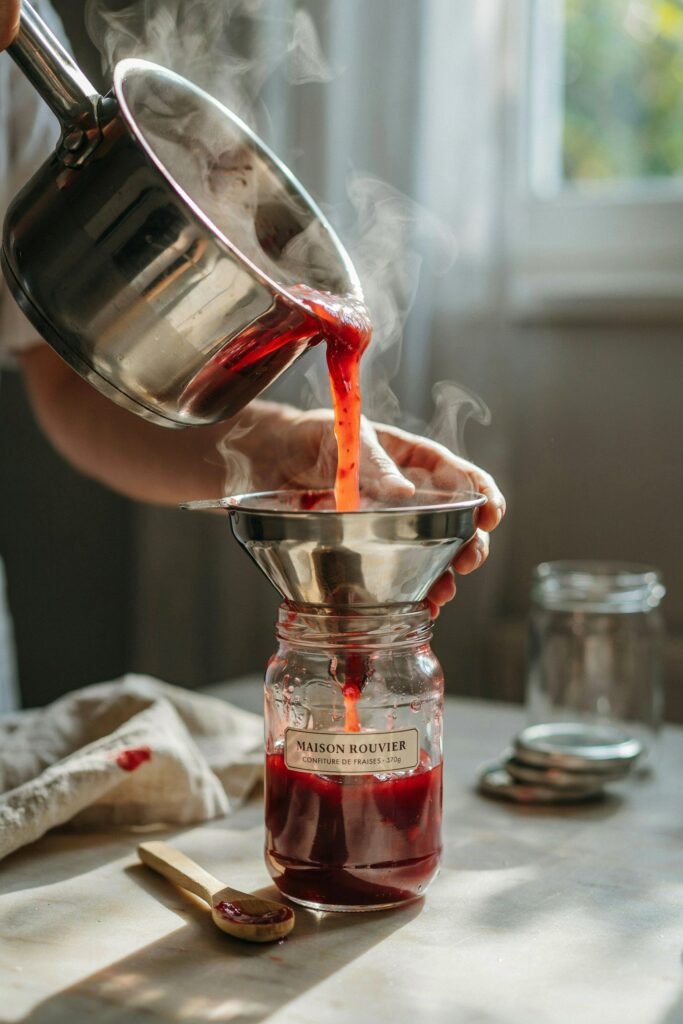
Using a funnel and ladle, pour the hot jam into your clean, sterilized jars while it is still warm.
Leave about a quarter inch of space at the top of each jar, known as headspace, since this allows for proper sealing if you plan to can your jars.
Wipe the rims clean with a damp cloth before sealing with lids, as any residue can prevent a proper seal.
Step Nine: Process for Storage if Needed
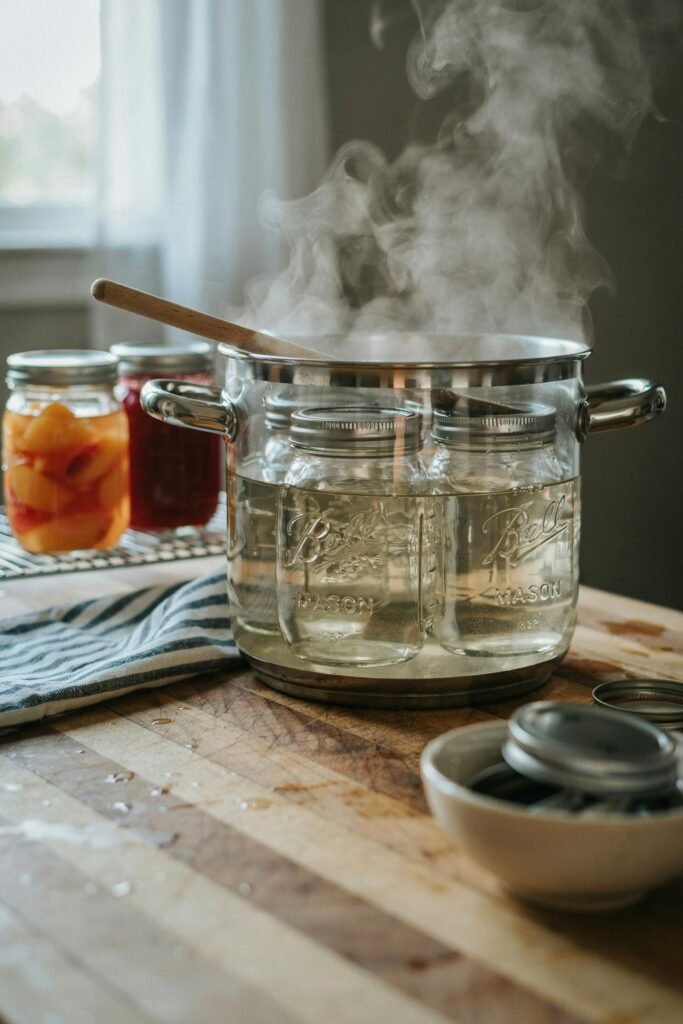
If you want your jam to last longer on a shelf without refrigeration, process your filled jars in a water bath canner for the time specified in your recipe, usually around ten minutes for most fruit jams.
If you plan to give the jam away quickly or store it in the fridge, this step can be skipped, but the jam will need to be refrigerated and used within a few weeks.
Step Ten: Cool and Check Seals
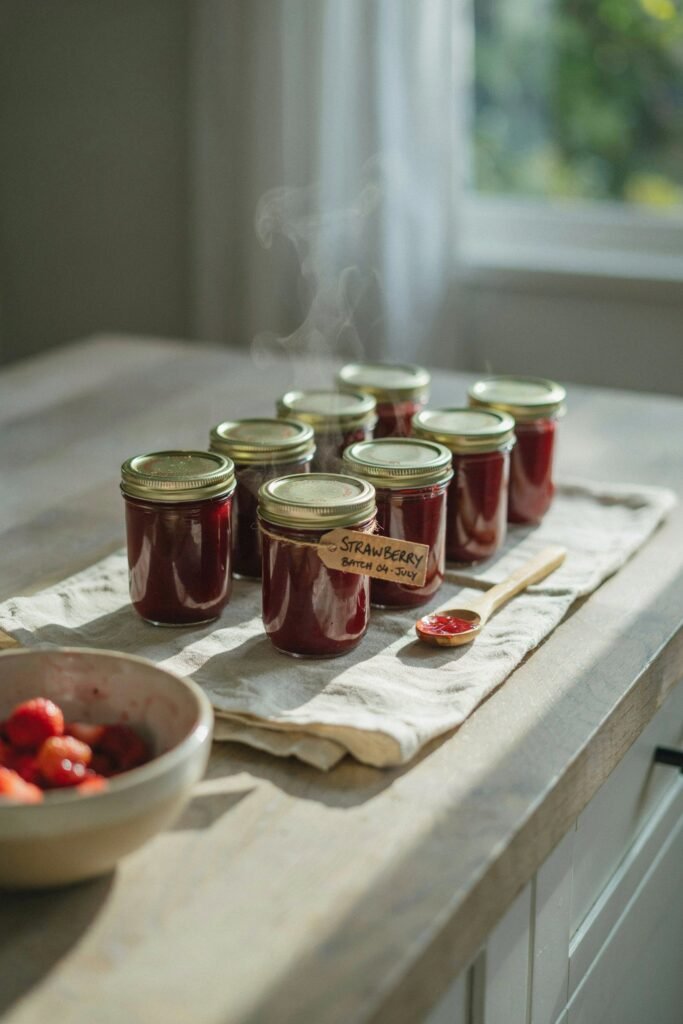
Let your jars cool completely on a towel on the counter, undisturbed, for about twenty four hours.
You should hear a satisfying pop as each lid seals.
Once cooled, press the center of each lid gently. If it does not flex or pop back, your jar is sealed properly and safe for shelf storage.
Flavor Combinations Perfect for Gifting
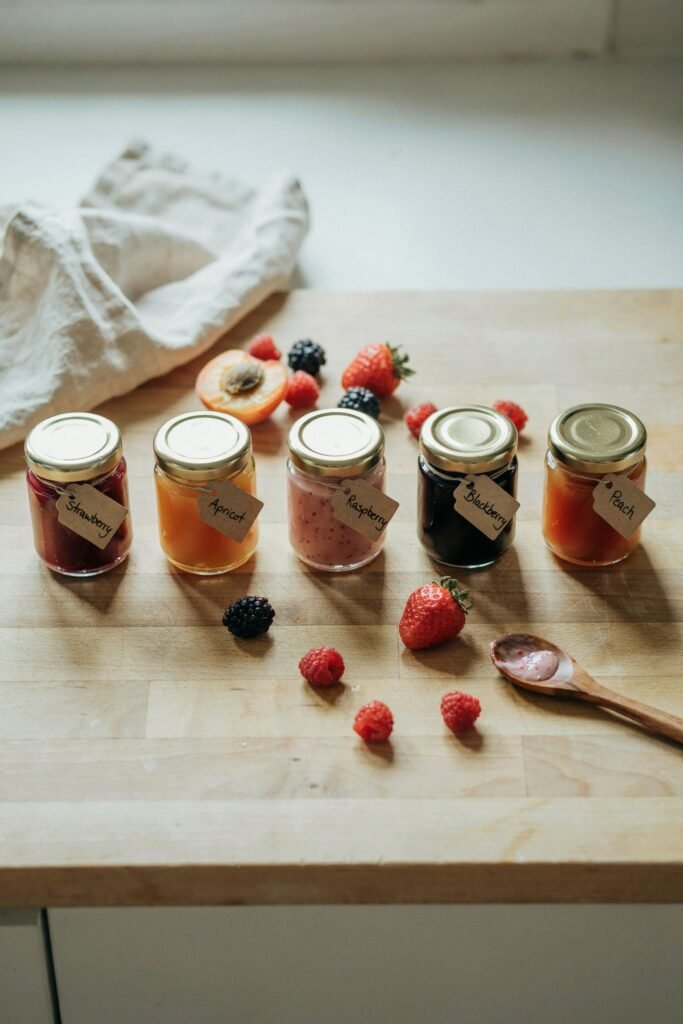
Part of what makes homemade jam gifts so exciting is the chance to get creative with flavors. Here are a few combinations that consistently impress recipients.
Strawberry and basil brings a fresh herbal twist to a classic favorite.
Peach and ginger adds warmth and a slight spicy kick that pairs beautifully with cheese boards.
Blackberry and lavender feels elegant and floral, perfect for a more sophisticated gift.
Fig and orange zest offers a rich, almost dessert like flavor that works wonderfully spread on warm bread.
Mixed berry with a touch of mint keeps things bright and summery no matter the season you are gifting in.
Packaging Ideas That Make Your Jam Feel Extra Special
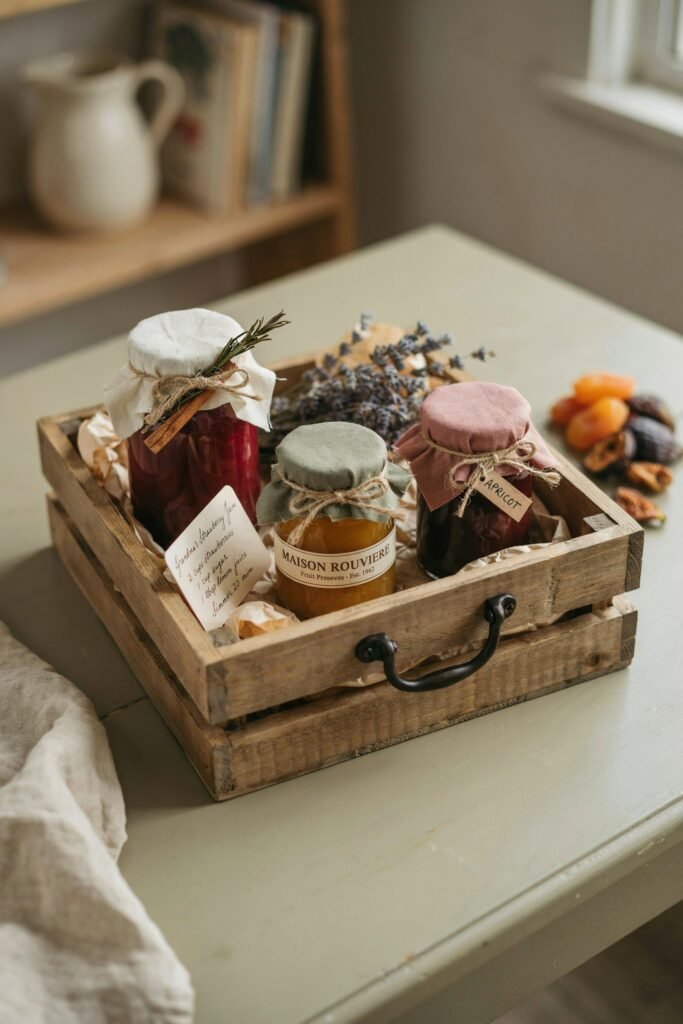
The way you present your jam can make just as much of an impression as the taste itself.
Choose small glass jars with clean, simple lids, and consider adding a fabric topper secured with twine for a rustic, homemade look.
Hand write a label with the flavor name and the date it was made, since this small detail adds authenticity and care.
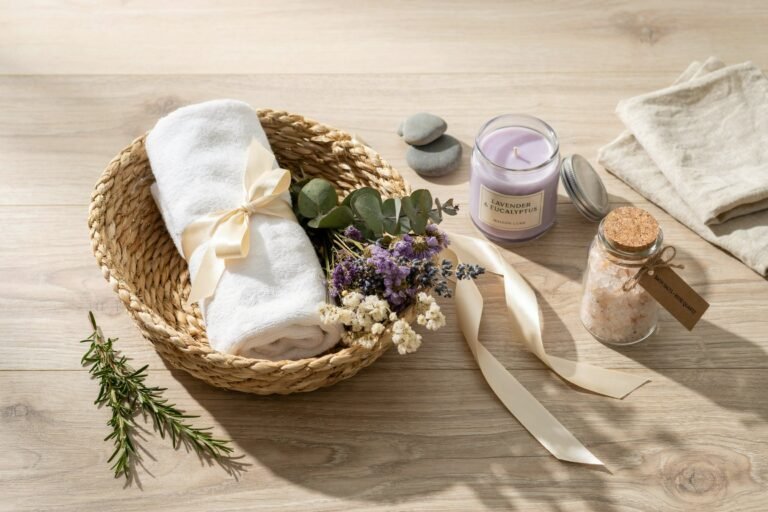
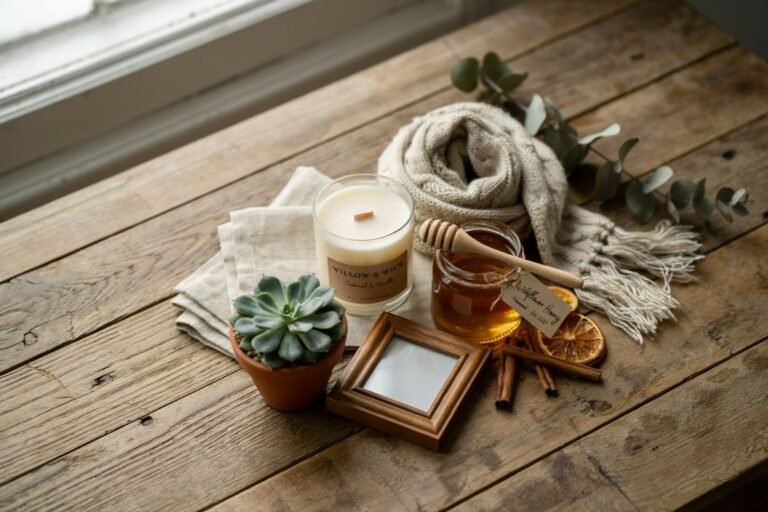
If you are gifting several jars at once, arrange them in a small basket or wooden crate along with a few slices of dried fruit, a small jar of honey, or a handwritten recipe card suggesting ways to use the jam.
Adding a personal note explaining why you chose that particular flavor for them turns a simple jar into a truly memorable gift.
Storage and Shelf Life Tips
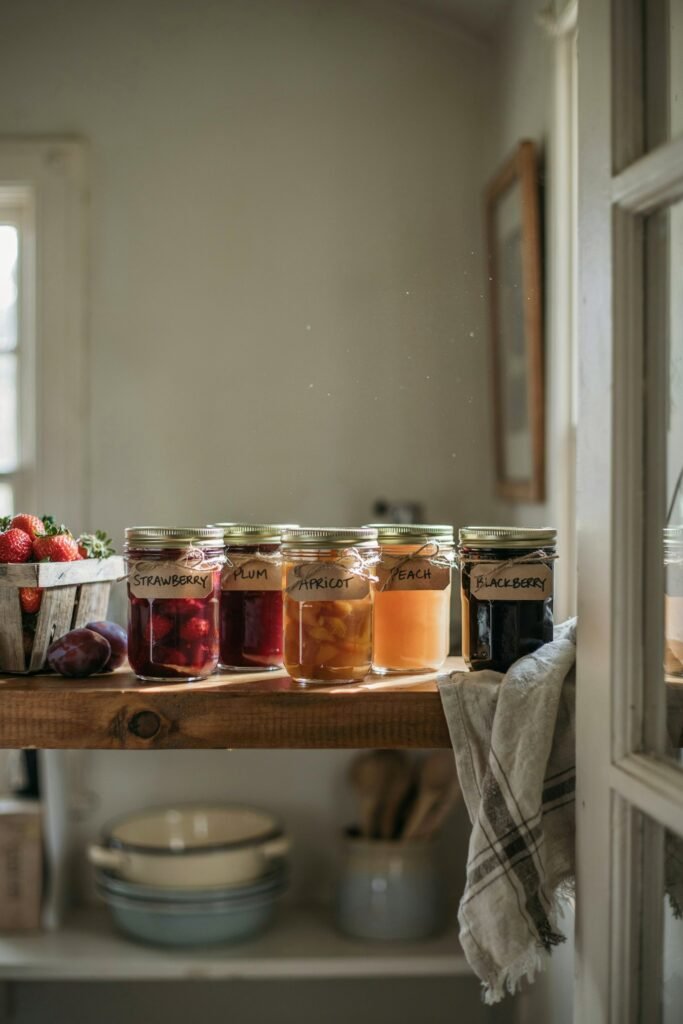
Properly canned jam that has been processed in a water bath can typically last up to a year when stored in a cool, dark place.
Once opened, however, any jar should be kept refrigerated and used within about three weeks for the best flavor and safety.
If you skipped the canning process and are storing your jam in the refrigerator from the start, plan for your recipient to use it within two to three weeks, and be sure to mention this on your gift label so they know how to store it properly.
Always check your jars before gifting or eating. If a lid is bulging, if the jam smells off, or if you notice any mold, discard the jar immediately rather than risk it.
Common Mistakes to Avoid
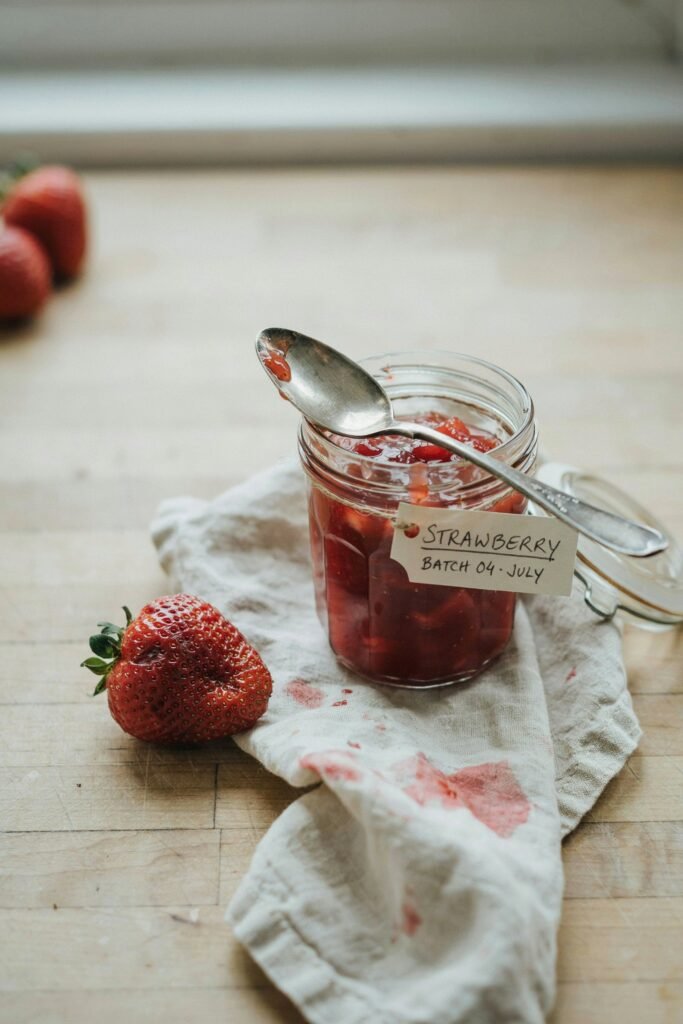
Even experienced cooks run into a few common pitfalls when making jam, so keep these in mind as you work.
Avoid doubling recipes in a single batch, since this often leads to uneven cooking and jam that never fully sets.
Do not skip the acid in your recipe, since lemon juice is not just for flavor but also plays a role in safe preservation.
Resist the urge to skip skimming foam, as it may seem like a small step but it affects both texture and appearance.
Lastly, avoid using unripe or overly ripe fruit, since both extremes throw off the natural balance of sweetness and pectin needed for a proper set.
Final Thoughts on Giving the Gift of Homemade Jam
Making jam as a gift is one of those small acts that carries far more meaning than its size suggests.
It shows the person receiving it that you took time out of your day to think about them, to choose flavors they might enjoy, and to carefully package something just for them.
With the steps outlined above, you now have everything you need to create jam that is not only delicious but safe, well made, and beautifully presented.
Take your time with each batch, experiment with flavors that reflect the personality of the person you are gifting to, and do not be afraid to make mistakes along the way, since every batch teaches you something new.
Homemade jam gifts are simple in concept but rich in the care they represent, and that is exactly what makes them so special to give and to receive.