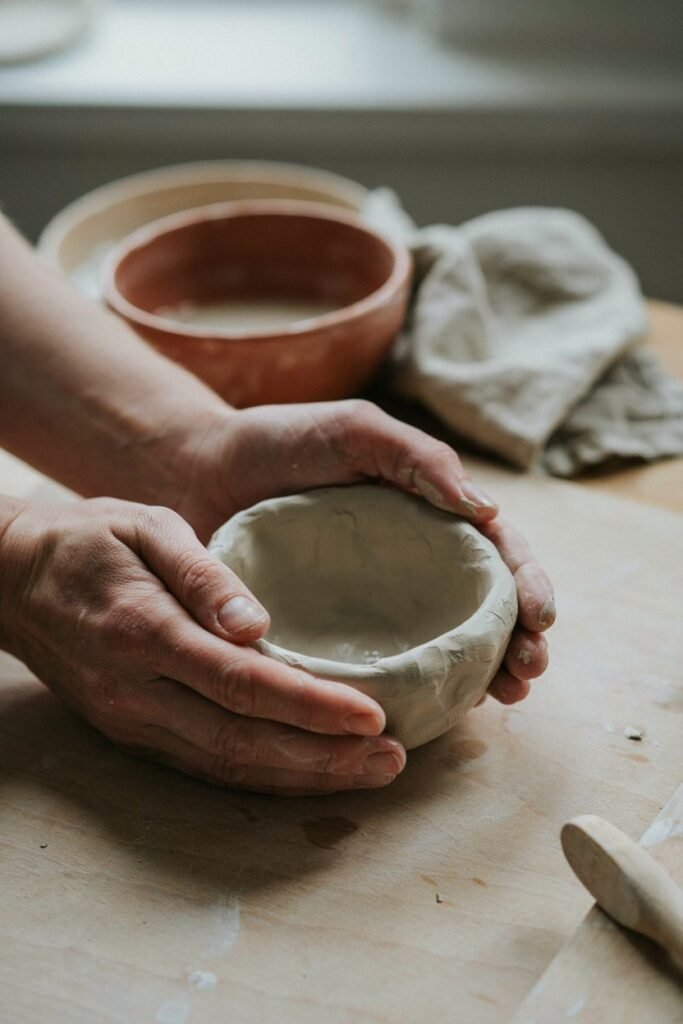
I started working with clay almost by accident. A friend invited me to a weekend craft workshop, and within an hour of shaping my first little clay dish, I was completely hooked.
What began as a relaxing weekend hobby slowly turned into something bigger, a small side business selling handmade clay gifts at local markets and online.
If you have ever thought about turning your own creative energy into something people actually want to buy, clay crafting might be one of the most approachable and profitable paths you can take.
This guide will walk you through everything you need to know to get started, from understanding the different types of clay and what each one is best suited for, to step by step instructions for making your first sellable pieces, all the way through pricing, packaging, and presenting your creations so they feel like premium handmade gifts rather than amateur crafts.
Why Clay Crafting Makes a Great Small Business
Clay is one of the most forgiving and versatile materials you can work with.
Unlike many other crafts that require expensive equipment or years of training, clay lets you create beautiful, functional items with just your hands, a few basic tools, and a bit of patience.
Items like earrings, trinket dishes, plant pots, and ornaments have become incredibly popular gift items because they feel personal, artisanal, and thoughtful in a way that mass produced items simply cannot match.
The materials themselves are inexpensive, which means your profit margins can be quite strong once you find your rhythm.
A single block of polymer clay can produce dozens of small items like earrings or charms, and even air dry clay, which is even cheaper, can be shaped into beautiful home decor pieces that sell well at markets, craft fairs, and online shops like Etsy.
Beyond the financial side, there is something genuinely calming about working with clay.
Many crafters describe it as a form of meditation, since shaping and smoothing the material requires your full attention and quiets the noise of a busy day.
Turning that calming hobby into a source of income makes the entire process feel even more rewarding.
Choosing the Right Type of Clay
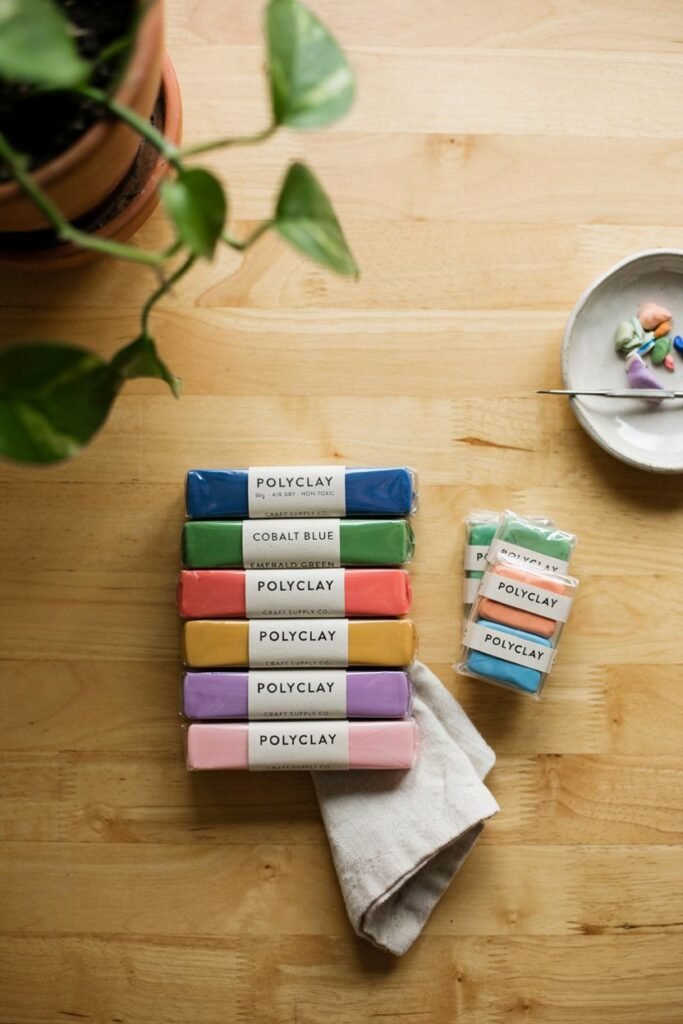
Before you start creating, it helps to understand the different types of clay available and what each one is best used for.
Choosing the right clay for your project will save you time, money, and frustration down the road.
Polymer clay Bakes hard in a home oven, perfect for durable jewelry and small decorative pieces.
Air dry clay Requires no baking at all, ideal for larger decor and beginner friendly projects.
Stoneware clay Needs a kiln to fire properly, best suited for mugs, plates, and functional dishware.
Paper clay Extremely lightweight once dried, great for delicate ornaments and detailed sculptural work.
Epoxy clay Sets rock hard without heat, commonly used for durable outdoor garden decorations.
Model magic clay Soft, foam like texture that dries quickly, wonderful for kids and beginners.
For most people starting a small gift making business from home, polymer clay and air dry clay are the two best starting points, since neither requires a kiln and both can be finished using basic tools you already have in your kitchen or craft space.
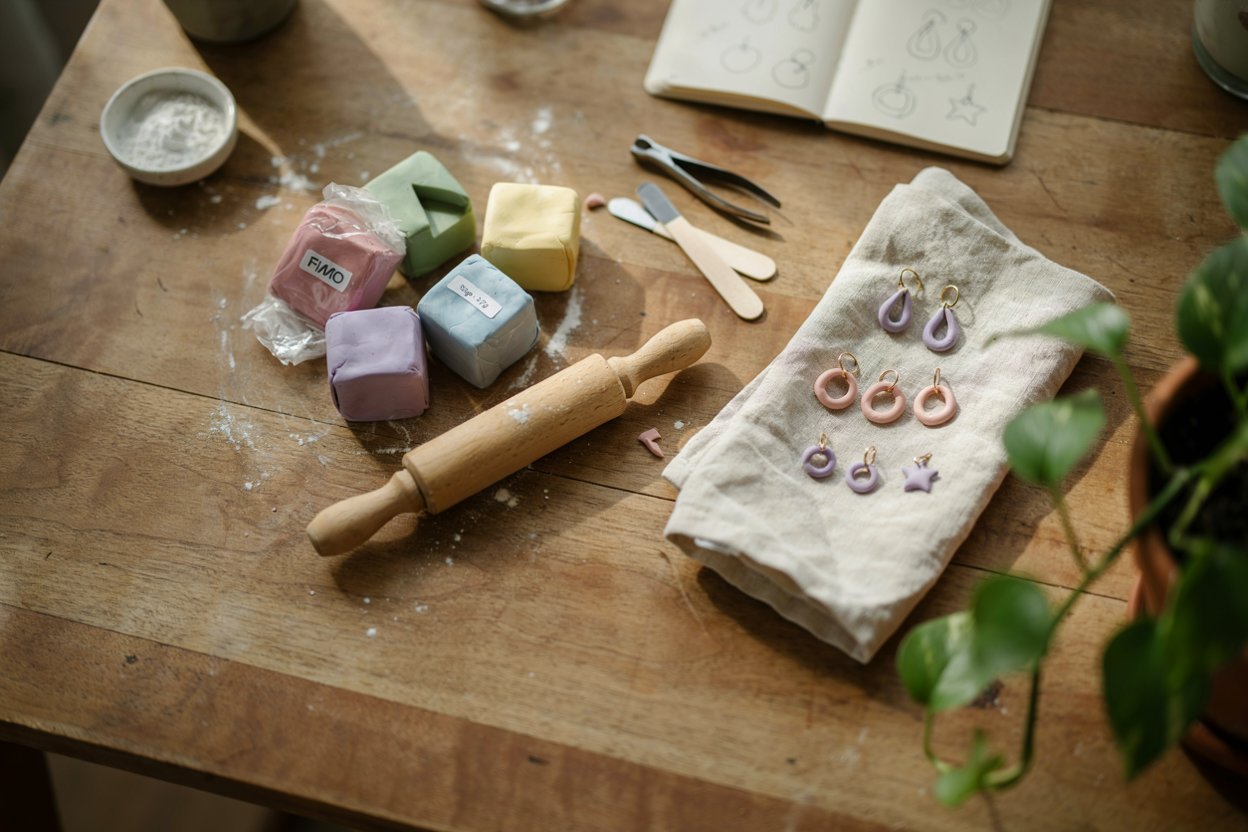
Essential Tools and Supplies
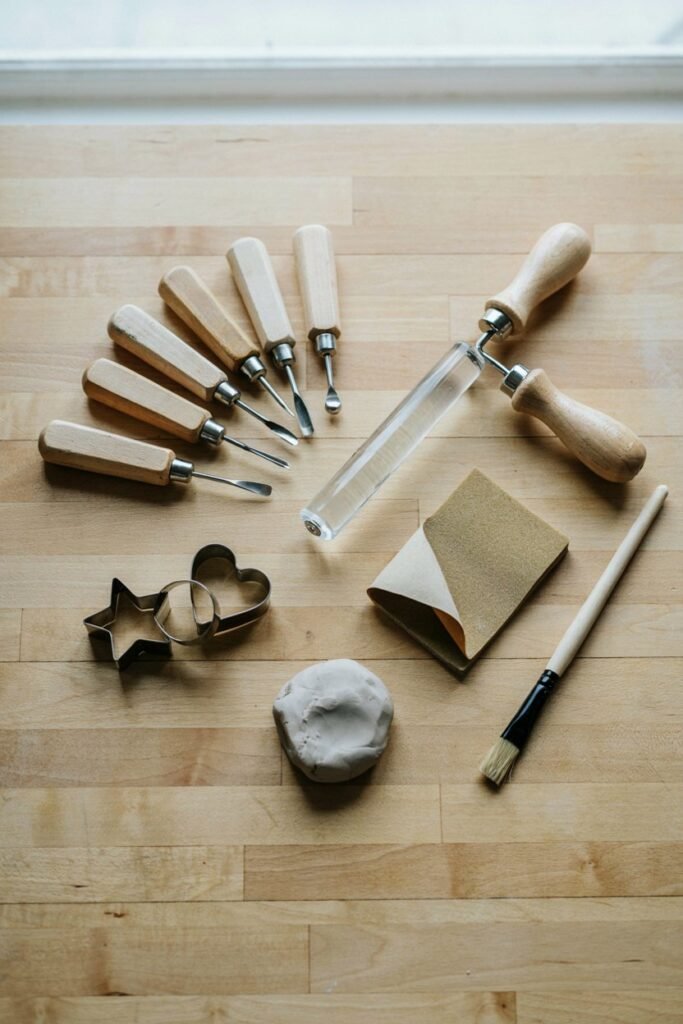
Once you have picked your clay type, gather a small set of tools before you begin.
You do not need an expensive studio setup to get started, and most beginner tool kits can be found affordably online.
A basic clay sculpting tool set with various shaping and smoothing tips is essential for detail work.
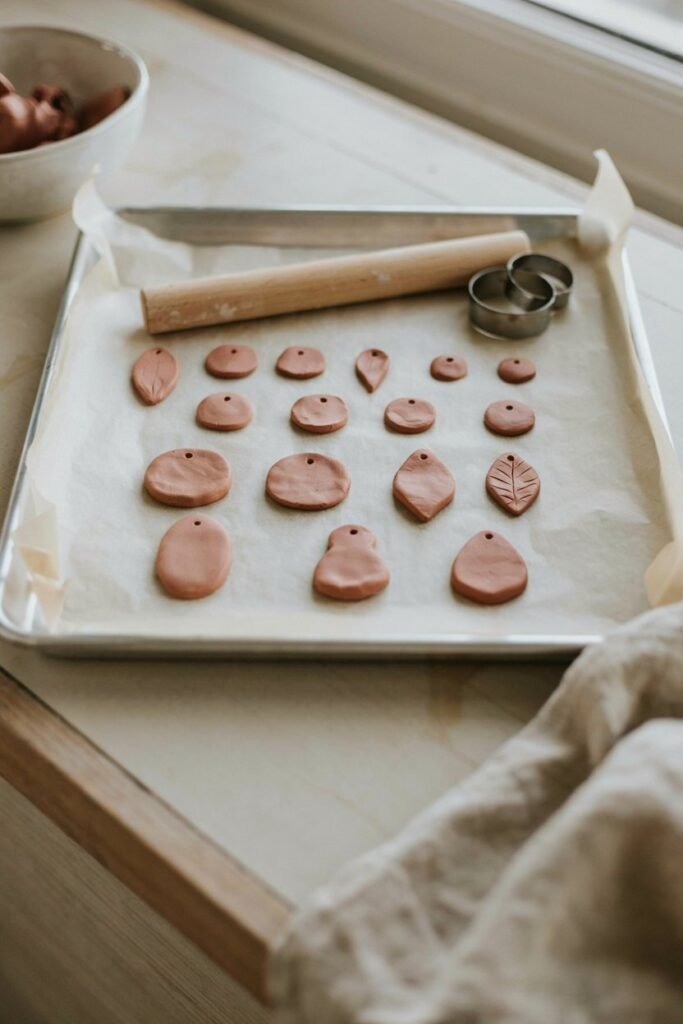
A rolling pin or acrylic roller helps flatten clay evenly for pieces like earrings or coasters.
Small cookie cutters in shapes like circles, hearts, and flowers make quick work of consistent, professional looking pieces.
A baking sheet lined with parchment paper is needed if you are working with polymer clay, since it requires oven curing.
Sandpaper in a few different grits helps smooth rough edges after your pieces have dried or baked.
Acrylic paint, varnish, and a set of small paintbrushes allow you to add color, detail, and a protective glossy finish to your finished pieces.
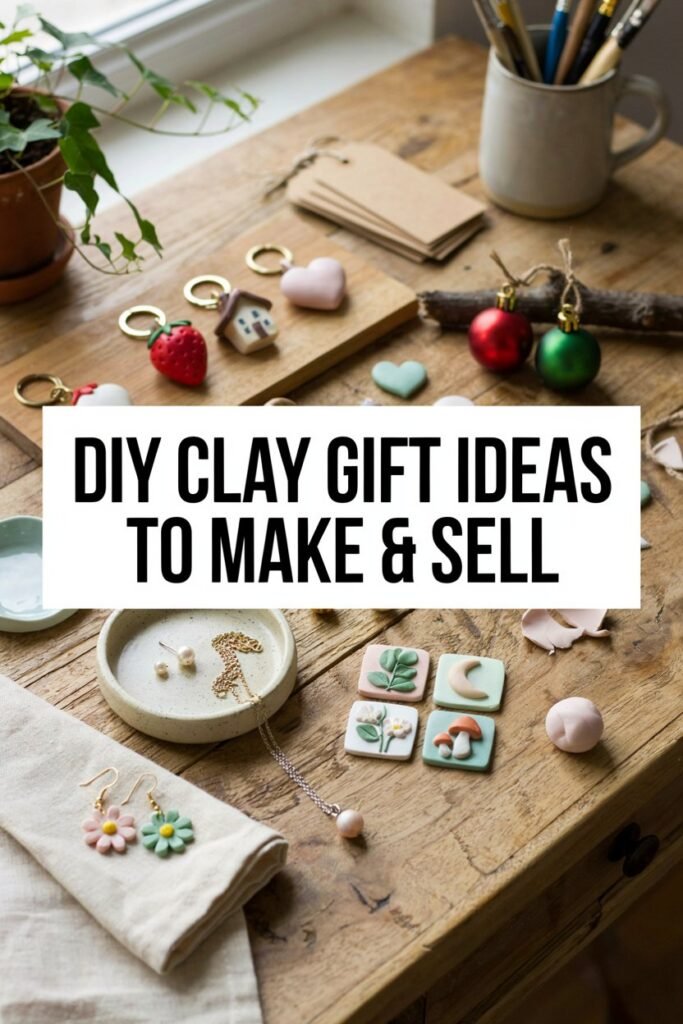
Popular Clay Gift Ideas That Sell Well
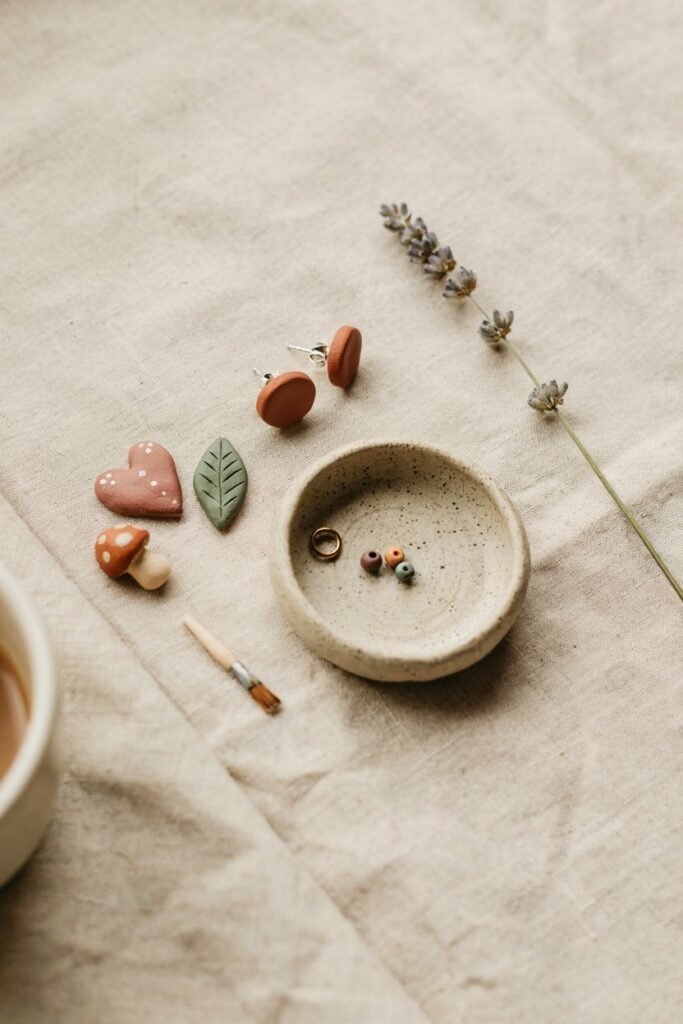
Before diving into the step by step process, let us look at a few of the most popular and profitable clay gift ideas so you can decide where to focus your first few projects.
Small stud earrings and dangle earrings made from polymer clay are consistently one of the best selling handmade items online, since they are lightweight, affordable to make, and appeal to a wide range of buyers.
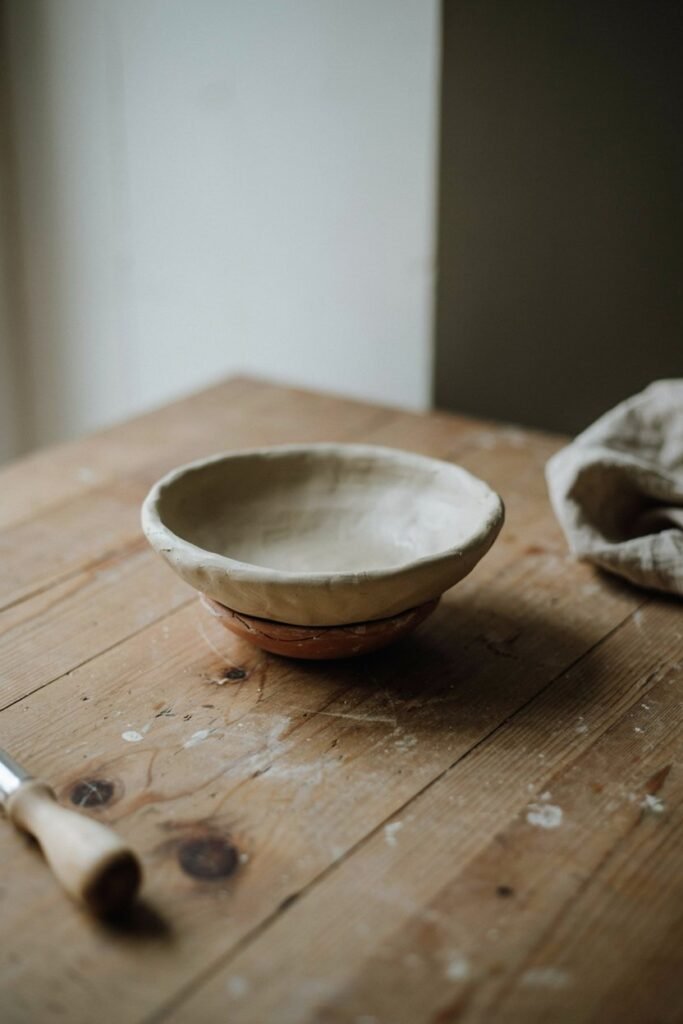
Trinket dishes shaped like small bowls or organic freeform shapes are perfect for holding jewelry, keys, or small everyday items, and they photograph beautifully for online listings.
Personalized name ornaments or holiday themed ornaments become extremely popular gift items during the winter season.
Plant pots and small vases made from air dry clay appeal to the large audience of plant lovers looking for unique handmade decor.
Magnets and keychains shaped like fruits, animals, or seasonal icons are inexpensive to produce and make great small impulse buy gifts at markets.
Step by Step Instructions for Making Clay Earrings
Since earrings are one of the most beginner friendly and profitable clay gift ideas, let us walk through the full process from start to finish.
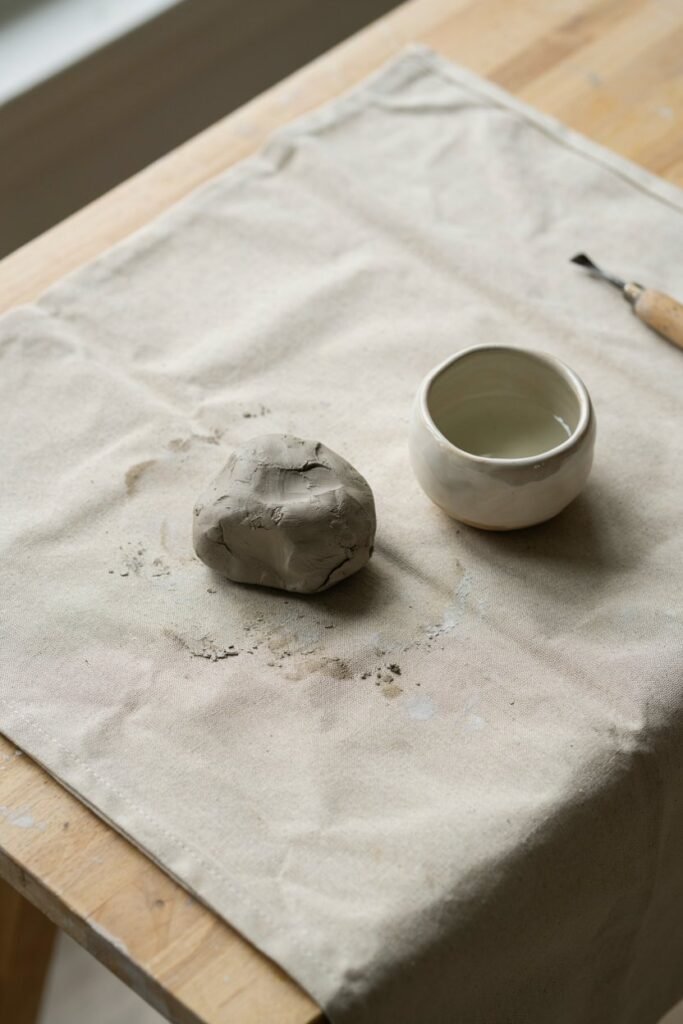
Step One: Condition Your Clay
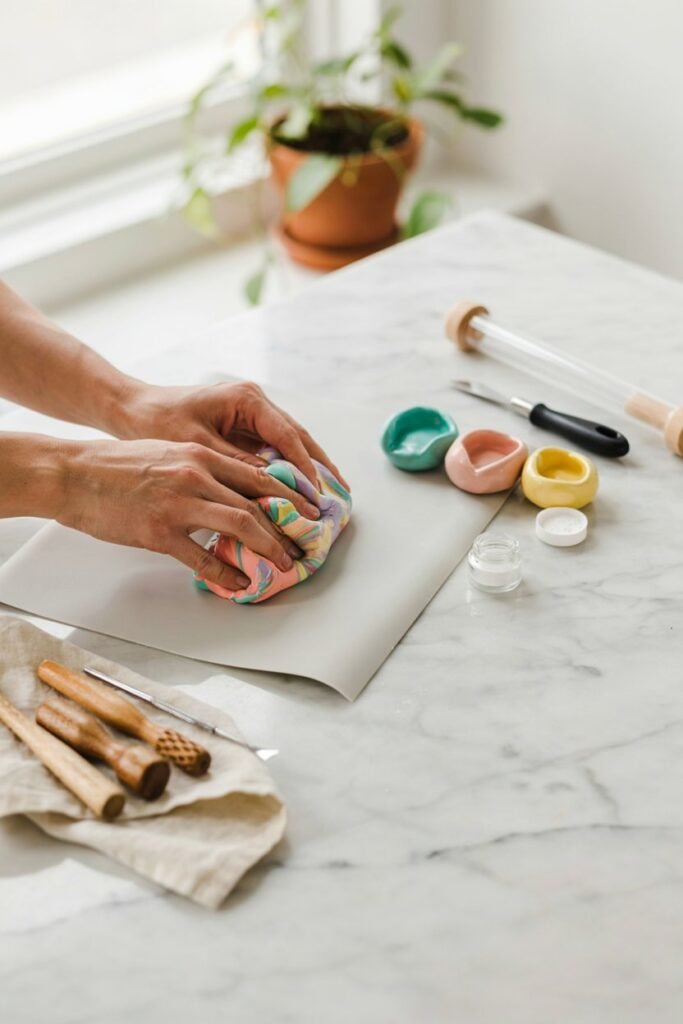
Begin by kneading your polymer clay in your hands for several minutes until it becomes soft, warm, and easy to work with.
This step is important because clay straight from the package can be stiff and crumbly, and conditioning it properly prevents cracking later on.
Step Two: Roll It Out Evenly
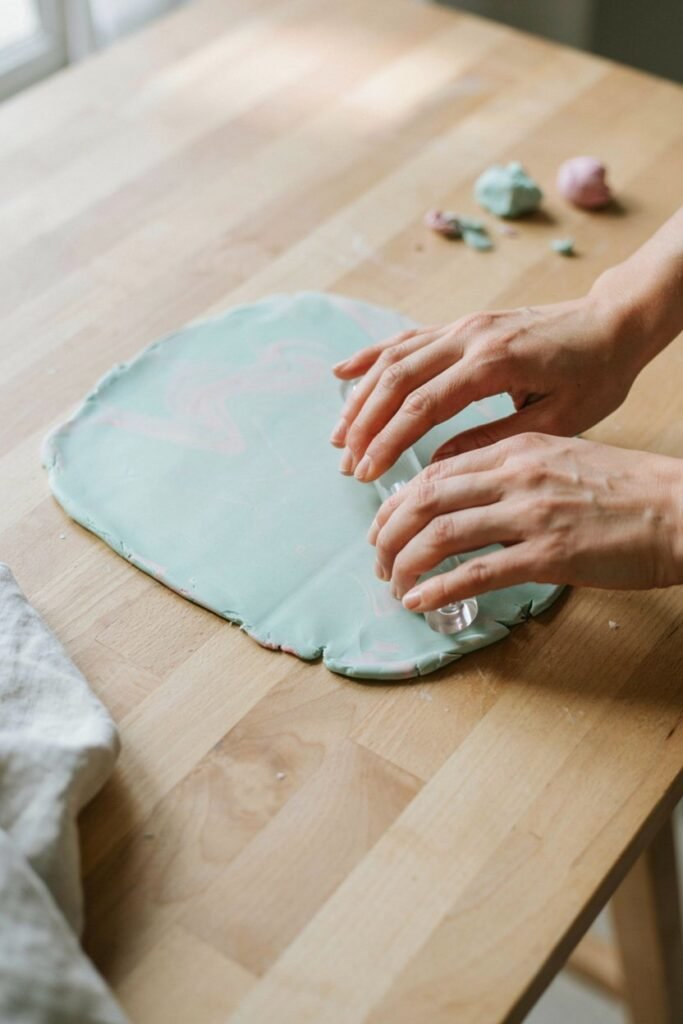
Using your acrylic roller, flatten your conditioned clay into a smooth, even sheet, roughly two to three millimeters thick.
Try to keep the thickness consistent across the entire sheet so your finished earrings do not end up uneven or fragile in certain spots.
Step Three: Cut Your Shapes
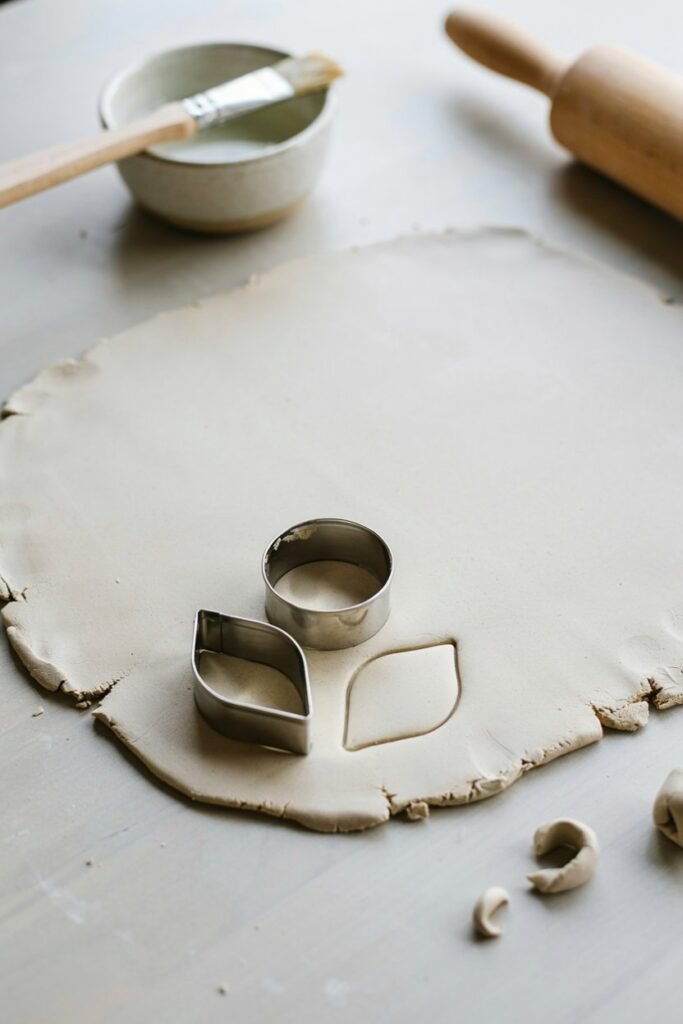
Using small cookie cutters or a precision craft knife, cut out your desired earring shapes from the flattened clay.
Circles, teardrops, and simple geometric shapes tend to sell especially well, but feel free to experiment with your own custom designs as you gain confidence.
Step Four: Add Texture or Detail
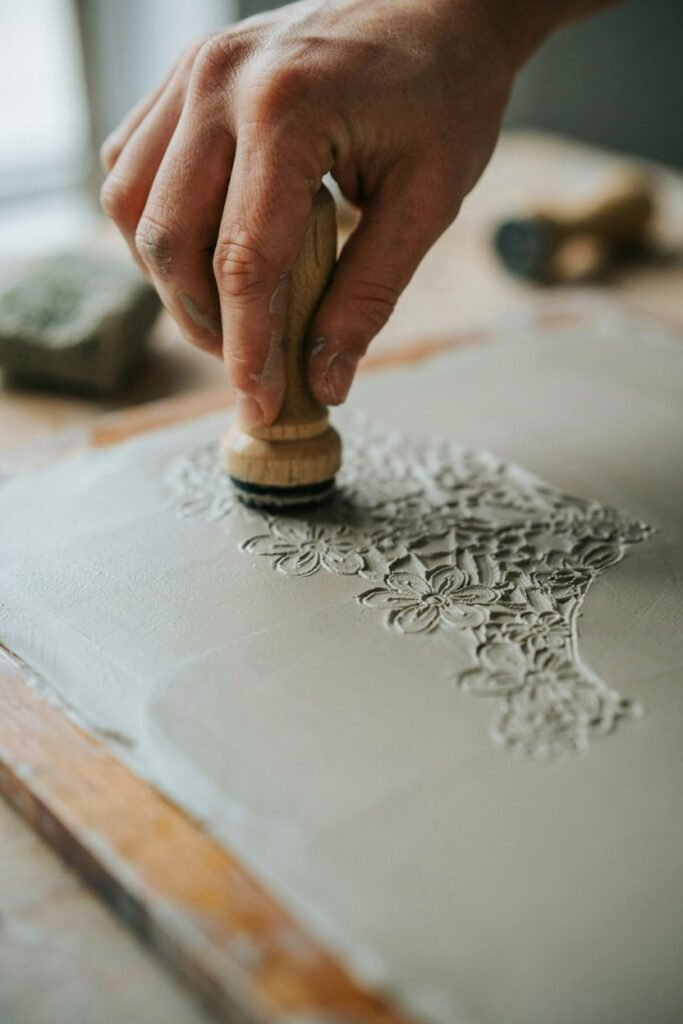
While the clay is still soft, this is the perfect time to press in texture using lace, textured stamps, or even the back of a fork for a simple ribbed pattern.
You can also use a small tool to carve simple designs directly into the surface.
Step Five: Insert Jewelry Hardware
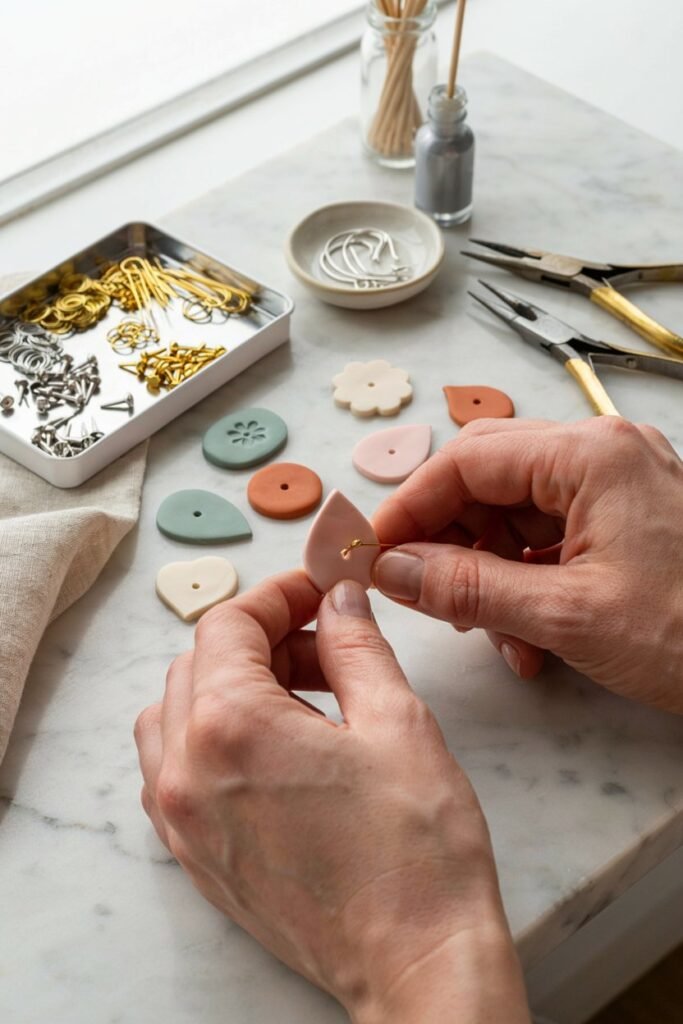
Before baking, gently press a small eye pin or jewelry hole punch into the top of each earring shape to create an opening for your earring hooks later.
Make sure the hole is centered and clean so the finished earrings hang straight.
Step Six: Bake According to Package Instructions
Place your shaped pieces onto a parchment lined baking sheet and bake according to the specific instructions on your clay packaging, which is typically around twenty to thirty minutes at a low oven temperature.
Allow the pieces to cool completely before handling them further.
Step Seven: Sand and Smooth
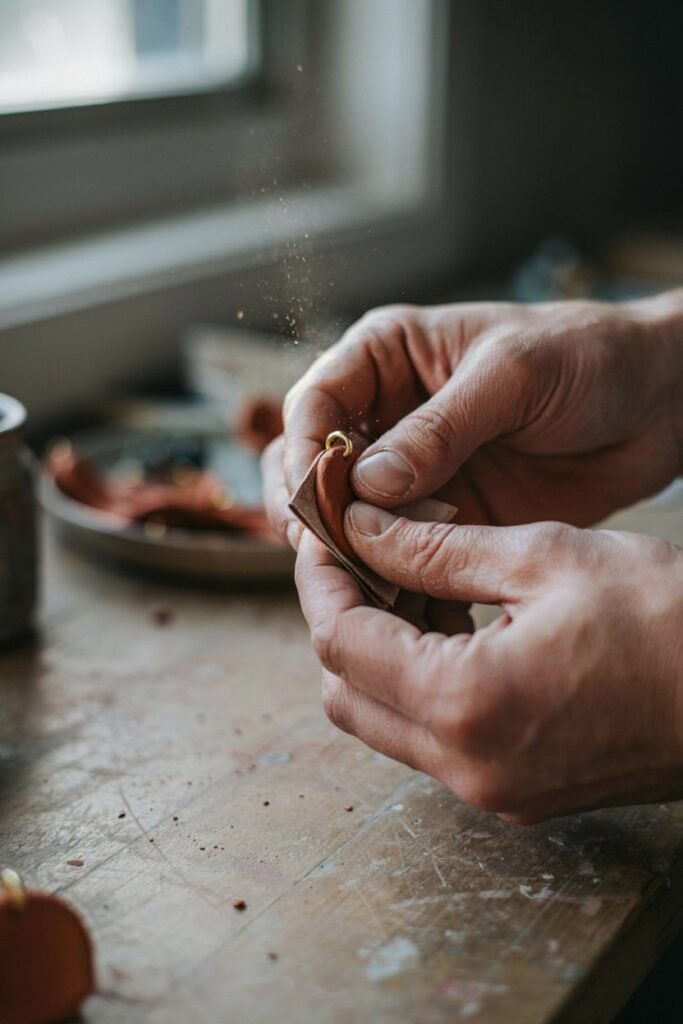
Once cooled, use fine grit sandpaper to gently smooth any rough edges left over from the cutting or baking process.
This step makes a noticeable difference in the overall quality and professional feel of your finished piece.
Step Eight: Paint or Seal
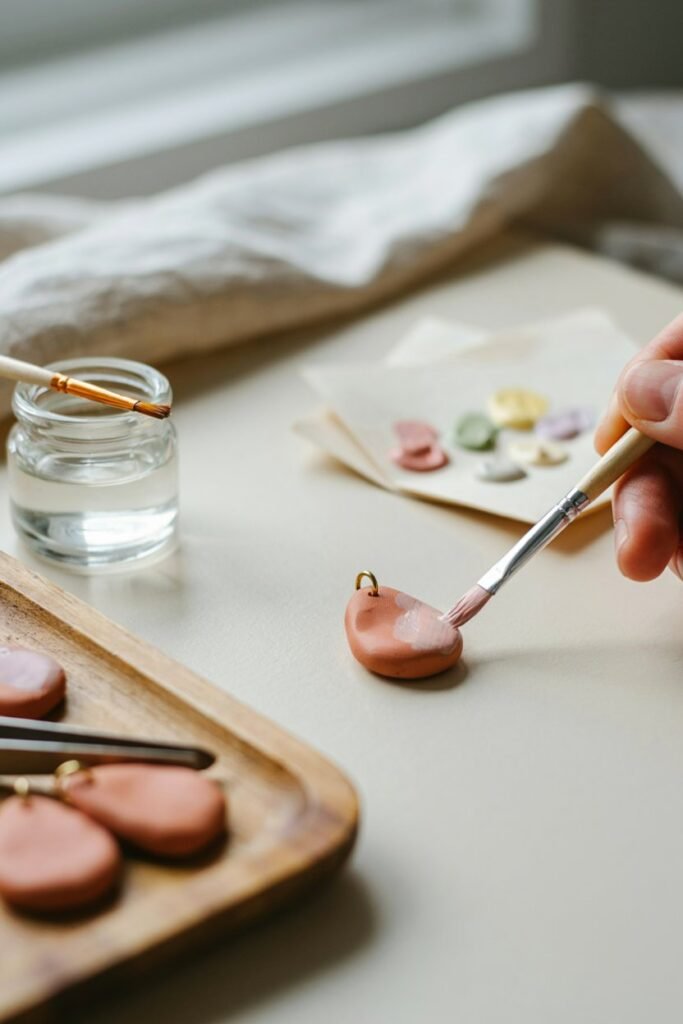
If you want to add color, apply a thin, even coat of acrylic paint and allow it to dry fully.
Finish each piece with a coat of glossy or matte varnish, depending on your preferred look, to protect the surface and give it a polished, professional shine.
Step Nine: Attach Findings
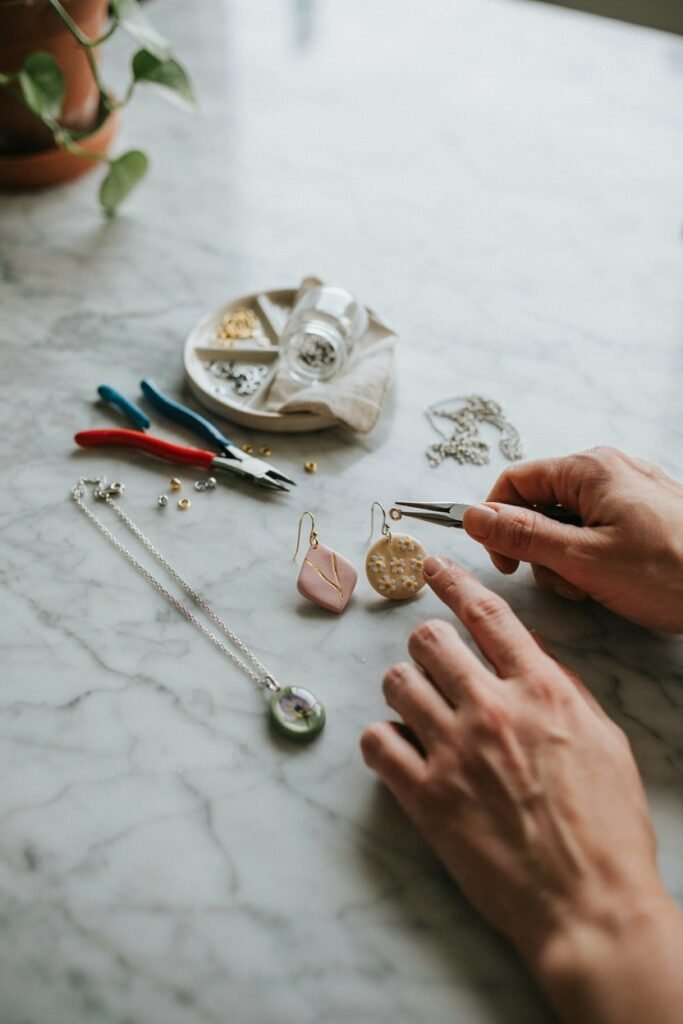
Once your varnish has fully dried, attach jump rings and earring hooks to complete your finished pair.
At this point, your earrings are ready to be photographed, packaged, and sold.
Step by Step Instructions for Air Dry Clay Trinket Dishes
For a slightly different project, trinket dishes made from air dry clay are another wonderful beginner friendly item that consistently sells well.
Start by kneading your air dry clay until it becomes smooth and pliable, then roll it out to about five millimeters thick using your acrylic roller.
Drape the rolled clay gently over a small bowl or mold to create your desired dish shape, pressing lightly so it takes on the curved form.
Trim away any excess clay from the edges using a craft knife for a clean finish.
Allow the shaped piece to dry undisturbed for at least twenty four to forty eight hours, depending on thickness and humidity levels in your space.
Once fully dry, sand any rough spots smooth, then paint and seal your dish using the same method described in the earring instructions above.
Pricing Your Handmade Clay Gifts
Pricing is often the part that new sellers struggle with the most.
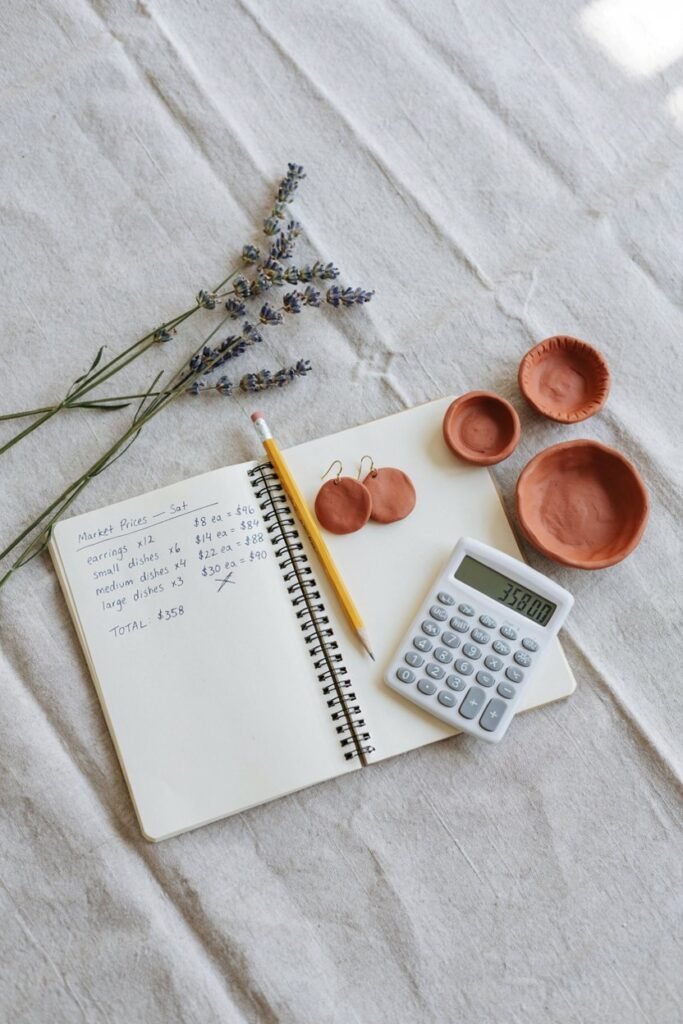
A helpful starting formula is to calculate your material cost per piece, add the value of your time based on a reasonable hourly rate, and then add a small profit margin on top of that total.
For small items like earrings, prices between fifteen and thirty dollars are common depending on design complexity and detail work.
Larger items like trinket dishes or vases often sell in the thirty to sixty dollar range, especially when finished with high quality paint and varnish.
Do not be afraid to price your work fairly.
Handmade items carry real value because of the time, skill, and creativity behind them, and undervaluing your work can make it harder to sustain the business long term.
Packaging and Presentation Tips

Presentation plays a huge role in how buyers perceive the value of your handmade clay gifts.
Small kraft paper boxes lined with tissue paper create a polished, gift ready look for earrings and small trinkets.
Clear cellophane bags tied with ribbon work well for market stalls where buyers want to see the product immediately.
Adding a small branded thank you card with care instructions for your clay pieces adds a professional touch that builds trust with your customers.
For larger items like vases or dishes, wrapping in brown craft paper with a wax seal or twine bow gives a rustic, thoughtful gift feel that photographs beautifully for online listings.
Tips for Selling Your Clay Creations
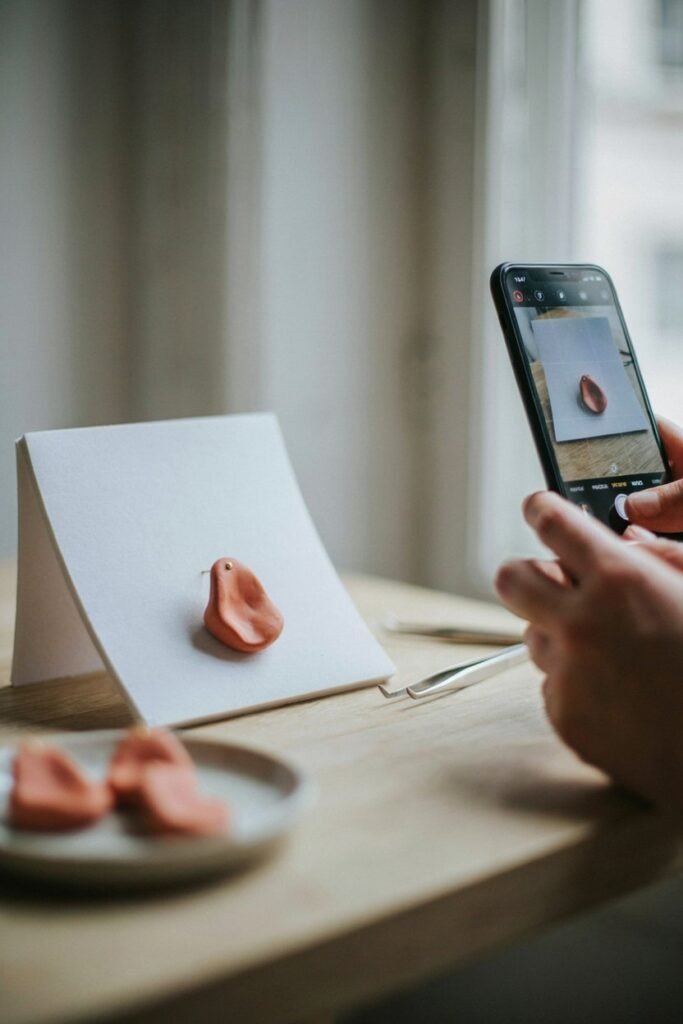
Good lighting makes an enormous difference when photographing your pieces for online platforms like Etsy or Instagram, so try to shoot near a bright window using natural daylight whenever possible.
Consistent branding, including a simple logo, matching packaging colors, and a recognizable style across your product photos, helps buyers remember and recognize your shop.
Attending local craft fairs and markets is a wonderful way to get direct feedback from buyers while also building a small local following before expanding into online sales.
Building an email list or social media following early on gives you a direct way to announce new collections, seasonal items, and restocks to people who already love your work.
Common Mistakes to Avoid
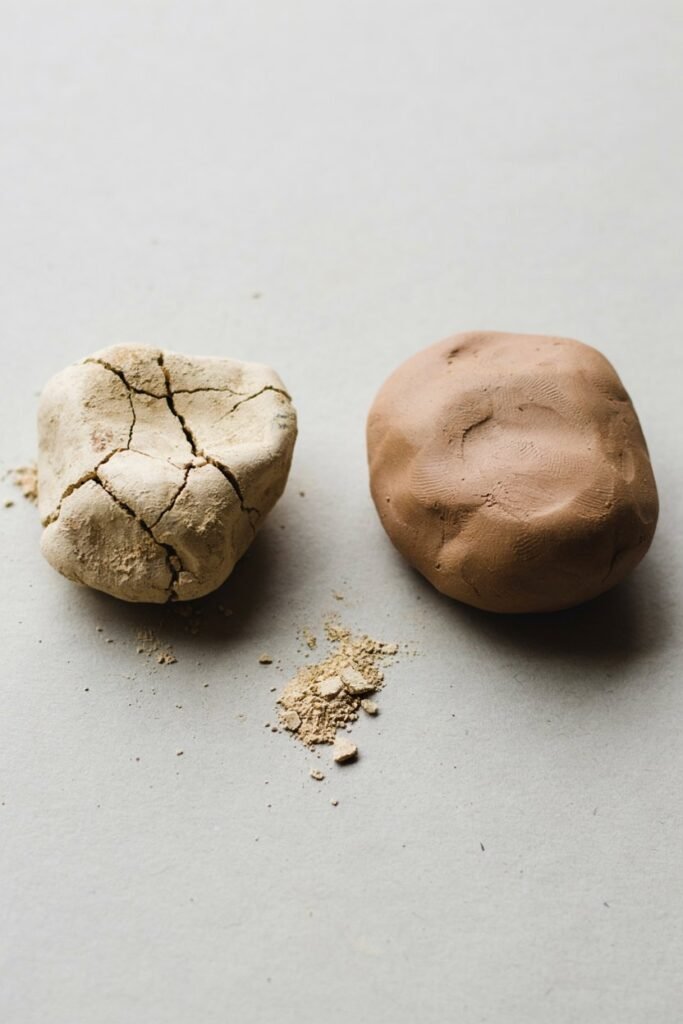
New clay crafters often skip the conditioning step, which leads to cracked or brittle finished pieces.
Rolling clay unevenly is another common issue that results in earrings or dishes that feel fragile or look unprofessional.
Rushing the drying process with air dry clay can cause pieces to crack or warp, so patience during this stage is essential.
Finally, skipping the sanding and sealing steps often leaves pieces looking unfinished, so do not skip these final touches even though they can feel tedious.
Final Thoughts
Clay crafting offers a rare combination of relaxation, creativity, and real business potential.
With just a small investment in basic tools and materials, you can begin creating beautiful handmade gifts that people genuinely want to buy, whether you are selling at a local market, through an online shop, or simply making thoughtful gifts for the people in your life.
Start small, focus on quality over quantity in your early pieces, and allow your skills to grow naturally with each new project you take on.
I hope this guide gives you the confidence and knowledge to start your own clay crafting journey.
Gather your supplies, set aside a quiet afternoon, and enjoy the process of shaping something beautiful with your own two hands.