A few years ago I found myself staring at an empty gift bag two days before a birthday party, completely out of ideas and out of time to order something online.
Instead of panicking, I raided my craft drawer and my kitchen cabinets and put together a little gift set in one afternoon.
That moment taught me something I still believe today, that some of the most thoughtful gifts are the ones you make yourself, and most of them take far less time than people assume.
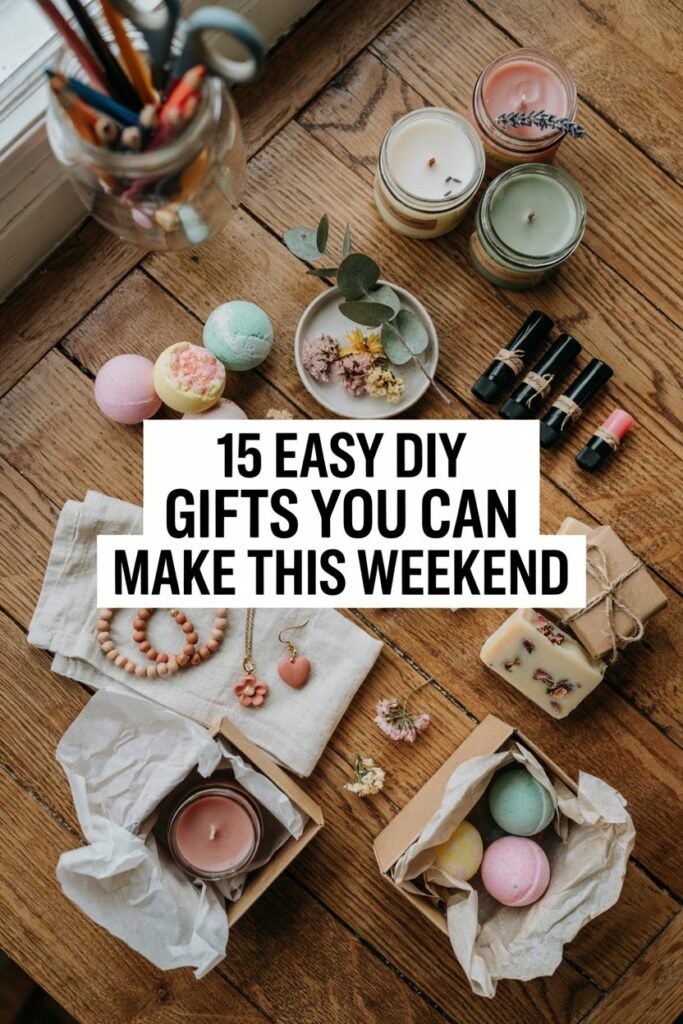
This post rounds up fifteen simple, budget friendly DIY gifts you can realistically finish in a single weekend, even if you are starting with zero crafting experience.
Each idea includes what you will need and how to put it together, so you can pick whichever ones fit your skills, your schedule, and the person you are making it for.
Why I Make These Gifts
People often ask me why I bother making gifts by hand when it would be faster to just order something online. Honestly, the answer is simple.
Making a gift myself lets me put real thought into who the person is and what would genuinely make them smile, rather than picking something generic off a shelf.
There is a certain kind of joy in knowing the recipient is holding something nobody else in the world has, something shaped by my own hands and my own time.
I also make these gifts because the process itself is relaxing for me.
Melting wax for a candle, whipping up body butter, or painting a simple design on a plant pot gives me a quiet, focused break from screens and schedules.
It feels like a small act of care, both for the person receiving the gift and for myself in the moment I spend making it.
There is also a practical side to this habit. Homemade gifts almost always cost less than store bought alternatives, especially once you start reusing supplies across multiple projects.
That means I can give more generously and more often without stretching my budget, which matters a lot around birthdays, holidays, and the many small occasions throughout the year that call for a thoughtful gesture.
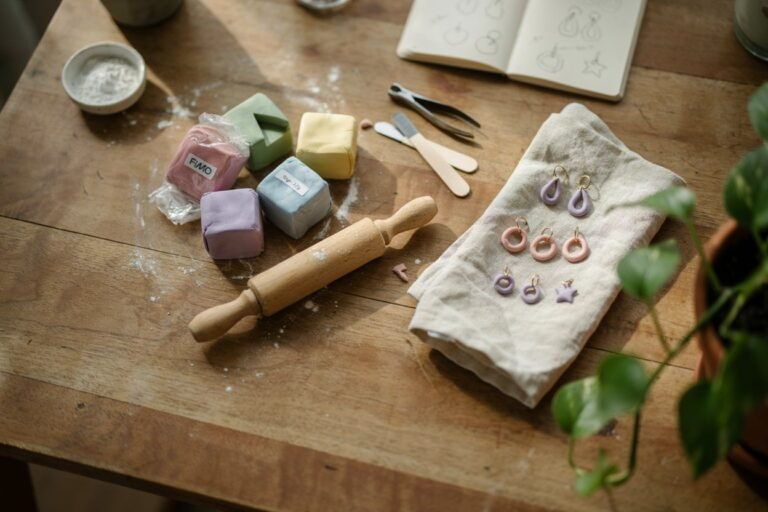
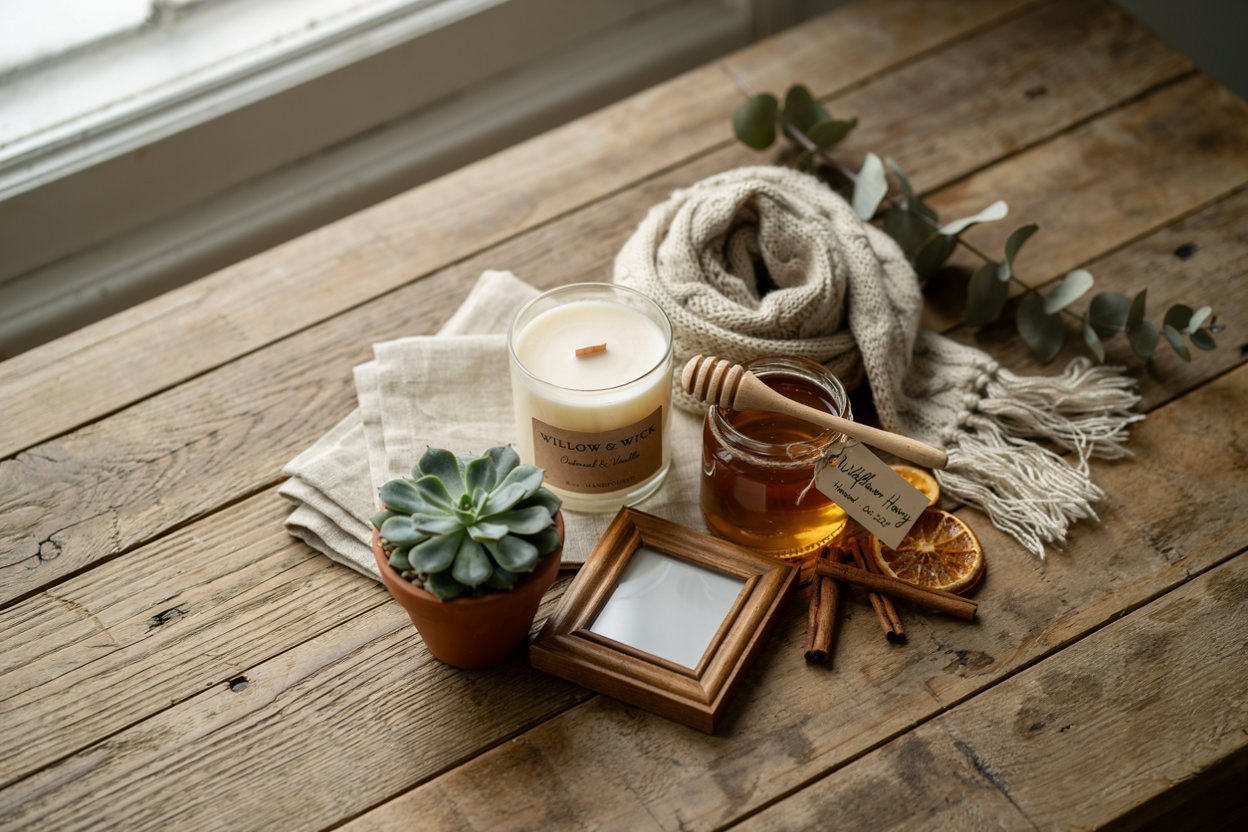
1. Soy Wax Candles
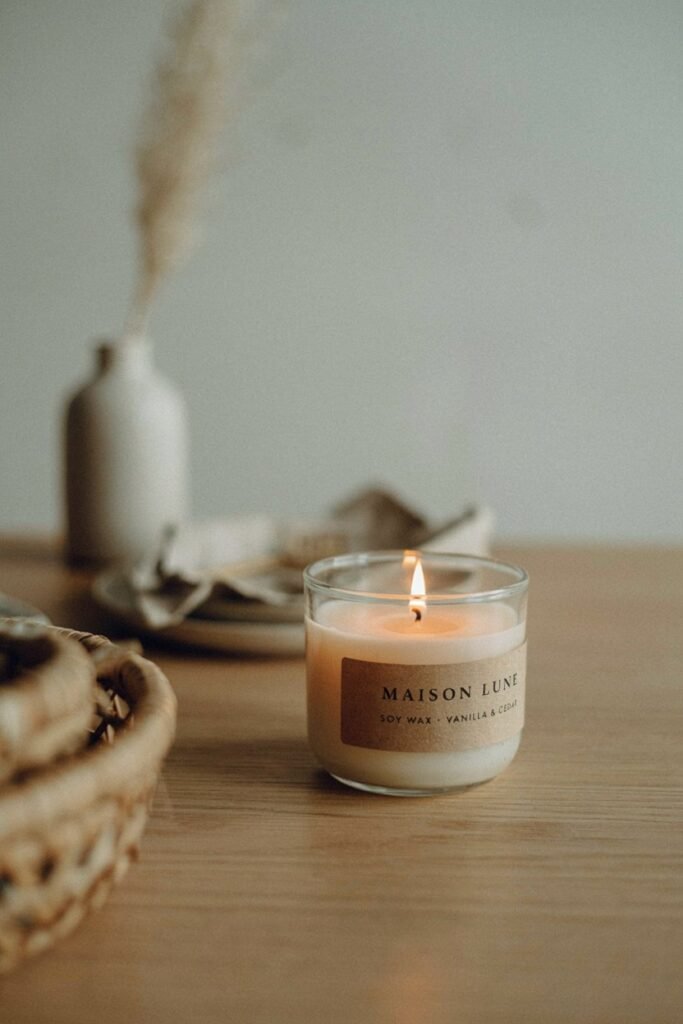
I got into candle making almost by accident after buying too much soy wax for a project that never happened, and now I make these every chance I get.
What you will need
Soy wax flakes: melts smoothly and holds fragrance oils better than most other waxes.
Cotton wicks: burns evenly and keeps the flame steady throughout the candle’s life.
Fragrance oil: gives your candle a personal scent that fills the whole room. Glass jars: acts as a reusable container that also looks good on shelves.
Wooden skewers: holds the wick straight and centered while the wax cools down.
Steps
- Melt the soy wax flakes slowly in a double boiler until fully liquid.
- Stick the wick to the bottom of the jar using a dab of melted wax.
- Balance the wick upright using two skewers resting across the jar’s rim.
- Stir in your fragrance oil once the wax cools slightly below boiling point.
- Pour the wax into the jar and let it sit undisturbed overnight.
2. Hand Painted Mugs
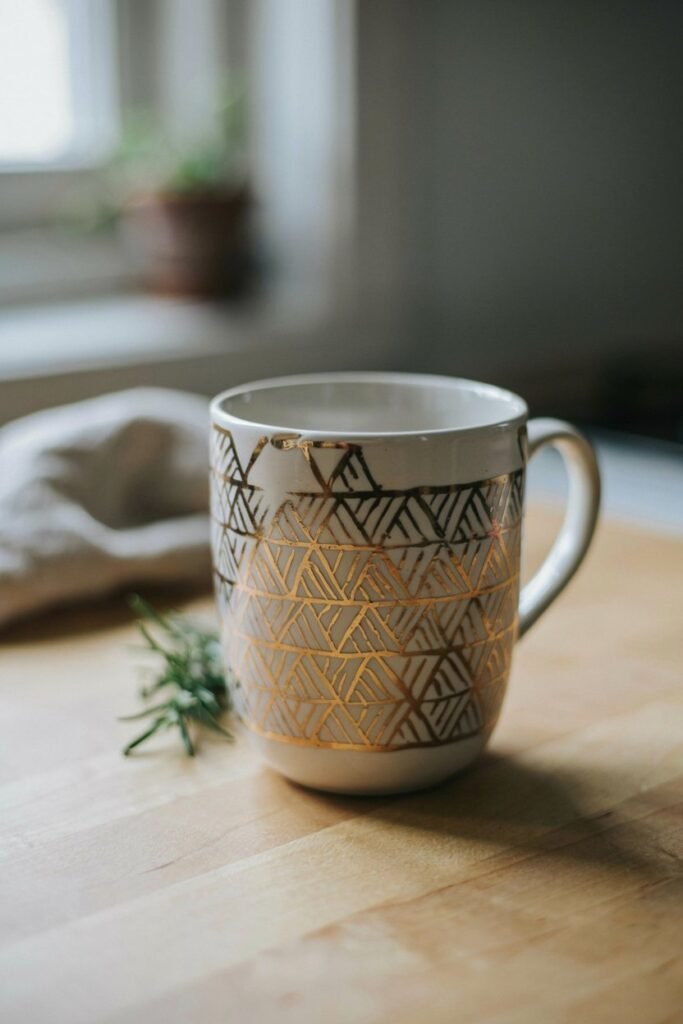
I painted my first mug for a friend’s birthday and now everyone in my circle expects one every year.
What you will need
Plain ceramic mug: serves as the blank canvas for your painted design.
Porcelain paint pens: writes smoothly on ceramic and survives dishwasher use once cured.
Painter’s tape: helps you create clean lines and geometric patterns easily.
Rubbing alcohol: removes oils from the surface so paint sticks properly.
Steps
- Wipe the mug down thoroughly with rubbing alcohol before starting anything.
- Use painter’s tape to mark off any straight lines or patterns you want.
- Fill in your design slowly using light, even strokes with the paint pen.
- Let the mug air dry for at least twenty four hours undisturbed.
- Bake the mug in the oven following your paint pen’s curing instructions.
3. Infused Olive Oil
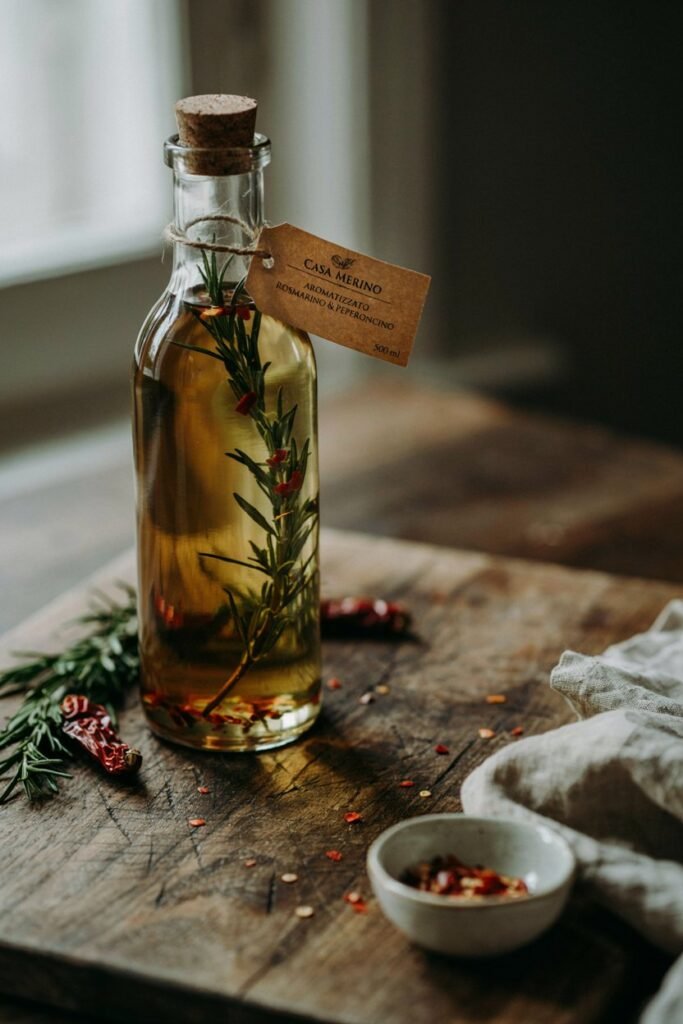
My grandmother used to make infused oils every summer and it is one of the easiest gifts I have ever recreated.
What you will need
Extra virgin olive oil: acts as the flavorful base that carries the herbs.
Fresh rosemary or chili flakes: infuses a bold, aromatic flavor into the oil.
Glass bottle with cork: keeps the oil sealed and looking rustic on shelves.
Steps
- Gently warm the olive oil in a saucepan without letting it boil.
- Add your chosen herbs or spices and let them steep briefly.
- Strain the oil through a fine mesh sieve into a clean bowl.
- Pour the strained oil carefully into your prepared glass bottle.
- Add a fresh sprig inside for decoration and seal the bottle tightly.
4. Photo Coasters
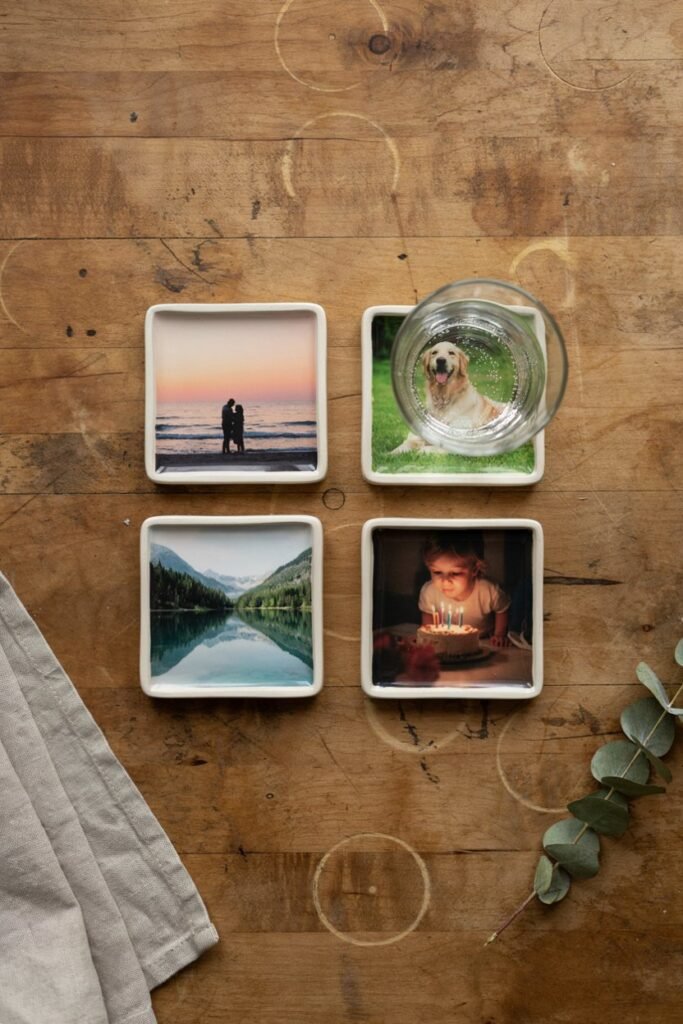
I made these for my sister’s housewarming and she still uses them daily years later.
What you will need
Ceramic tiles: provides a sturdy surface that holds printed photos well.
Mod podge glue: seals the photo onto the tile and adds a glossy finish.
Printed photos: adds the personal touch that makes this gift memorable.
Felt pads: protects furniture surfaces from scratches caused by the tile’s edges.
Steps
- Cut your printed photo to match the exact size of the tile.
- Brush a thin layer of mod podge onto the tile’s surface first.
- Press the photo down firmly and smooth out any trapped air bubbles.
- Apply two to three more coats of mod podge over the photo.
- Stick felt pads on the bottom once the final coat dries completely.
5. Bath Bombs

Bath bombs were the very first gift I ever made and they remain a crowd favorite at every gathering.
What you will need
Baking soda: forms the fizzing base reaction when the bomb touches water.
Citric acid: reacts with baking soda to create that signature bubbling fizz.
Coconut oil: moisturizes skin while the bath bomb dissolves in the tub.
Essential oil: adds a relaxing scent that lingers in the bathroom afterward.
Silicone molds: shapes the mixture into neat, gift ready spheres or cubes.
Steps
- Whisk the baking soda and citric acid together in a large bowl.
- Melt the coconut oil and mix in a few drops of essential oil.
- Slowly combine the wet mixture into the dry ingredients while stirring constantly.
- Pack the mixture tightly into your silicone molds without leaving gaps.
- Let the bombs sit undisturbed for twenty four hours before removing them.
6. Knitted Scarf
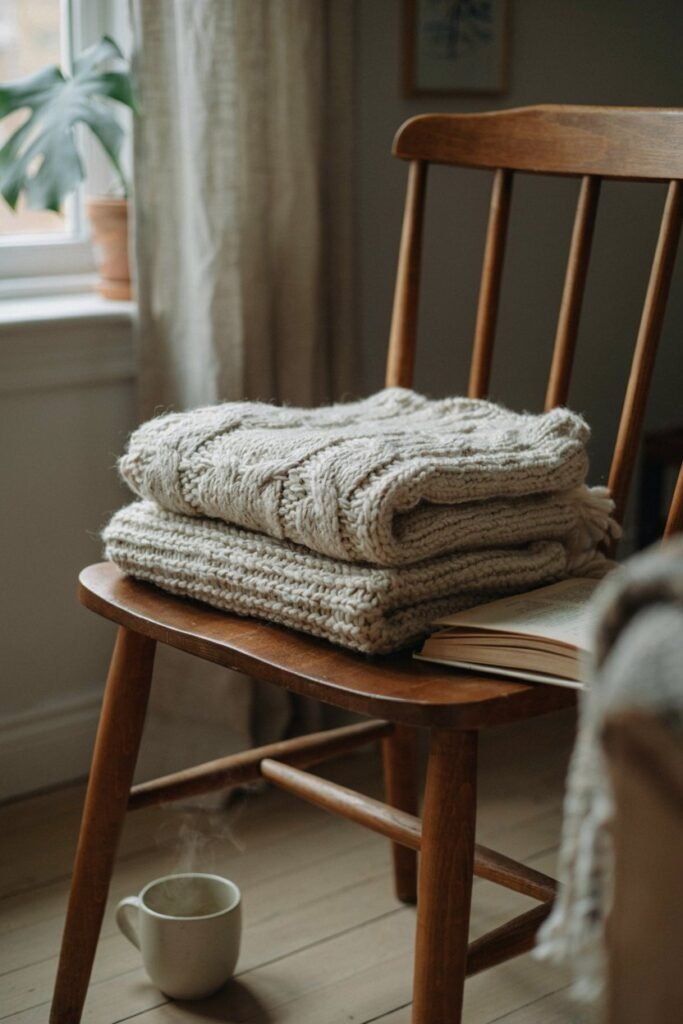
I taught myself to knit through late night tutorials and a scarf was the very first thing I finished.
What you will need
Chunky yarn: knits up quickly and creates a soft, cozy texture.
Knitting needles: shapes the yarn into rows that build the scarf’s length.
Scissors: trims loose ends neatly once the scarf reaches your desired length.
Steps
- Cast on enough stitches to reach your desired scarf width comfortably.
- Knit each row using a simple stitch pattern until you feel confident.
- Continue knitting row after row until the scarf reaches your target length.
- Bind off the stitches carefully to secure the final row in place.
- Weave in any loose ends using a yarn needle for a clean finish.
7. Terrarium Jar
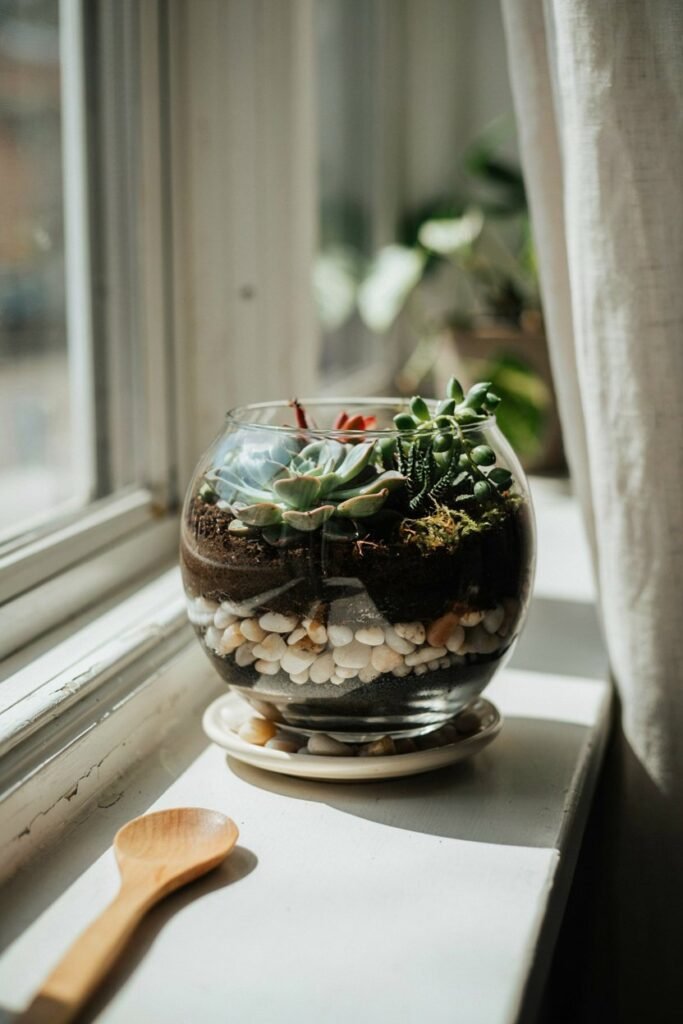
I built my first terrarium after killing one too many houseplants and honestly it fixed my problem completely.
What you will need
Glass jar or container: holds all the layers and displays the plants nicely.
Pebbles: creates drainage at the bottom so roots do not sit in water.
Potting soil: gives the plants a nutrient rich base to grow in.
Small succulents: thrives in low maintenance environments perfect for gifting to anyone.
Steps
- Layer pebbles evenly across the bottom of your glass container first.
- Add a thin layer of potting soil directly on top of the pebbles.
- Nestle your succulents gently into the soil, spacing them out evenly.
- Add decorative moss or small stones around the base for extra texture.
- Mist lightly with water and place the jar somewhere with indirect sunlight.
8. Homemade Granola
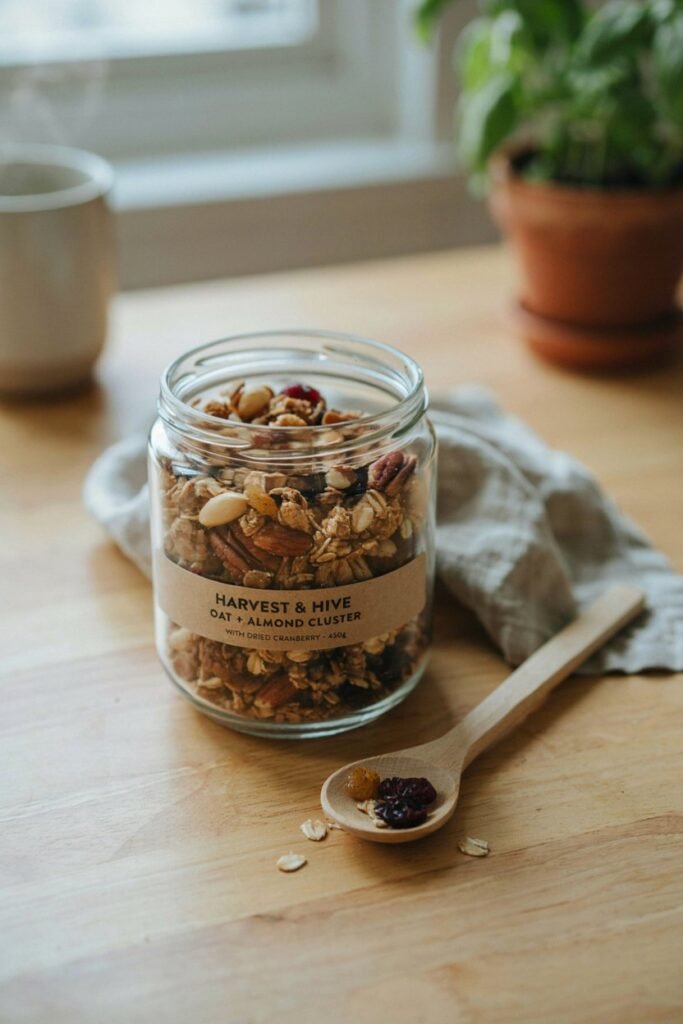
I started making granola to save money but it turned into one of my most requested gifts.
What you will need
Rolled oats: forms the hearty base that holds all the mix together.
Honey: binds the ingredients while adding natural sweetness to every bite.
Mixed nuts: adds crunch and protein that balances the granola’s sweetness nicely.
Dried fruit: brings a chewy texture and natural sugar to each handful.
Steps
- Preheat your oven and mix the oats and nuts in a bowl.
- Warm the honey slightly and pour it evenly over the dry mixture.
- Spread the mixture onto a lined baking sheet in a thin layer.
- Bake until golden, stirring halfway through to prevent uneven browning.
- Let it cool completely before stirring in the dried fruit pieces.
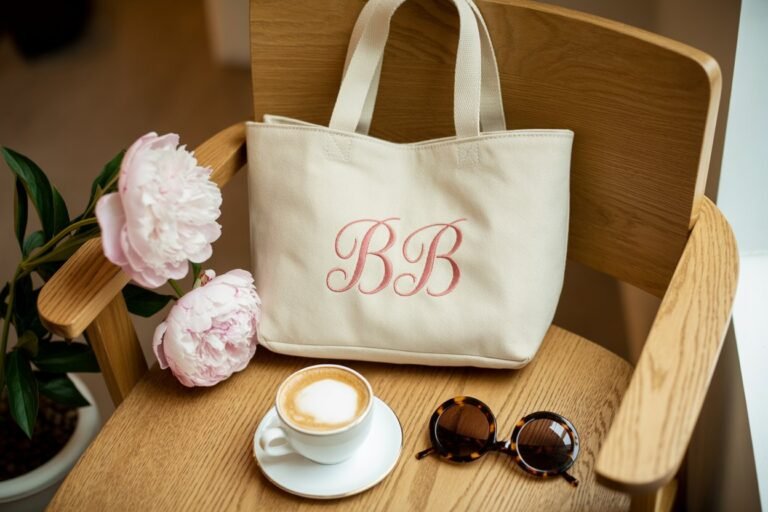
9. Custom Tote Bags
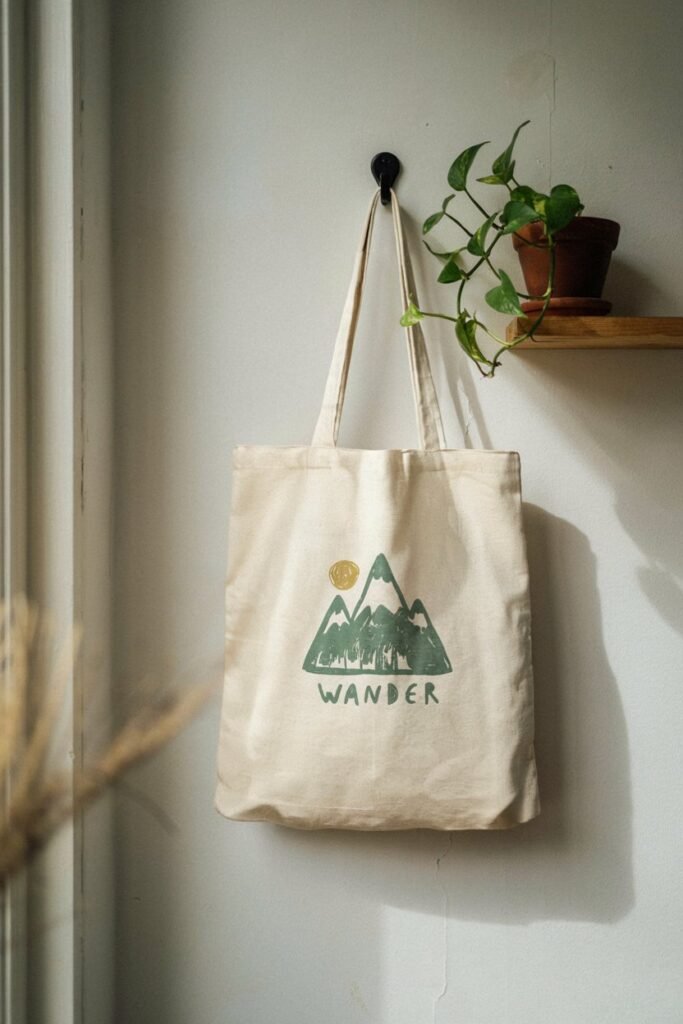
I painted my first tote bag for a coworker leaving her job and she used it as her everyday bag afterward.
What you will need
Plain canvas tote: provides a sturdy blank surface ready for any design.
Fabric paint: adheres to canvas and stays flexible after washing repeatedly.
Stencils: helps create clean, repeatable shapes without needing artistic skill.
Cardboard sheet: slides inside the bag to stop paint from bleeding through.
Steps
- Slide the cardboard sheet inside the tote to separate the two layers.
- Position your stencil where you want the design to appear.
- Dab fabric paint over the stencil using light, even pressing motions.
- Peel the stencil away carefully once the paint looks fully applied.
- Let the paint cure fully according to the fabric paint’s instructions.
10. Herb Garden Kit
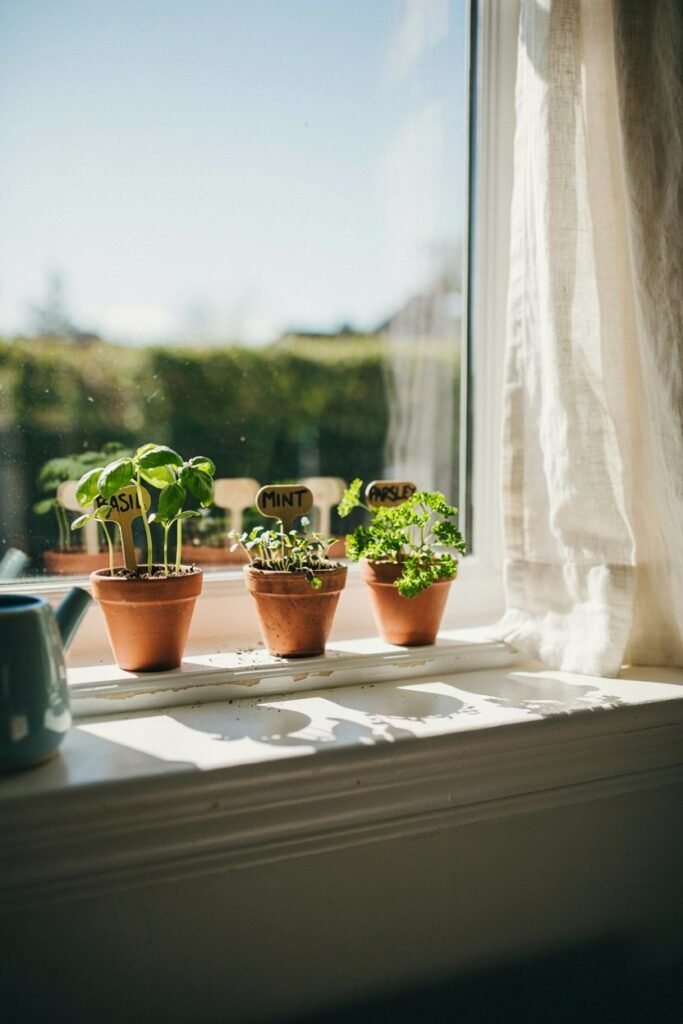
I put together herb kits for a few friends who kept saying they wanted to cook more, and it actually worked.
What you will need
Small clay pots: houses each herb individually while looking charming on a windowsill.
Potting mix: supplies nutrients that help herb seeds sprout and grow steadily.
Herb seeds: grows into fresh basil, mint, or parsley for home cooking.
Wooden plant markers: labels each pot so the herbs stay easy to identify.
Steps
- Fill each clay pot about three quarters full with potting mix.
- Sprinkle a few seeds of your chosen herb across the soil’s surface.
- Cover the seeds lightly with a thin layer of additional soil.
- Water gently until the soil feels moist but not fully soaked.
- Label each pot with a wooden marker before wrapping it as a gift.
11. Sugar Scrub
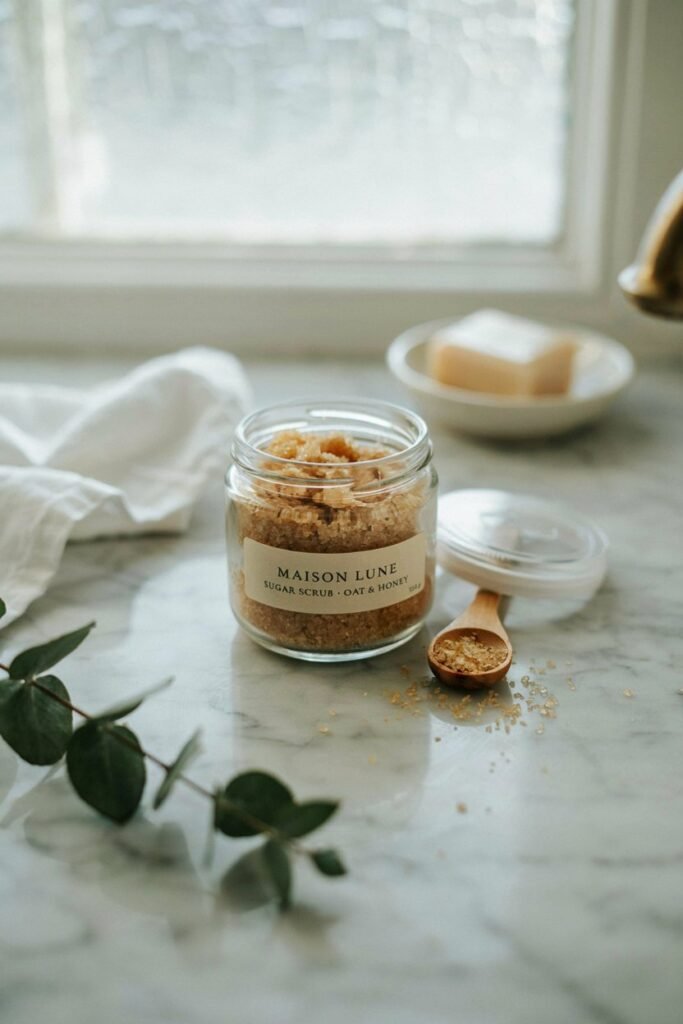
This was the gift that got passed around my whole office after one coworker could not stop talking about it.
What you will need
Granulated sugar: exfoliates dead skin gently while feeling pleasant during use.
Coconut oil: moisturizes and softens skin as the sugar scrubs away buildup.
Vanilla extract: adds a warm, comforting scent that lingers after rinsing off.
Small glass jar: stores the scrub neatly and looks polished once labeled.
Steps
- Melt the coconut oil gently until it turns fully liquid.
- Stir the sugar into the melted oil until evenly coated throughout.
- Add a few drops of vanilla extract and mix thoroughly again.
- Spoon the mixture carefully into your prepared glass jar without spilling.
- Seal the jar tightly and store it somewhere cool until gifting.
12. Wooden Photo Frame
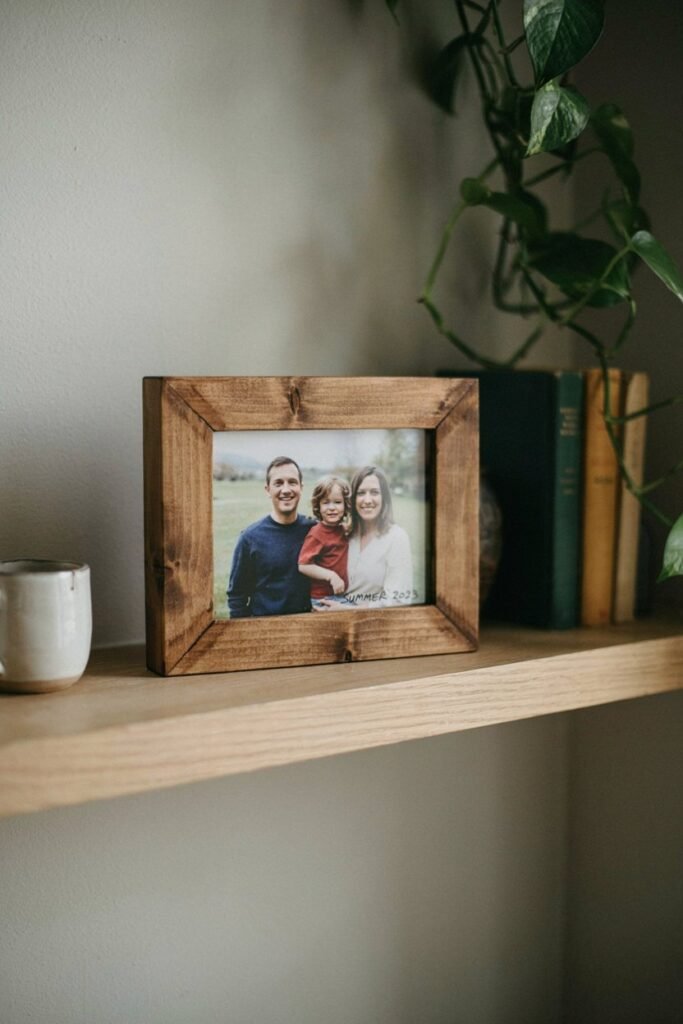
I built my first frame using scrap wood from a broken shelf, and it turned into a surprisingly sentimental gift.
What you will need
Thin wood planks: forms the sturdy frame structure that holds the photo.
Wood glue: bonds the frame pieces together securely without needing nails.
Sandpaper: smooths rough edges so the frame feels finished and safe to handle.
Wood stain: enhances the natural grain while giving the frame a polished look.
Steps
- Cut the wood planks into four pieces matching your desired frame size.
- Glue the corners together and hold them firmly until fully set.
- Sand every edge and surface until the wood feels completely smooth.
- Apply wood stain evenly using a cloth or brush across the frame.
- Let the stain dry fully before inserting the photo and backing.
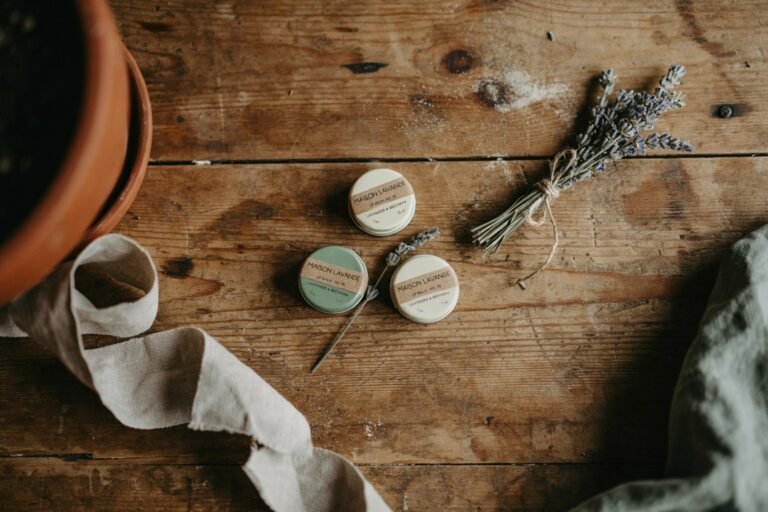
13. Infused Honey
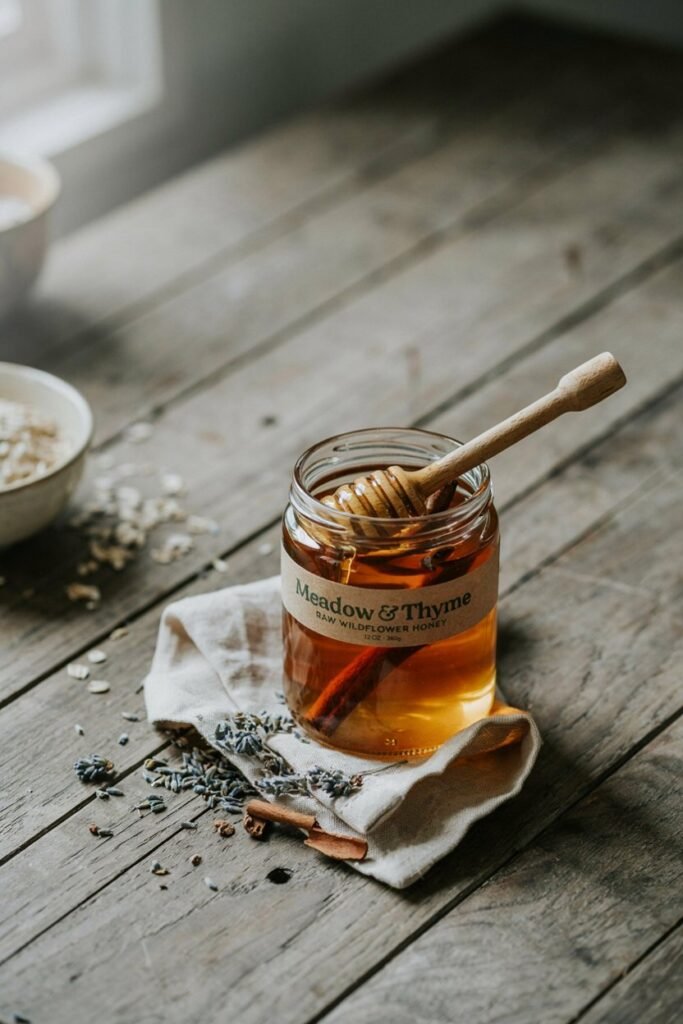
I started infusing honey after a trip where I tried lavender honey for the first time and could not stop thinking about it.
What you will need
Raw honey: serves as the sweet base that absorbs added flavors well.
Dried lavender or cinnamon sticks: infuses a warm, fragrant flavor into the honey.
Small glass jar: stores the honey while showing off its infused ingredients.
Steps
- Gently warm the honey in a saucepan over very low heat.
- Add your chosen dried herbs or spices directly into the honey.
- Let the mixture steep for several hours away from direct heat.
- Strain out the solids if you prefer a smoother finished honey.
- Pour the infused honey into a jar and seal it tightly.
14. Macrame Plant Hanger
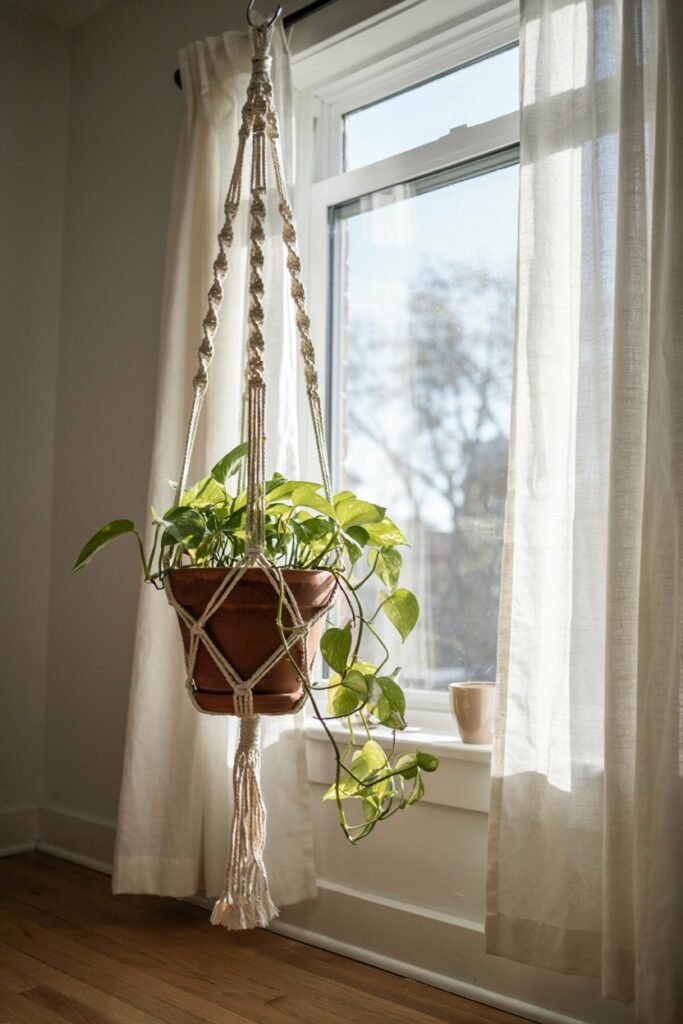
I picked up macrame during a slow winter and now I cannot walk past a plant without imagining it hanging somewhere.
What you will need
Cotton cord: knots easily and holds its shape once the pattern is set.
Wooden ring: anchors all the cord strands together at the very top.
Scissors: trims excess cord length once the knotting pattern is complete.
Steps
- Fold your cotton cords in half and loop them through the wooden ring.
- Divide the cords into sections and begin your first row of knots.
- Continue knotting downward, spacing each row evenly along the cord’s length.
- Gather the ends together and tie a final knot to hold everything.
- Trim the excess cord evenly to create a clean, tassel like finish.
15. Personalized Recipe Book
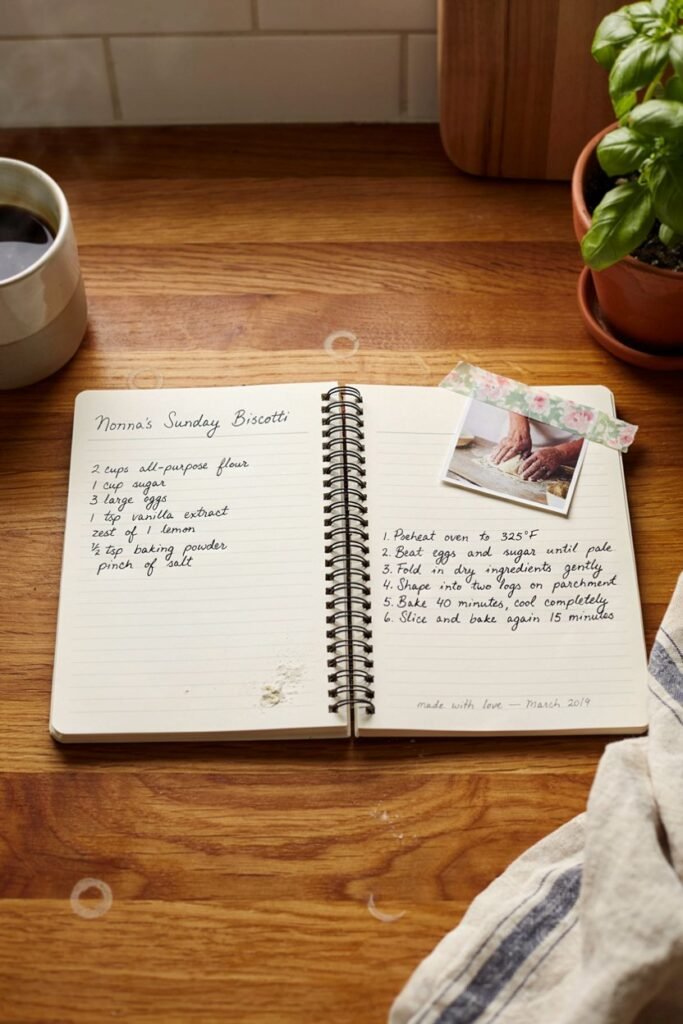
I made one of these for my mom using recipes passed down from her own mother, and it became the most emotional gift I have ever given.
What you will need
Blank notebook: holds all the handwritten recipes in one organized place.
Printed photos: adds personal memories alongside the recipes throughout the book.
Decorative tape or stickers: personalizes each page with color and character.
Pen: writes out each recipe clearly so it stays easy to follow.
Steps
- Gather all the recipes you want to include before you start writing.
- Write each recipe out clearly, leaving space for notes or photos.
- Add printed photos or decorative tape around the edges of each page.
- Organize the recipes into sections like breakfast, dinner, or dessert.
- Add a personal note on the first page before wrapping it up.
Tips for Choosing the Right Gift From This List

With fifteen options to choose from, it helps to think about who you are making the gift for before picking a project.
For anyone who loves self care and relaxation, whipped body butter, bath salts, and sugar scrub are wonderful choices.
For the person who loves their home and garden, painted plant pots and mini succulent gardens make thoughtful, lasting gifts.
If you are short on time but still want something meaningful, a photo memory jar or hand lettered art print can be finished in under an hour while still feeling deeply personal.
Consider the recipient’s taste and lifestyle rather than simply picking whatever seems easiest.
A gift that reflects genuine thought about the person receiving it will always feel more meaningful than something generic, even if it took less time to make.
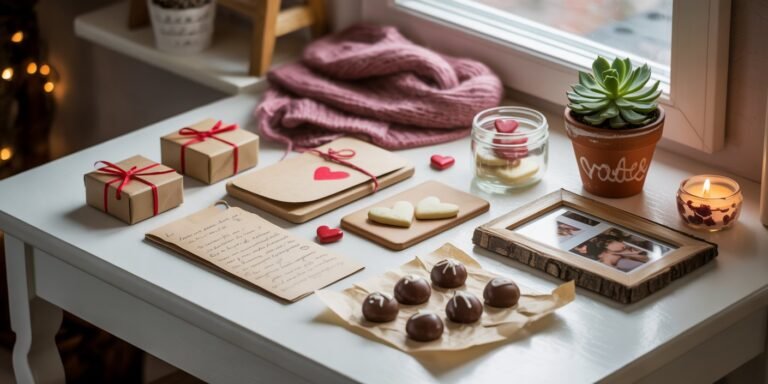
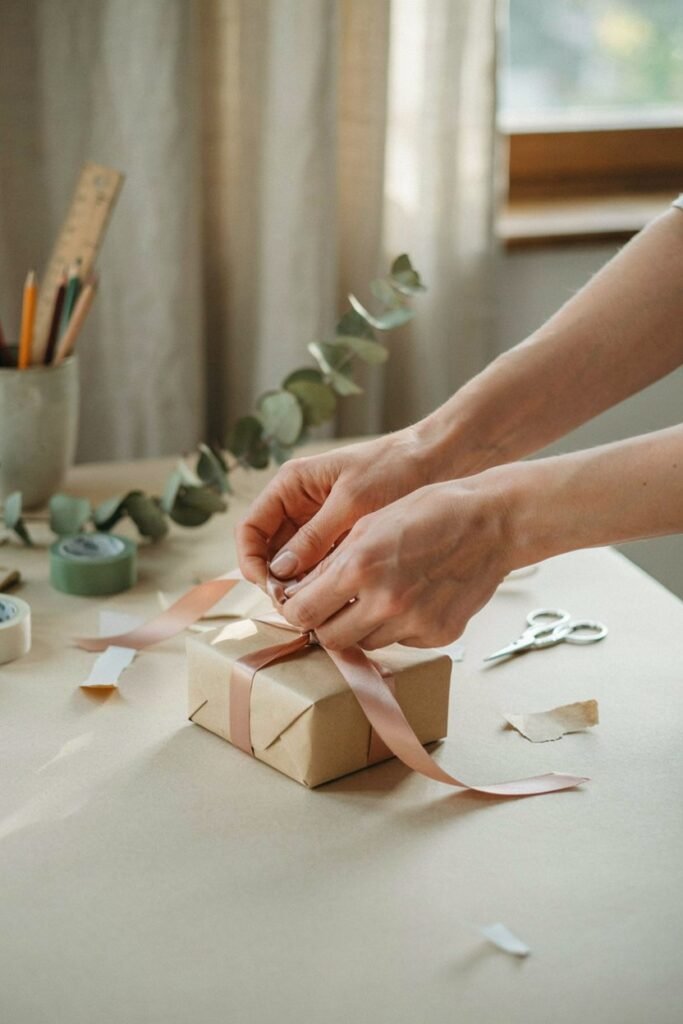
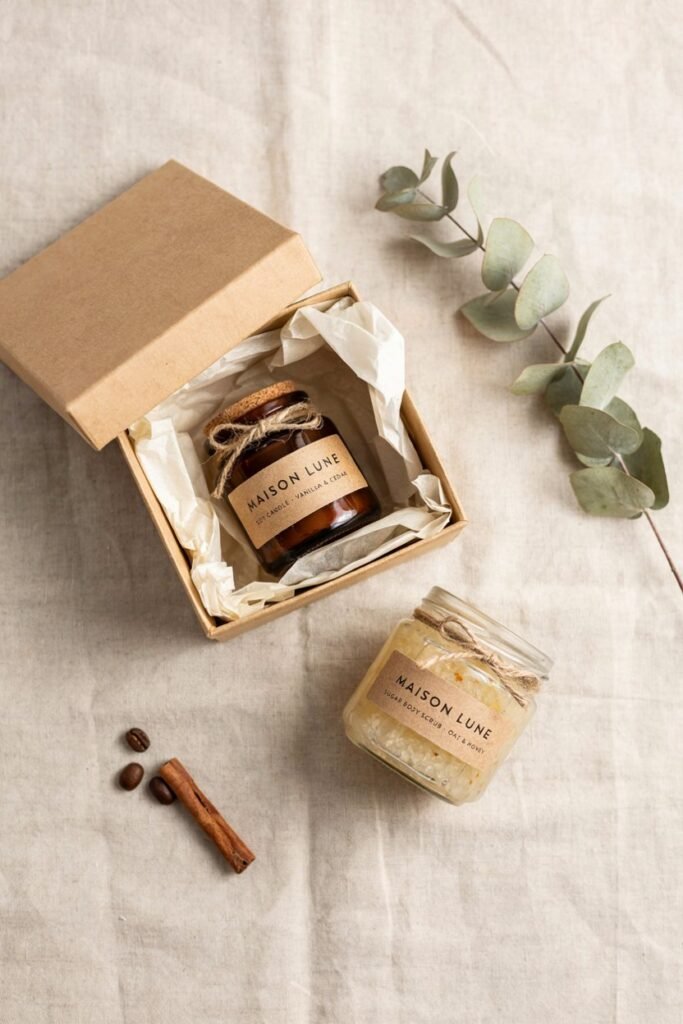
Packaging Ideas to Elevate Any Homemade Gift
No matter which project you choose from this list, presentation plays a huge role in how the final gift feels.
Simple kraft paper boxes lined with tissue paper instantly elevate small items like candles, jars, or coasters.
Clear cellophane bags tied with ribbon work beautifully for spa themed gifts like sugar scrub or bath salts.
A handwritten tag or small card explaining what the gift is and how to use it adds a thoughtful, personal touch that store bought packaging simply cannot replicate.
If you are giving multiple items together, consider grouping them into a small themed gift basket, such as a self care basket combining body butter, bath salts, and a candle, or a kitchen lover’s basket combining spice blends, infused olive oil, and a recipe book.
Grouping items by theme makes the overall gift feel curated and intentional rather than random.
Budgeting Your DIY Gifts
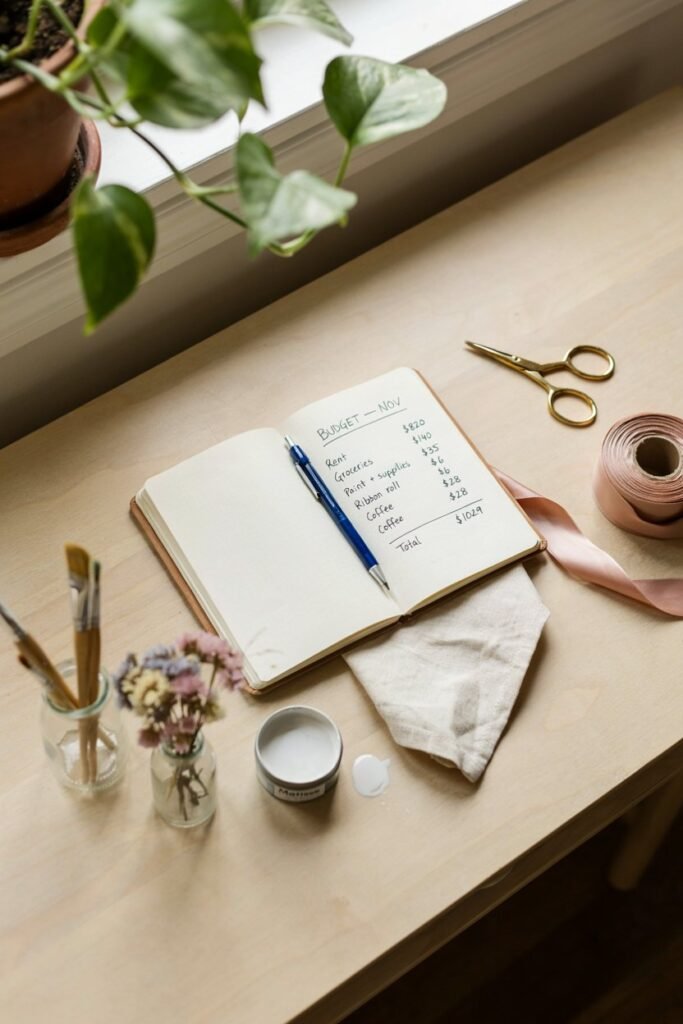
One of the best parts about homemade gifts is how affordable they can be, especially when made in small batches.
Most of the projects on this list cost under ten dollars in materials, and many ingredients like essential oils, beeswax, or acrylic paint can be reused across multiple projects, which lowers your cost per gift even further the more you make.
Buying supplies in slightly larger quantities upfront, especially for things like mason jars, ribbon, or fabric, often saves money in the long run if you plan on making gifts regularly throughout the year.
Planning Your Weekend Crafting Session
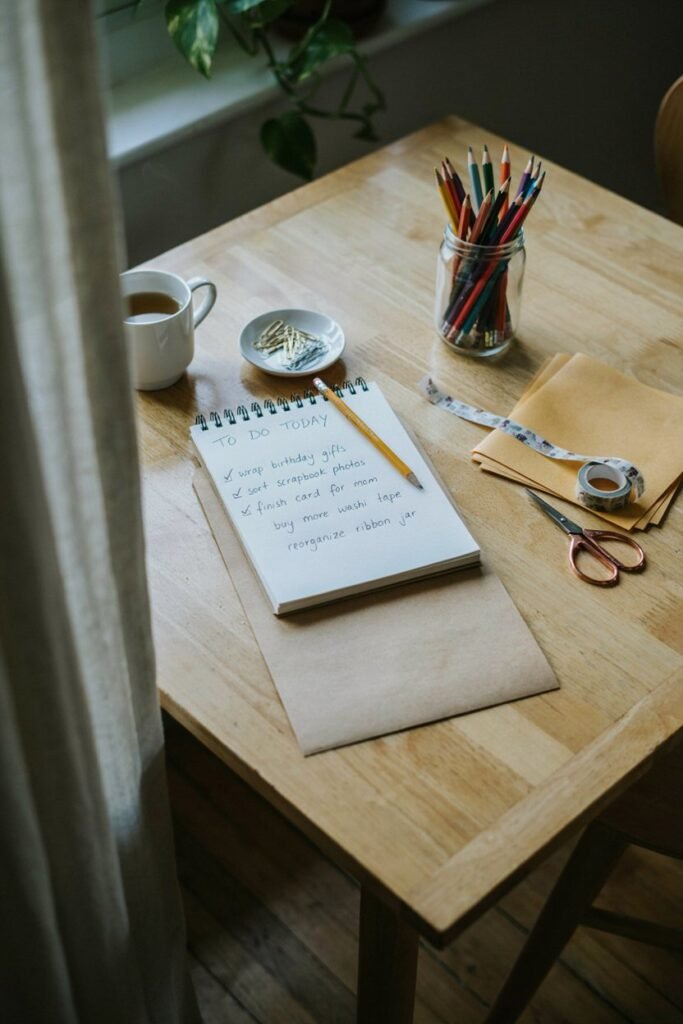
To make the most of your time, it helps to plan your weekend crafting session in advance rather than starting without a clear plan.
Choose two or three projects from this list rather than trying to tackle all fifteen at once, since spreading yourself too thin often leads to rushed, lower quality results.
Gather all of your materials the night before so you are not making unnecessary trips to the store once you begin.
Set aside a few uninterrupted hours on a Saturday or Sunday morning, since many of these projects benefit from quiet, focused attention rather than being squeezed between other tasks.
Frequently Asked Questions
Do I need special crafting skills to make these gifts?
No. Every project on this list was chosen specifically because it requires no advanced skills, just basic tools, simple ingredients, and a little patience.
How much money should I expect to spend on these gifts?
Most projects cost under ten dollars in materials, and many supplies like essential oils, ribbon, or acrylic paint can be reused across several different gifts, which lowers the cost even further over time.
Can I make these gifts if I only have a few hours available?
Yes. Projects like the photo memory jar, hand lettered art print, and spice blend jars can be finished in under an hour, while others like candles or beeswax wraps may take a bit longer due to cooling or drying time.
Where can I buy the supplies for these projects?
Most materials, including shea butter, soy wax, essential oils, and mason jars, can be found at craft stores, health food stores, or online retailers, often at a lower price when bought in bulk.
How long do homemade gifts like body butter or bath salts stay fresh?
Most natural, oil based gifts stay fresh for several months when stored in a cool, dry place away from direct sunlight.
Adding a small amount of vitamin E oil can help extend shelf life even further.
Can I make multiple gifts from this list at the same time?
Yes, and many crafters find it more efficient to batch similar projects together, since supplies like jars, ribbon, and labels are often shared across several different gift ideas.
Are these gifts appropriate for both adults and children to receive?
Most of these ideas work well for a wide range of ages.
Simpler projects like painted plant pots, coasters, and memory jars are especially well suited as gifts for children or teens.
Final Thoughts
Making gifts by hand takes a little more time than clicking add to cart, but the payoff is always worth it.
Every project on this list can realistically be finished in a single weekend, even if you are starting from zero experience.
Pick one that matches the person you are gifting to, gather your supplies, and give yourself permission to enjoy the process instead of rushing through it.
The best part about homemade gifts is that the person receiving it will always remember that you made it just for them.