Working with air dry clay is one of the most relaxing and rewarding hobbies you can pick up, and you don’t need a kiln, a pottery wheel, or years of art school to get beautiful results.
All you need is a little patience, a few basic tools, and a willingness to get your hands a bit messy.
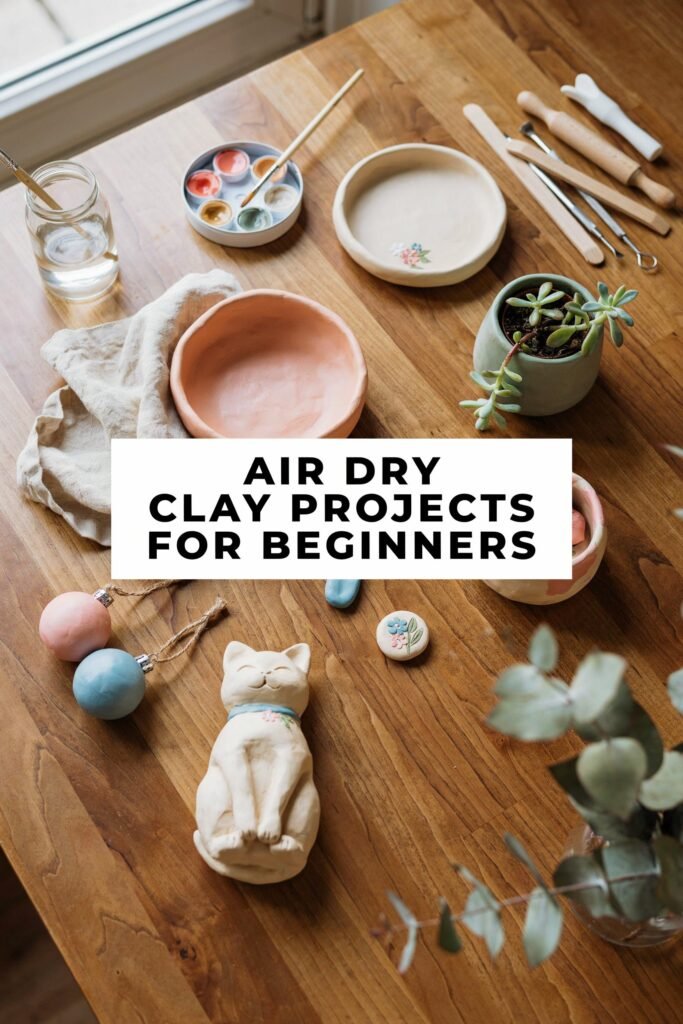
This guide walks you through everything you need to know, from choosing the right clay to shaping your first project and giving it a finish that looks professional.
Whether you’re making this for yourself, for gifts, or even to sell in a small shop, this post will give you the confidence to start today.
Why Air Dry Clay Is Perfect for Beginners
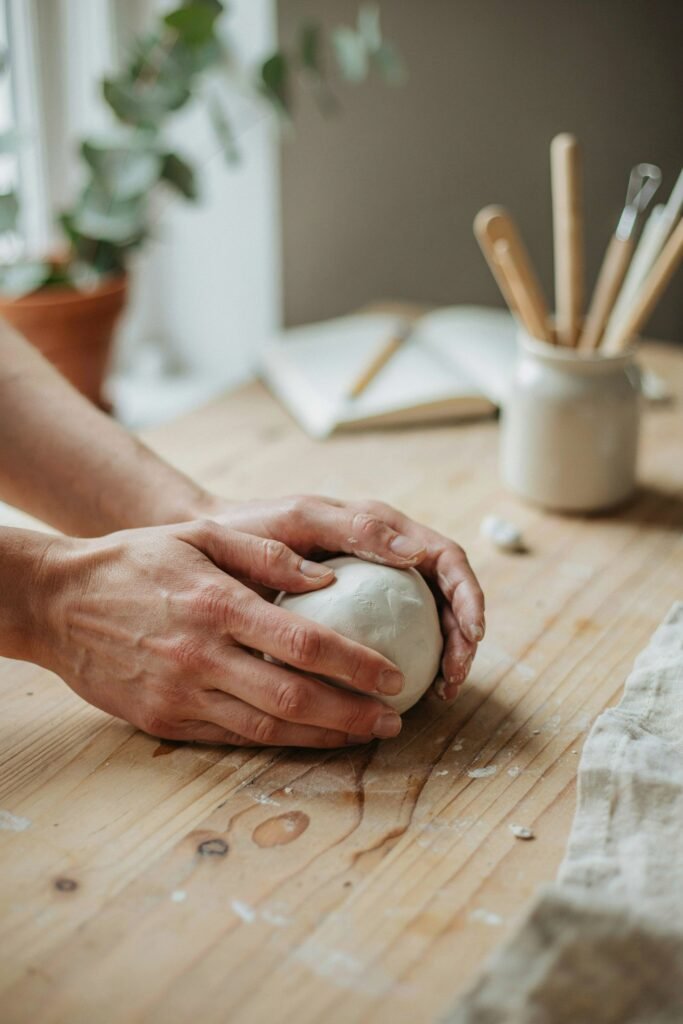
Air dry clay is loved by beginners for one simple reason: it forgives mistakes.
Unlike polymer clay that needs baking or ceramic clay that needs a kiln, air dry clay simply hardens at room temperature over a day or two.
This means you can experiment freely, reshape your work if you’re not happy with it, and learn at your own pace without worrying about expensive equipment.
It’s also incredibly affordable, widely available in craft stores, and safe enough for most age groups to enjoy, making it a great activity for a quiet weekend or a fun project with the kids.
What You’ll Need: Ingredients and Materials Explained
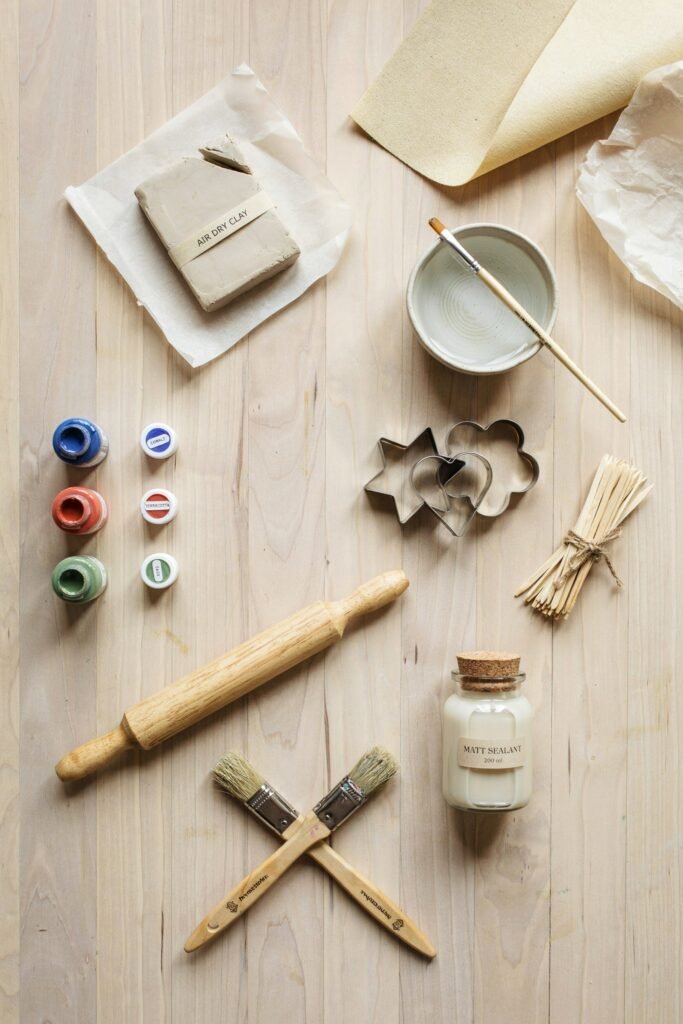
Before you start molding, it helps to understand exactly what each material brings to your project. Here’s a simple breakdown of the essentials.
Air dry clay This is your main material that hardens naturally without heat and holds any shape you give it.
Water Used to keep your hands and clay moist so cracks don’t form while you’re working.
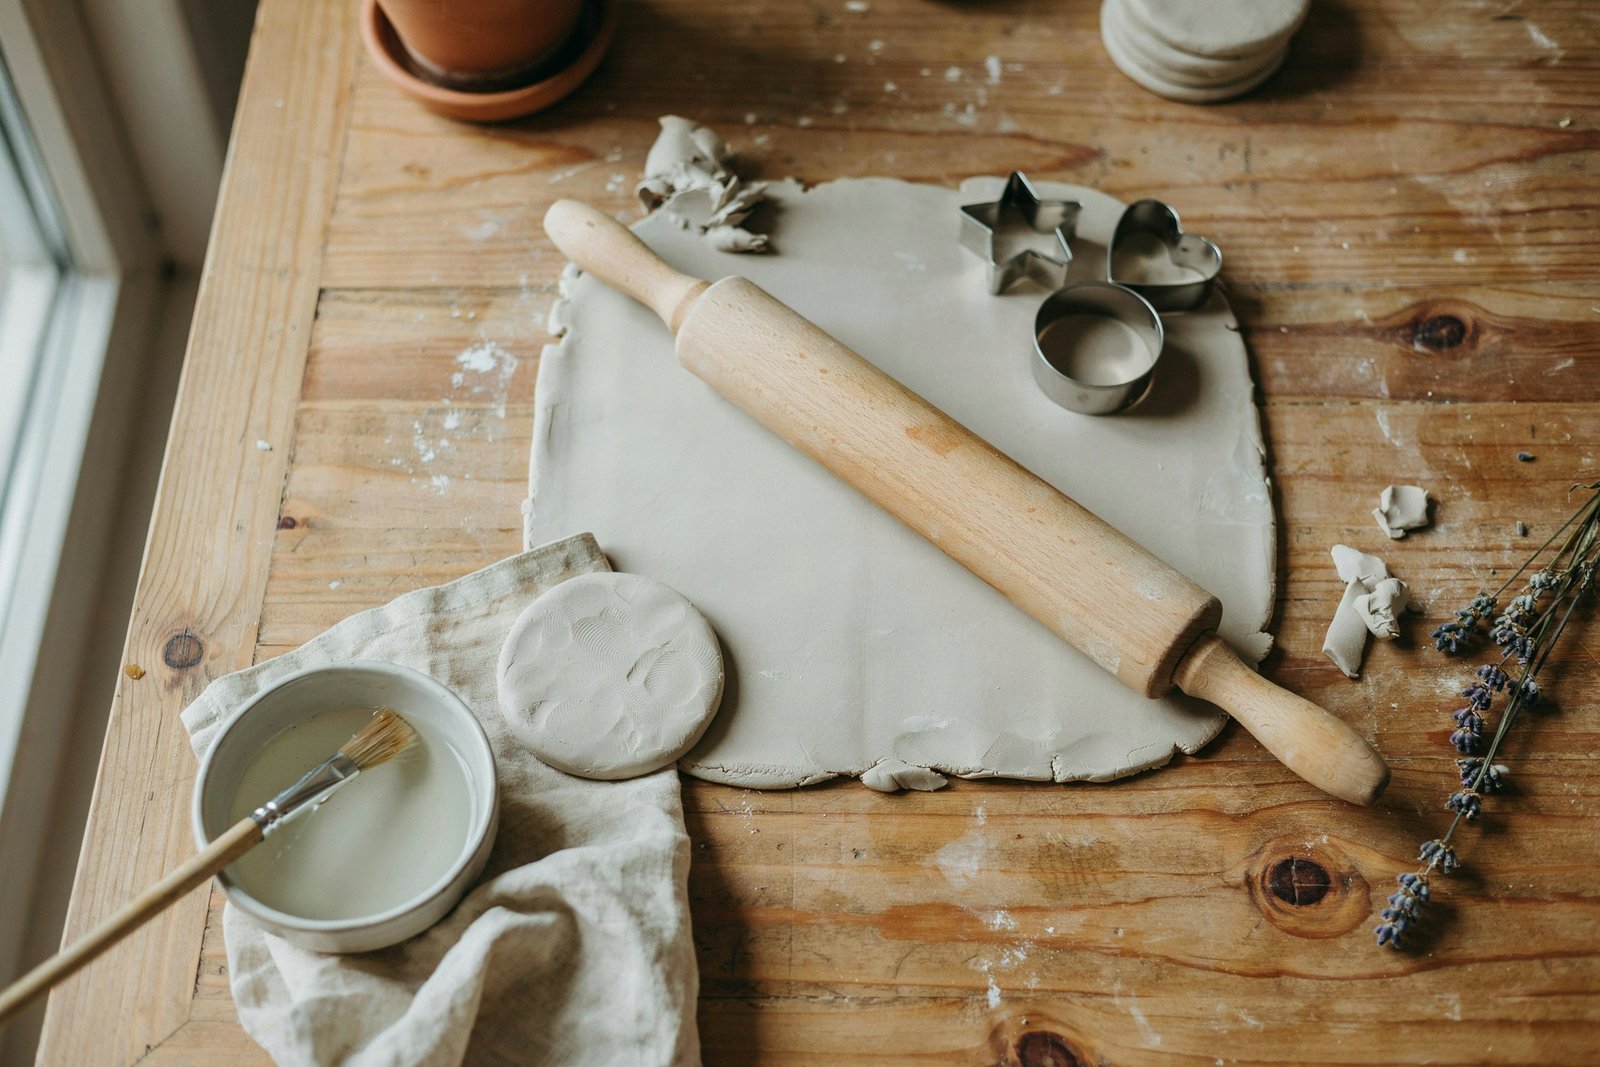
Rolling pin Helps flatten clay evenly for coasters, tiles, or flat cutout shaped pieces.
Cookie cutters or shape molds Great tools for creating clean, consistent shapes without needing sculpting skills.
Toothpicks or clay tools Perfect for adding fine details, textures, holes, or carving small designs.
Sandpaper Used after drying to smooth rough edges and give your piece a polished look.
Acrylic paint Adds color and personality to your finished piece once it’s completely dry.
Paintbrushes Helps you apply paint neatly, especially for small details and edges.
Sealant or varnish Protects your painted design and gives the surface a nice glossy or matte finish.
Parchment paper Prevents clay from sticking to your work surface while you shape it.
A small bowl of water Keeps your fingertips damp so you can smooth seams and blend clay easily.
Plastic wrap Used to store unused clay so it doesn’t dry out before you’re ready to use it.
Getting Your Workspace Ready
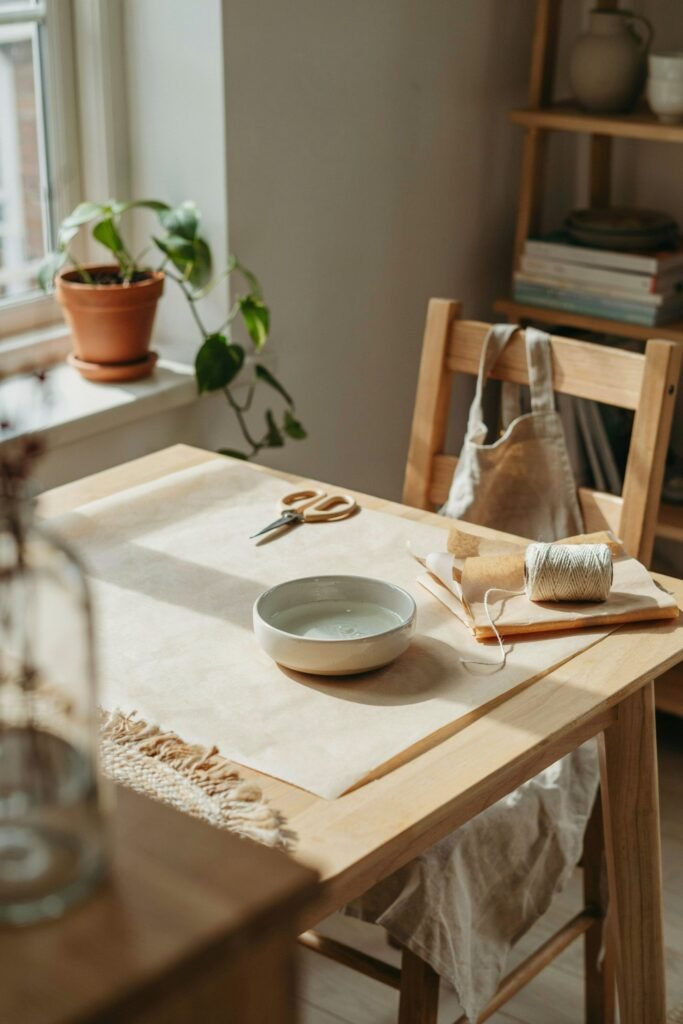
Before diving into your first project, set up a clean, flat surface covered with parchment paper.
Keep a small bowl of water nearby, along with a damp cloth to wipe your hands.
Air dry clay can stain fabric and some surfaces, so it’s a good idea to wear an apron or old clothes and avoid working directly on wooden furniture without protection.
Good lighting also makes a big difference, especially when you’re adding fine details later in the process.
A well organized space will save you time and keep your project looking clean from start to finish.
Beginner Friendly Project Ideas
Now that your materials and workspace are ready, let’s go through some simple projects that are perfect for someone just starting out.
Each one uses the same basic techniques, so once you master the first project, the rest will feel much easier.
Project 1: Simple Clay Coasters
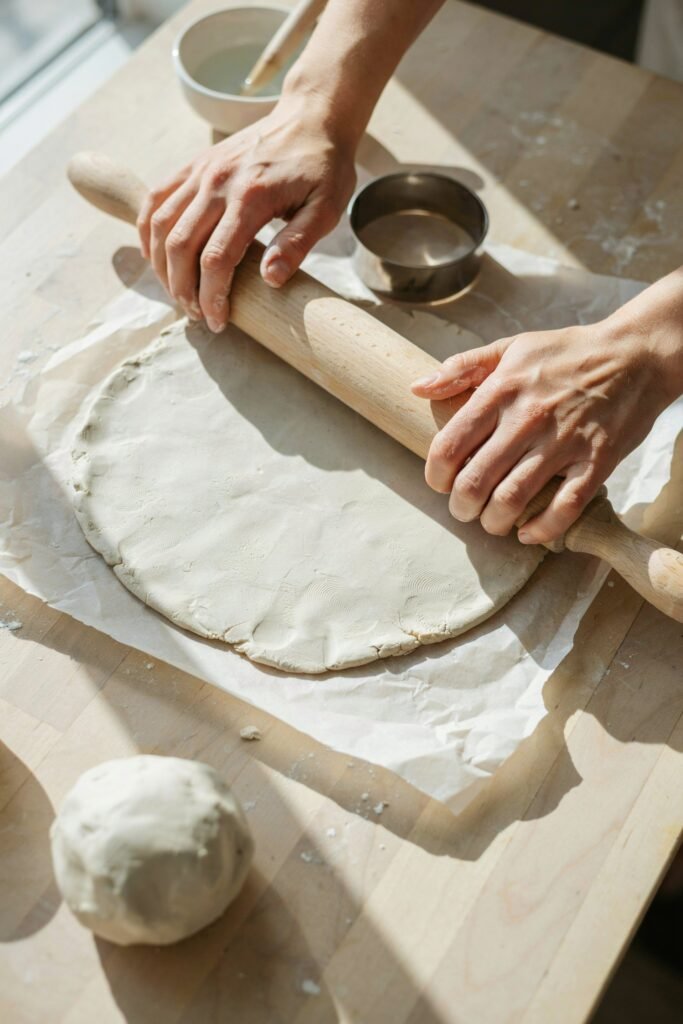
Coasters are one of the easiest projects to start with because they only require flattening and cutting, no complicated shaping involved.
Step 1: Knead your clay. Take a ball of clay slightly bigger than your palm and knead it gently for about two minutes.
This removes air bubbles and makes the clay soft and easy to work with.
If it feels dry or starts cracking at the edges, dip your fingers in water and continue kneading until it becomes smooth again.
Step 2: Roll it out evenly. Place your clay between two sheets of parchment paper and use your rolling pin to flatten it to about half a centimeter thick.
Try to keep the thickness even all around, because uneven areas can crack or warp as they dry.
Rolling slowly in different directions helps you avoid thin or thick patches.
Step 3: Cut your shape. Use a round cookie cutter or a cup to cut out a circle, or go freehand with a butter knife for a more organic shape.
Gently peel away the extra clay around your cutout, keeping your coaster shape intact on the parchment paper.
Step 4: Smooth the edges. Dip your finger lightly in water and run it around the edge of your coaster to soften any rough lines left from cutting.
This small step makes a huge difference in how polished your final piece looks once it dries.
Step 5: Add texture if you like. Before the clay firms up, you can press a leaf, lace, or textured fabric onto the surface to create a beautiful pattern.
This step is optional, but it adds a lovely handmade touch that makes each coaster unique.
Step 6: Let it dry completely. Leave your coaster on the parchment paper in a well ventilated area for at least 24 to 48 hours, flipping it halfway through so both sides dry evenly.
Avoid placing it near direct sunlight or heat, as fast drying can cause cracks.
Step 7: Sand and paint. Once fully dry, lightly sand any rough spots with fine sandpaper, then paint your design using acrylic paint. Let the paint dry fully before moving to the next step.
Step 8: Seal your coaster. Apply a coat of varnish or sealant to protect the paint and make the surface water resistant, which is especially important since coasters will hold cups and glasses.
Project 2: Cute Trinket Dish
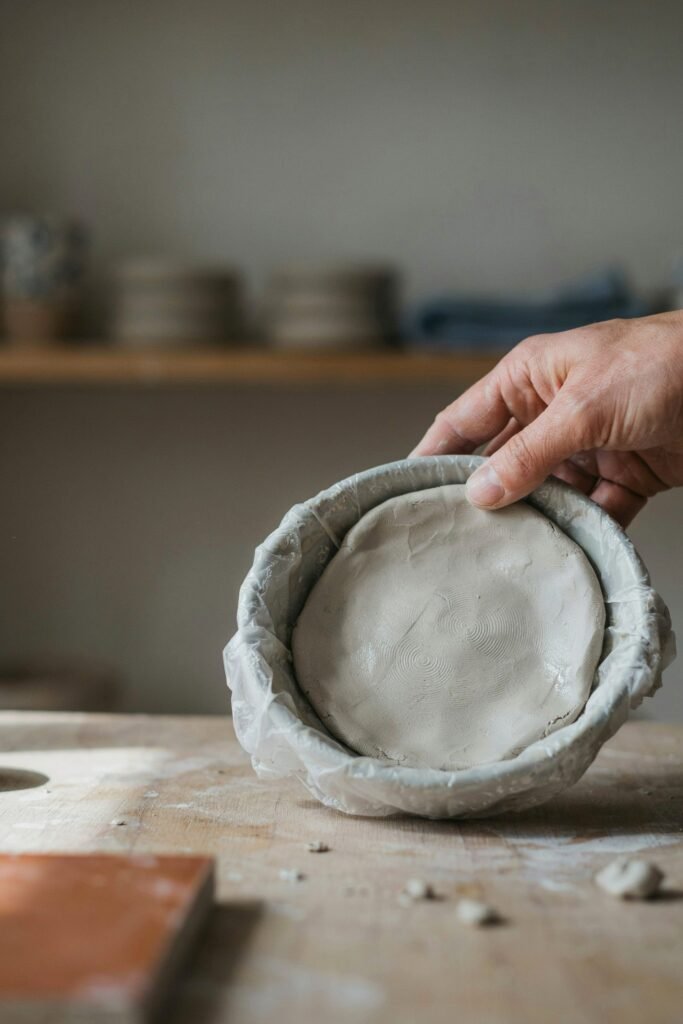
A trinket dish is a small bowl shaped piece perfect for holding rings, earrings, or keys, and it introduces you to gentle shaping techniques.
Step 1: Prepare your clay ball. Knead a fist sized piece of clay until it feels soft and pliable, checking for any cracks and smoothing them out with a touch of water.
Step 2: Flatten into a circle. Roll the clay out to about one centimeter thick, then cut it into a circle using a bowl or cutter as your guide, similar to the coaster method.
Step 3: Shape the sides gently. Place the circle over a small bowl lined with plastic wrap and gently press the edges downward so it takes on a shallow dish shape. Let it rest in the bowl to hold its curve while it begins to firm up.
Step 4: Smooth the rim. Once the shape feels stable, carefully remove it from the bowl and smooth the rim with a damp finger to avoid a sharp or uneven edge.
Step 5: Personalize the design. Use a toothpick to carve small patterns, initials, or dots around the rim while the clay is still slightly soft, giving your dish a personal touch.
Step 6: Dry thoroughly. Set the dish aside for 48 hours, turning it occasionally so air reaches all sides and it dries at an even rate without warping.
Step 7: Paint and finish. Add color with acrylic paint, focusing on the inside or rim depending on your design, then finish with a sealant for a smooth, protected surface.
Project 3: Simple Clay Beads for Jewelry
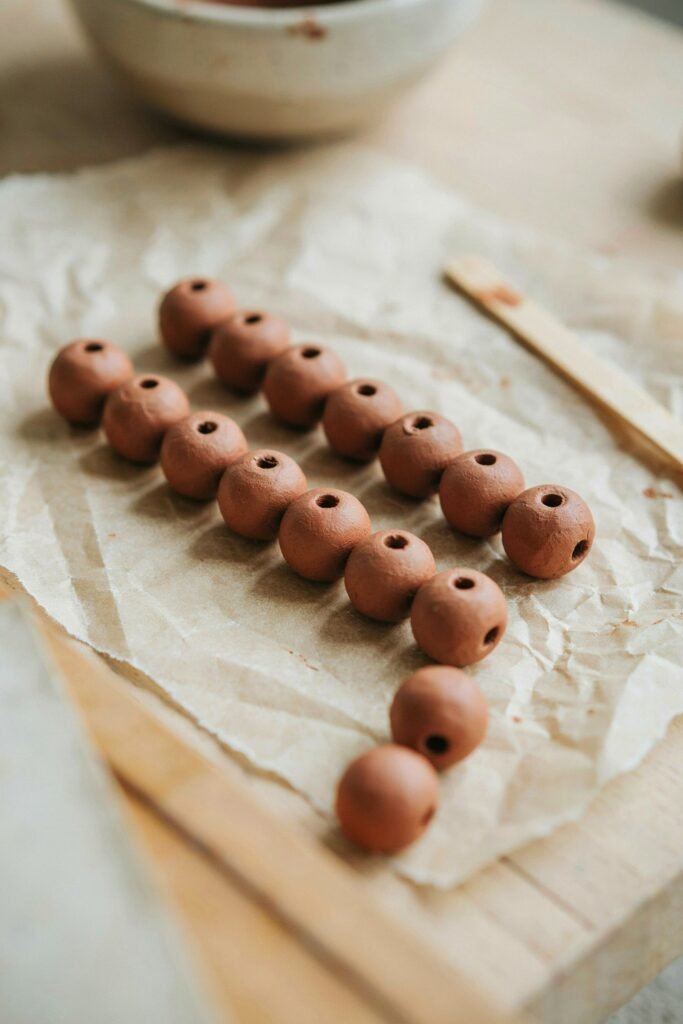
If you enjoy making accessories, clay beads are a fun and low pressure way to practice rolling and shaping consistent forms.
Step 1: Roll small balls of clay. Pinch off small, evenly sized pieces of clay and roll them between your palms until they form smooth round beads.
Step 2: Create the holes. While the clay is still soft, gently push a toothpick through the center of each bead to create a hole for stringing later.
Step 3: Smooth any cracks. Roll the bead again lightly between your fingers to close up any small cracks that formed around the hole.
Step 4: Let them air dry. Place your beads on parchment paper, spaced apart so they don’t stick together, and allow them to dry for at least 24 hours, turning them occasionally.
Step 5: Paint each bead. Once fully dry, paint your beads in your favorite colors or patterns using a fine brush for a clean and neat finish.
Step 6: Seal and string. After the paint dries, coat each bead with a light layer of sealant, then string them onto a cord or wire to create a necklace or bracelet.
Tips to Help You Avoid Common Beginner Mistakes
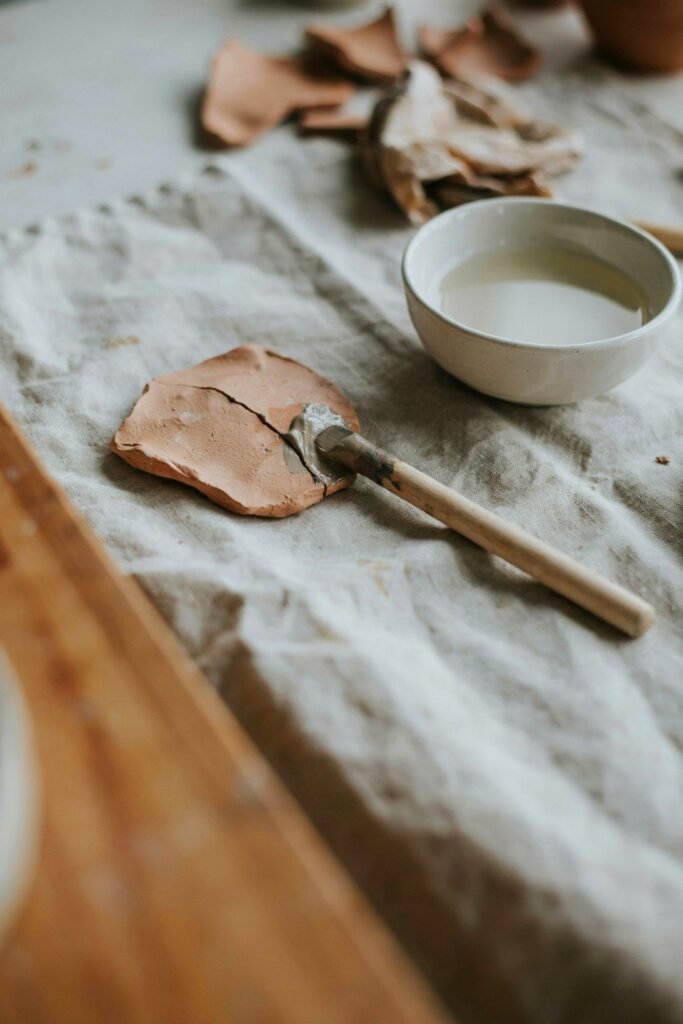
Every beginner runs into a few hiccups, and knowing what to watch for can save you a lot of frustration.
Keep your clay covered in plastic wrap whenever you’re not actively using it, since air dry clay can dry out surprisingly fast, even while sitting on your table.
Avoid making pieces too thick, especially in the center, because thick clay takes much longer to dry and is more likely to crack from the inside out as moisture escapes unevenly.
Work in a room with normal humidity and avoid placing your pieces near vents, fans, or windows with direct sun, since rapid drying is one of the biggest causes of cracking.
If small cracks do appear once your piece is dry, you can usually fix them by applying a small amount of water mixed with a bit of clay to create a paste, then smoothing it into the crack and letting it dry again.
Patience truly is the secret ingredient here. Rushing the drying process or handling your piece too early is the most common reason projects break or lose their shape.
Painting and Sealing for a Professional Finish
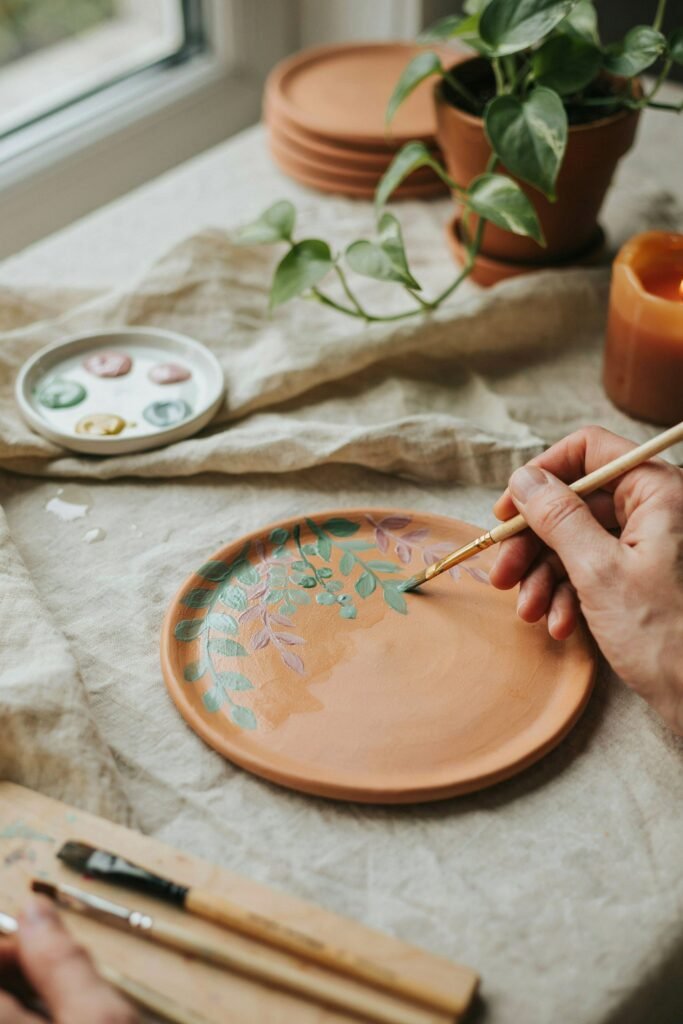
Once your project is fully dry, painting brings it to life.
Acrylic paint works best because it adheres well to the clay’s surface and comes in endless colors and finishes.
Apply thin layers rather than one thick coat, letting each layer dry before adding the next, since this gives you smoother coverage and richer color.
After painting, sealing is not optional if you want your piece to last.
A good sealant protects your design from moisture, dust, and everyday wear, and it also gives your project a beautiful finished look, whether you prefer a glossy shine or a soft matte texture.
Storing Leftover Clay
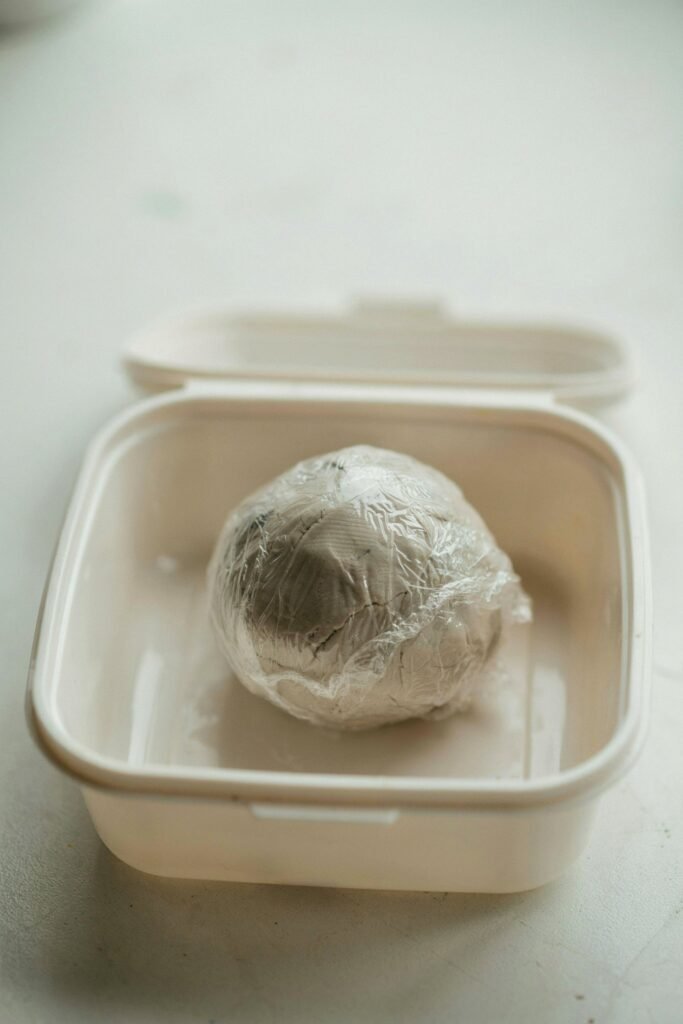
If you have clay left over after finishing your project, don’t throw it away.
Wrap it tightly in plastic wrap, then place it in an airtight container or resealable bag to keep moisture locked in.
Stored properly, air dry clay can last for weeks, ready for your next creative session whenever inspiration strikes again.
Quick Answers to Common Questions
How long does air dry clay actually take to dry? Small, thin pieces like beads or flat coasters usually dry within 24 hours, while thicker pieces such as trinket dishes may need 48 hours or longer.
Always check the thickest part of your project before assuming it’s ready, since the surface can look dry while the inside is still soft.
Can I speed up the drying process? It’s best to let clay dry naturally at room temperature.
Using a hair dryer, oven, or direct sunlight to rush things often causes cracking, warping, or uneven hardening, so patience really does pay off here.
Do I need to seal every project? Sealing isn’t required for decorative pieces that won’t be touched much, but for anything that will be handled often, like coasters or jewelry, a sealant adds durability and protects your paintwork from chipping or fading over time.
What if my clay feels too dry or crumbly? A few drops of water worked into the clay with your hands can bring it back to a workable texture.
Just add water gradually, since too much at once can make the clay sticky and hard to shape.
Is air dry clay safe for kids? Most air dry clay brands are non toxic and safe for children to use under adult supervision, making it a great choice for family craft afternoons, though it’s always worth checking the packaging for age recommendations.
Final Thoughts
Air dry clay is a wonderful gateway into the world of handmade crafts, offering a stress free way to create something beautiful with your own two hands.
The projects shared here, from coasters to trinket dishes and beads, are simple enough for a first attempt yet rewarding enough to keep you coming back for more.
Take your time, embrace the small imperfections, and remember that every crack or uneven edge is simply part of the learning process.
With a bit of practice, you’ll soon be creating pieces you’re genuinely proud to display, gift, or even sell. Grab your clay, clear your table, and start shaping your very first masterpiece today.