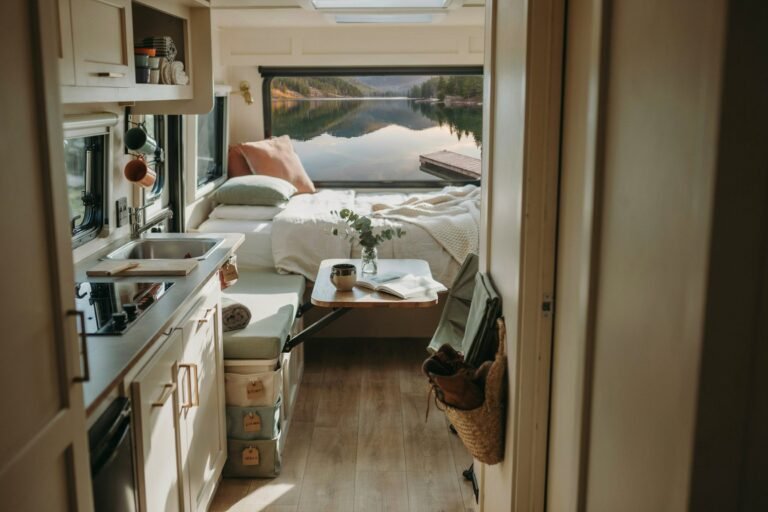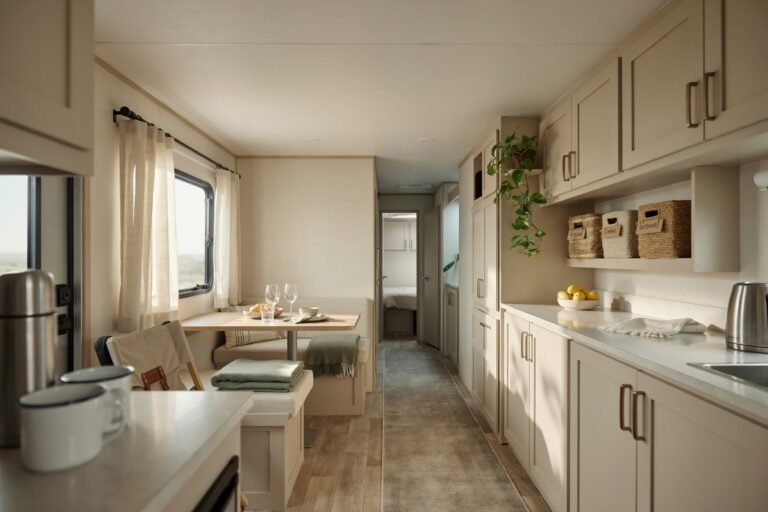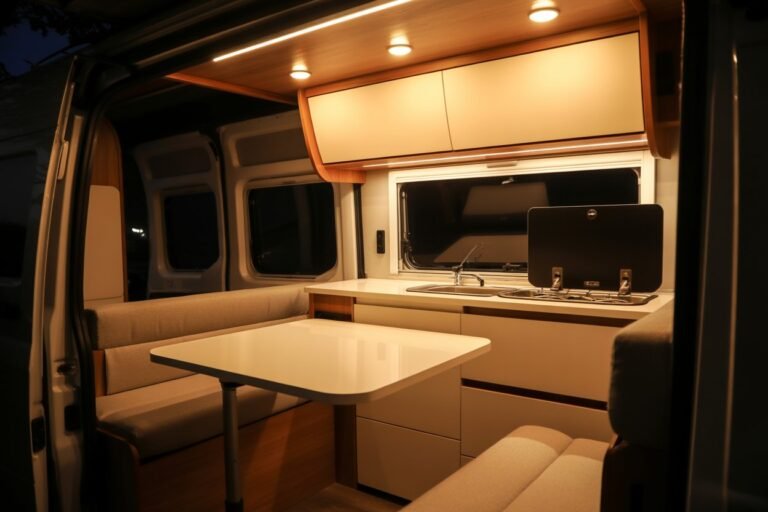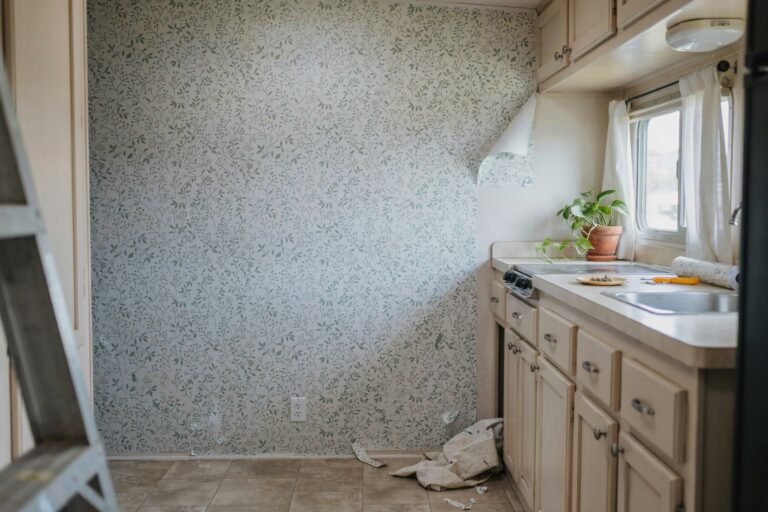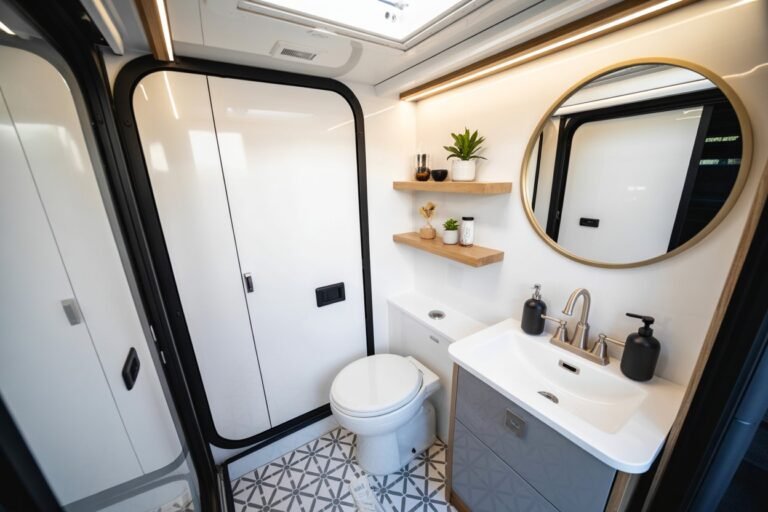
Living or traveling in a tiny camper is one of the most freeing lifestyle choices you can make.
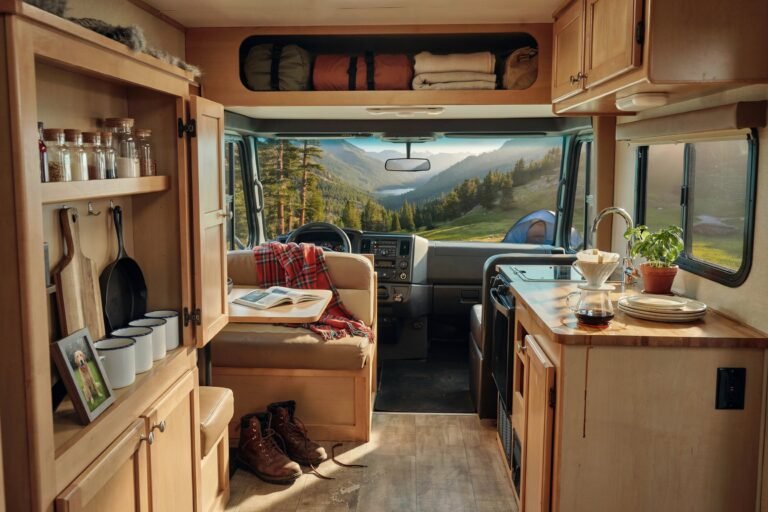
There is something magical about waking up in a new location, brewing your coffee in a compact kitchen, and stepping outside to a view that changes every few days.
But with all that freedom comes one very real challenge: space. Or rather, the lack of it.
When you are working with a few hundred square feet (sometimes less), every inch matters.
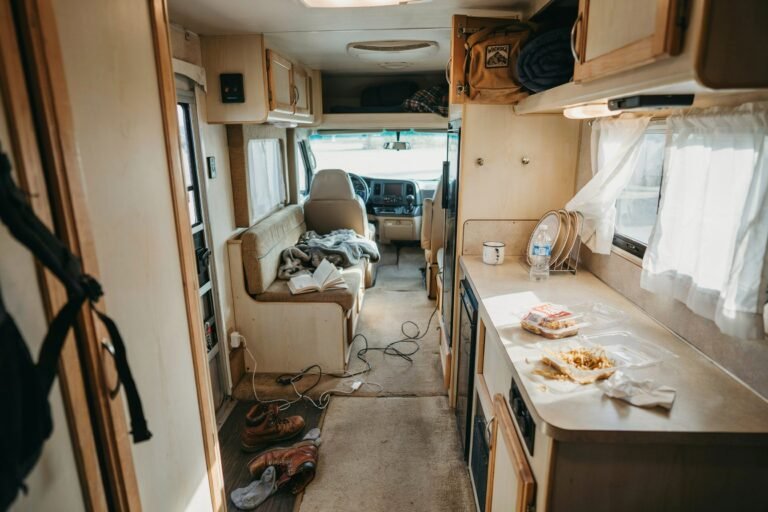
Clutter builds up fast, and before you know it, your cozy little home on wheels starts feeling more like a storage unit than a peaceful retreat.
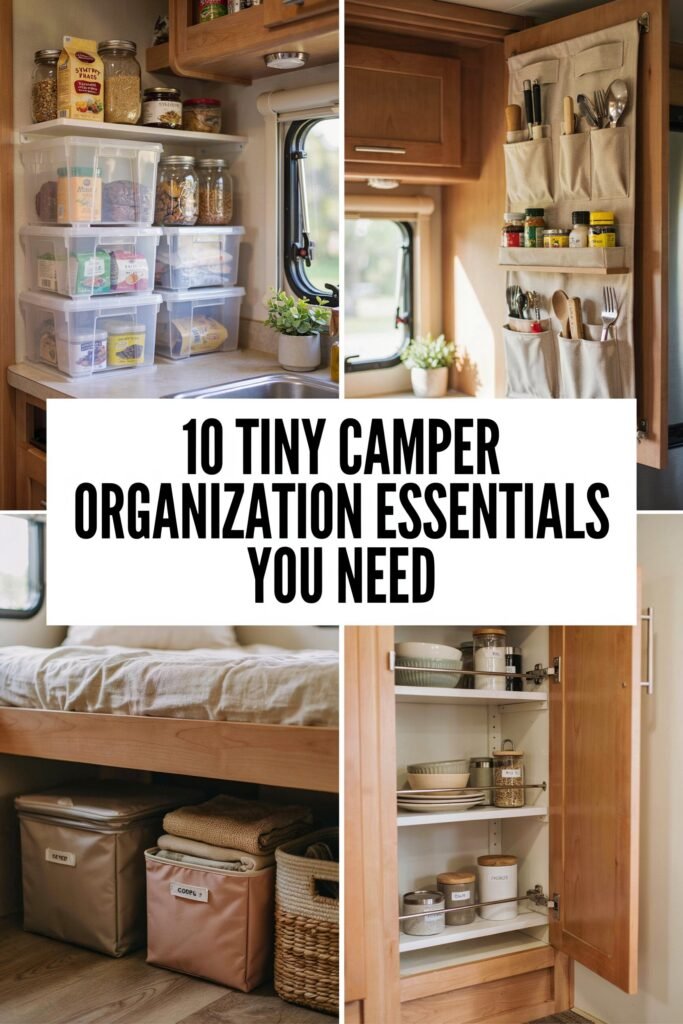
The good news is that with the right organization tools and a little planning, you can make your tiny camper feel spacious, functional, and genuinely enjoyable to live in.
In this guide, we are walking through ten organization essentials that every camper owner should consider. These are not just random gadgets.
They are tried and tested solutions that solve real problems tiny space dwellers face every single day.
Whether you are a full time camper, a weekend warrior, or someone who just bought their first travel trailer, this list will help you get organized and stay that way.
Why Organization Matters So Much in a Tiny Camper
Before we jump into the list, let us talk about why this topic deserves so much attention. In a regular home, a little clutter here and there is not a big deal.
You have closets, extra rooms, and garages to absorb the mess. In a tiny camper, there is no hiding spot.
Every item you own needs a home, and every space needs to serve more than one purpose.
Poor organization in a small space leads to a few common problems. Items get lost or misplaced constantly. Storage bins shift and rattle while driving.
Countertops become cluttered because there is nowhere else to put things. And perhaps most importantly, a disorganized space creates mental clutter too.
Studies on small space living consistently show that a tidy, well organized environment reduces stress and improves overall wellbeing, which matters even more when your living space also doubles as your kitchen, bedroom, and office.
The goal is not to own less (although that helps). The goal is to make sure everything you do own has a purpose and a proper place.
That is exactly what these ten essentials are designed to help you do.
1. Over the Door Organizers
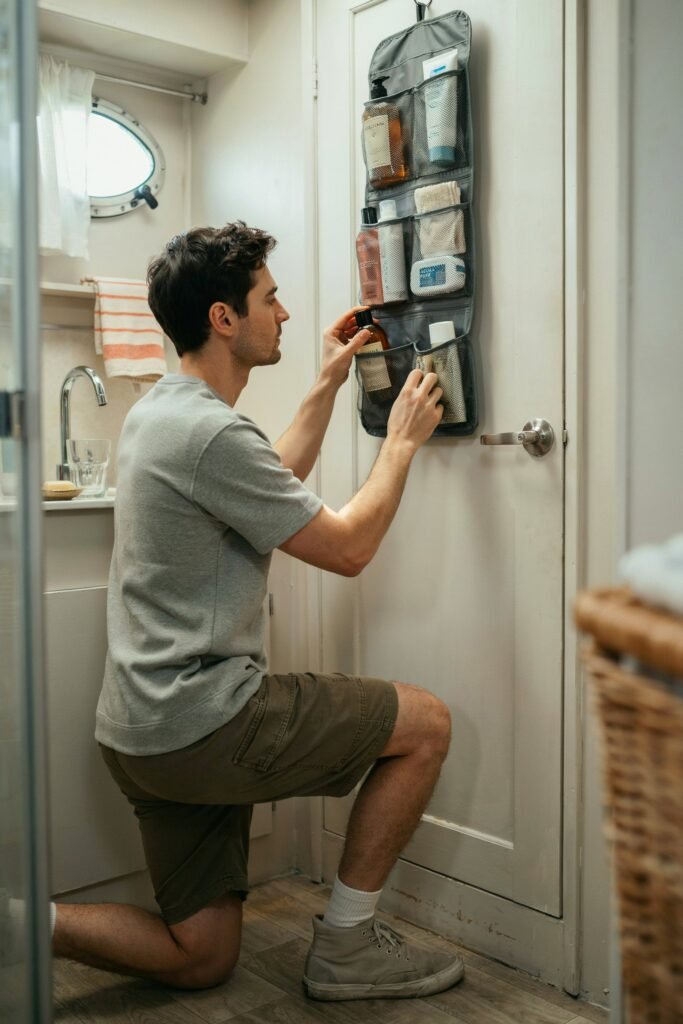
If your camper has any interior doors, whether it is a bathroom door, closet door, or pantry door, you are sitting on unused real estate.
Over the door organizers with clear pockets or small bins are perfect for storing toiletries, cleaning supplies, snacks, or first aid items.
These organizers hang without any tools or installation, which is ideal for renters or anyone who does not want to drill extra holes into their camper walls.
Look for one made from breathable mesh so moisture does not build up inside the pockets, especially important in humid climates.
2. Stackable Bins With Labels
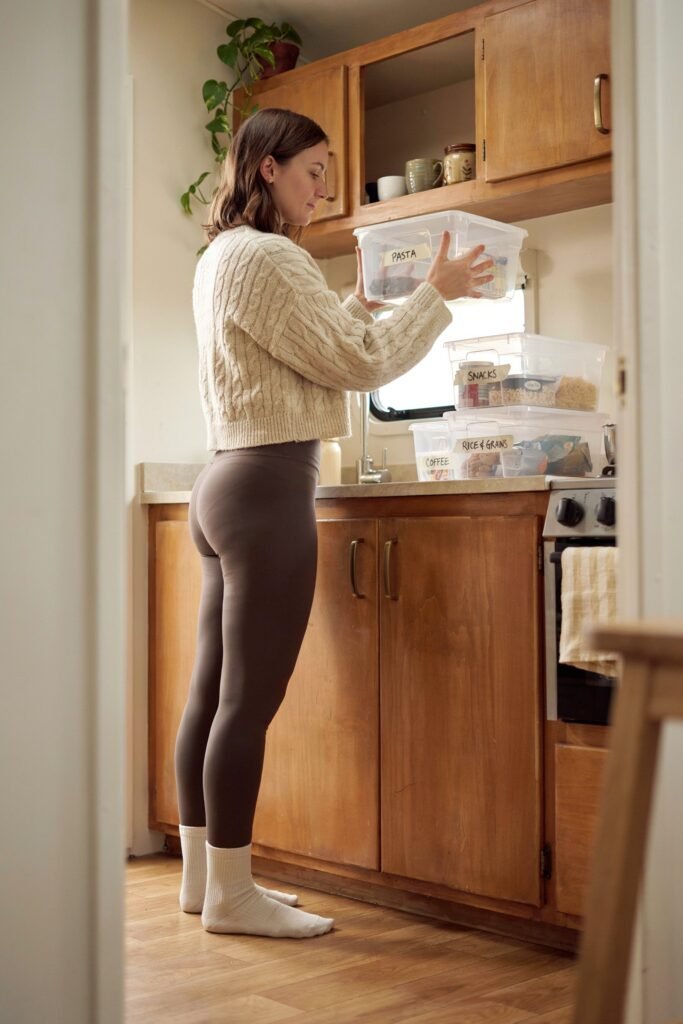
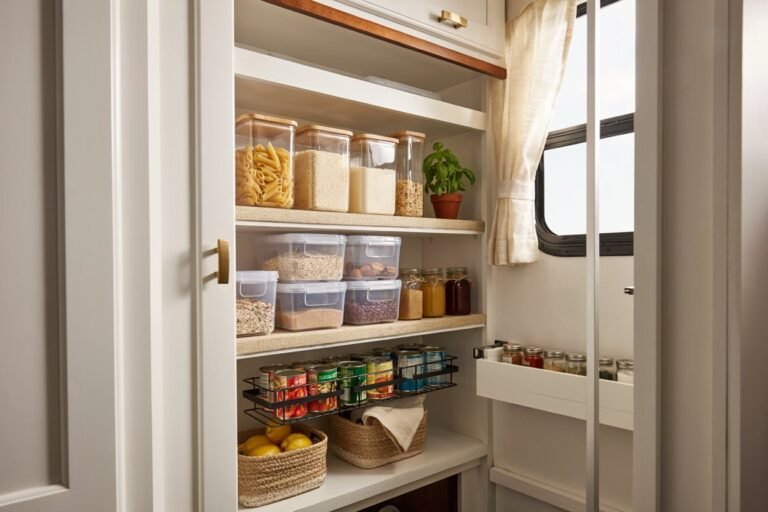
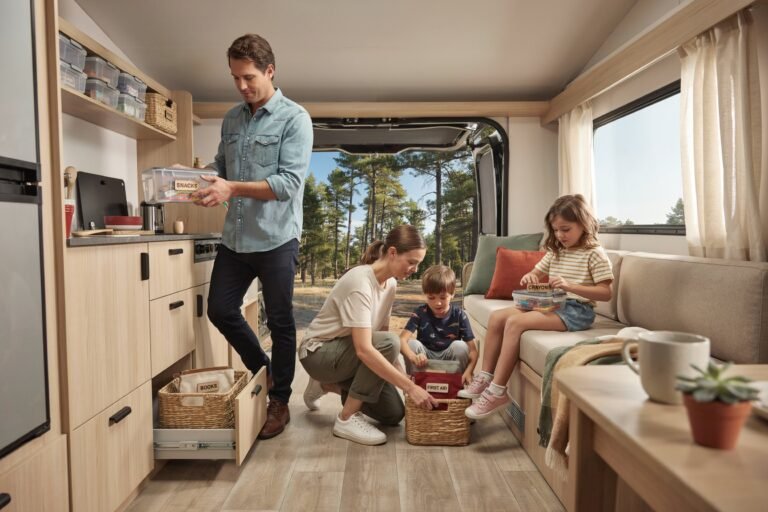
Stackable, clear storage bins are a game changer for camper kitchens, closets, and under bed storage.
Because they are uniform in shape, they stack neatly without wasted space, unlike random cardboard boxes or mismatched containers.
Choose bins with secure lids so nothing spills during travel over bumpy roads.
Adding labels (even simple ones written on painter’s tape) helps you and anyone else staying with you know exactly where things belong.
This alone can cut down on the daily hunt for that one missing item everyone experiences in a tiny space.
3. Tension Rods for Cabinets
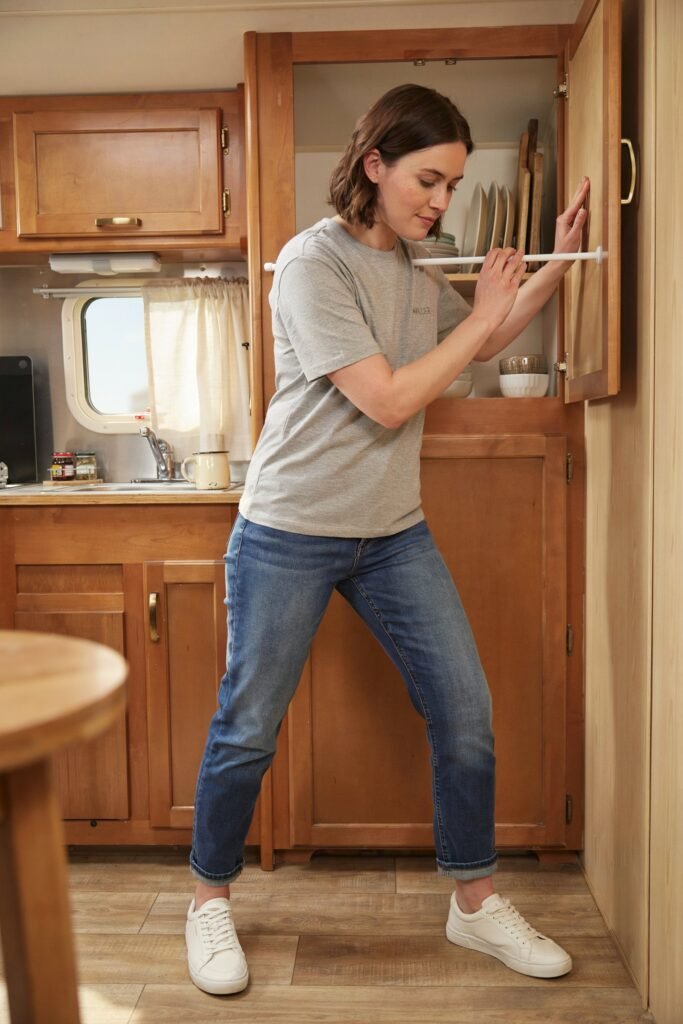
One of the most frustrating parts of camper life is opening a cabinet after a drive and finding everything shifted or fallen over.
Tension rods are an inexpensive fix. Simply install one across the middle or front of a cabinet to keep plates, cutting boards, or baking sheets upright and secure.
They require no permanent installation, cost very little, and can be moved or removed whenever needed.
This is one of those small upgrades that makes a noticeably big difference in daily convenience.
4. Magnetic Strips and Hooks
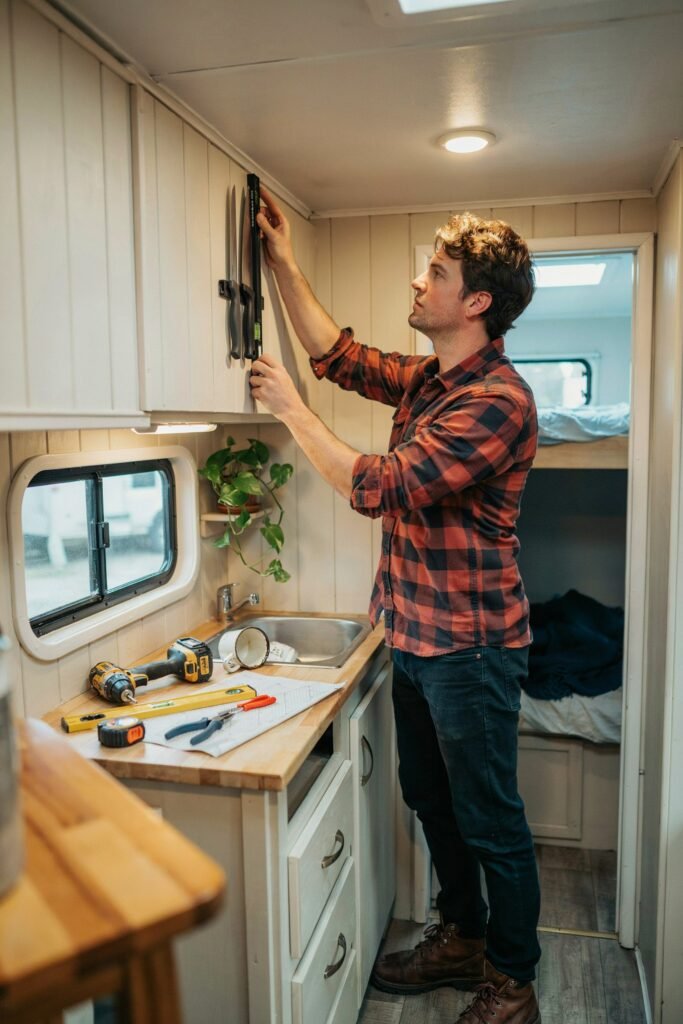
Magnetic strips are incredibly useful in a metal bodied camper.
Mount one inside a cabinet door or on a wall to hold knives, scissors, or metal utensils without taking up drawer space.
Magnetic hooks work the same way and are great for hanging keys, dish towels, or small tools.
This solution keeps frequently used items visible and within reach while freeing up valuable drawer and counter space.
It is also a wonderful option for anyone who prefers not to drill holes into their walls.
5. Collapsible Kitchenware

In a full sized home, having a dedicated mixing bowl, colander, and dish rack is no big deal. In a tiny camper, those same items can eat up an entire cabinet.
Collapsible kitchenware, including bowls, colanders, and even dish racks, solves this problem beautifully.
These items expand when you need them and flatten down to a fraction of their size when you are done.
They are typically made from food safe silicone, making them durable and easy to clean.
If you love cooking while traveling, this is one upgrade you will use constantly.
6. Under the Bed Storage Containers
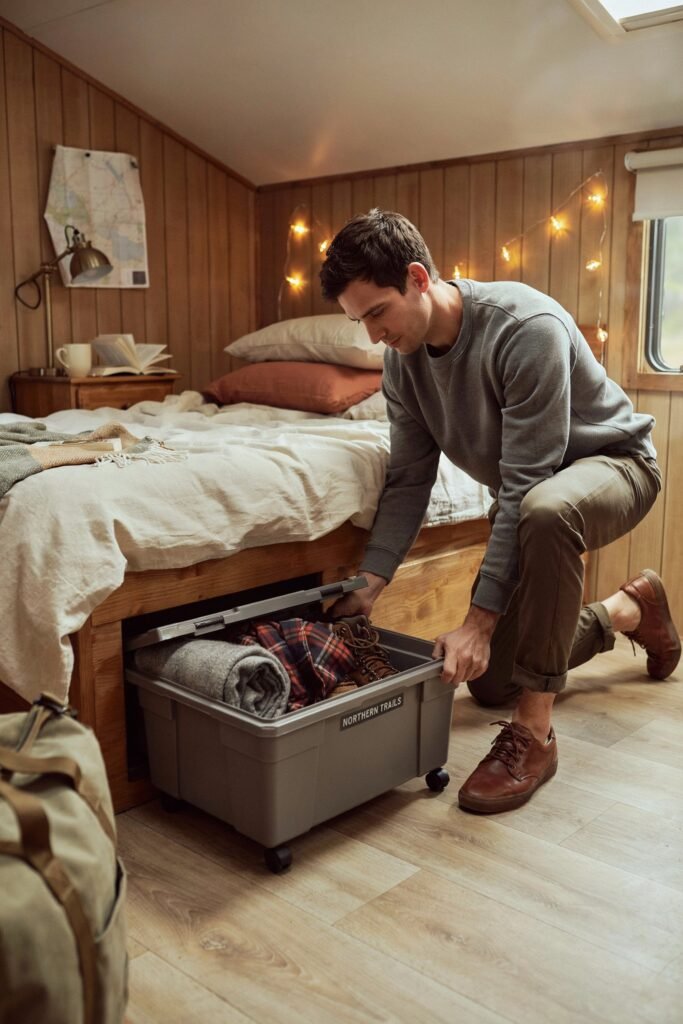
The space under your camper bed is often the single largest storage area in the entire vehicle, yet it is commonly underused or filled with a messy jumble of random items.
Investing in proper under bed storage containers, ideally ones with wheels or handles, makes this space far more functional.
Use these containers for seasonal clothing, extra bedding, tools, or camping gear that you do not need daily access to.
Because this storage area is often deep, containers with a low profile and long shape work best for maximizing every inch.
7. Drawer Dividers
Junk drawers are just as common in campers as they are in traditional homes, and they can quickly become a source of daily frustration.
Drawer dividers help separate utensils, office supplies, chargers, and miscellaneous small items so you are not digging through a chaotic pile every time you need something.
Adjustable dividers are especially useful since camper drawers often come in nonstandard sizes.
This is a small investment that pays off every single day you spend in your camper.
8. Slim Hangers and a Compact Closet System
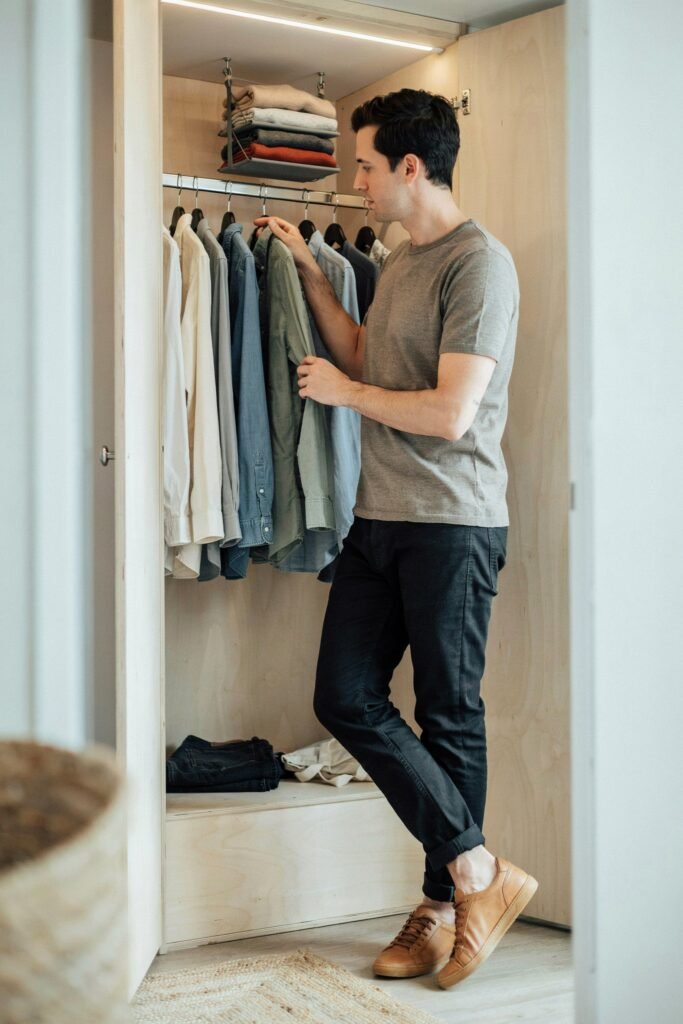
Closet space in a tiny camper is often extremely limited, sometimes just a narrow slice of wall space with a rod.
Slim, non slip hangers can double or even triple your usable hanging space compared to bulky wooden or plastic hangers.
Pair these with hanging shelf organizers to add horizontal storage for folded items like sweaters, shoes, or accessories.
This turns a single hanging rod into a multi level storage system without any construction required.
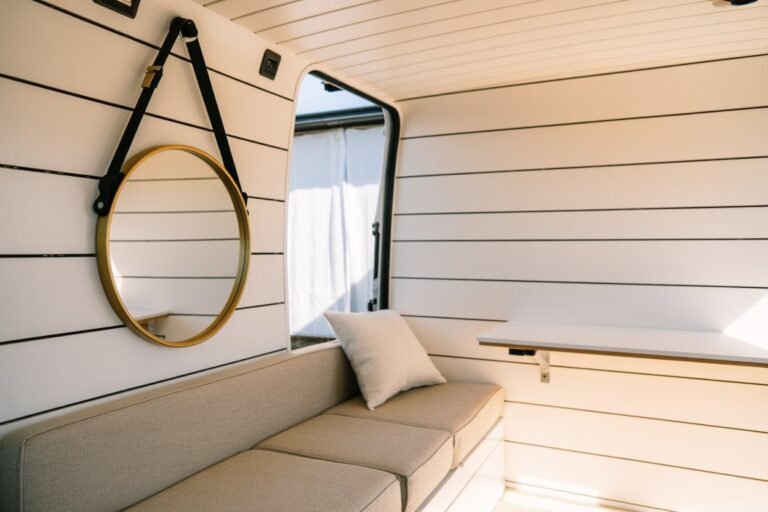
9. Wall Mounted Storage Baskets
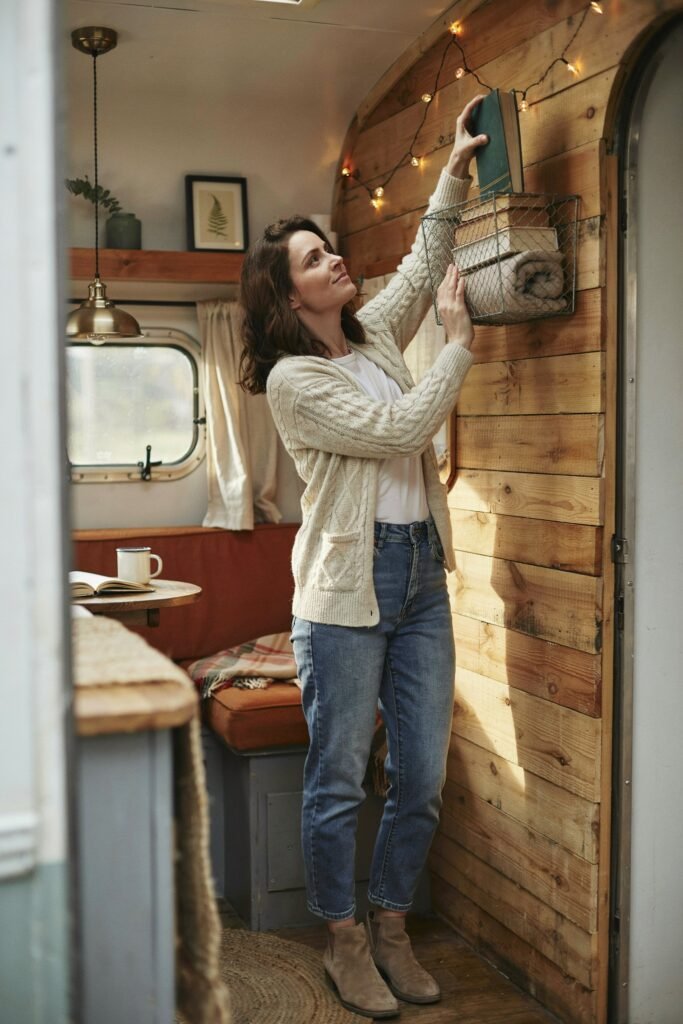
Wall space is often forgotten in tiny campers, yet it holds enormous organizational potential.
Wall mounted baskets, whether wire, wicker, or fabric, are perfect for holding books, remote controls, sunglasses, or small decor items that would otherwise clutter your limited counter and table surfaces.
Many of these baskets come with adhesive or lightweight mounting options, so they will not damage camper walls.
This is a simple way to add both storage and a personal touch to your space.
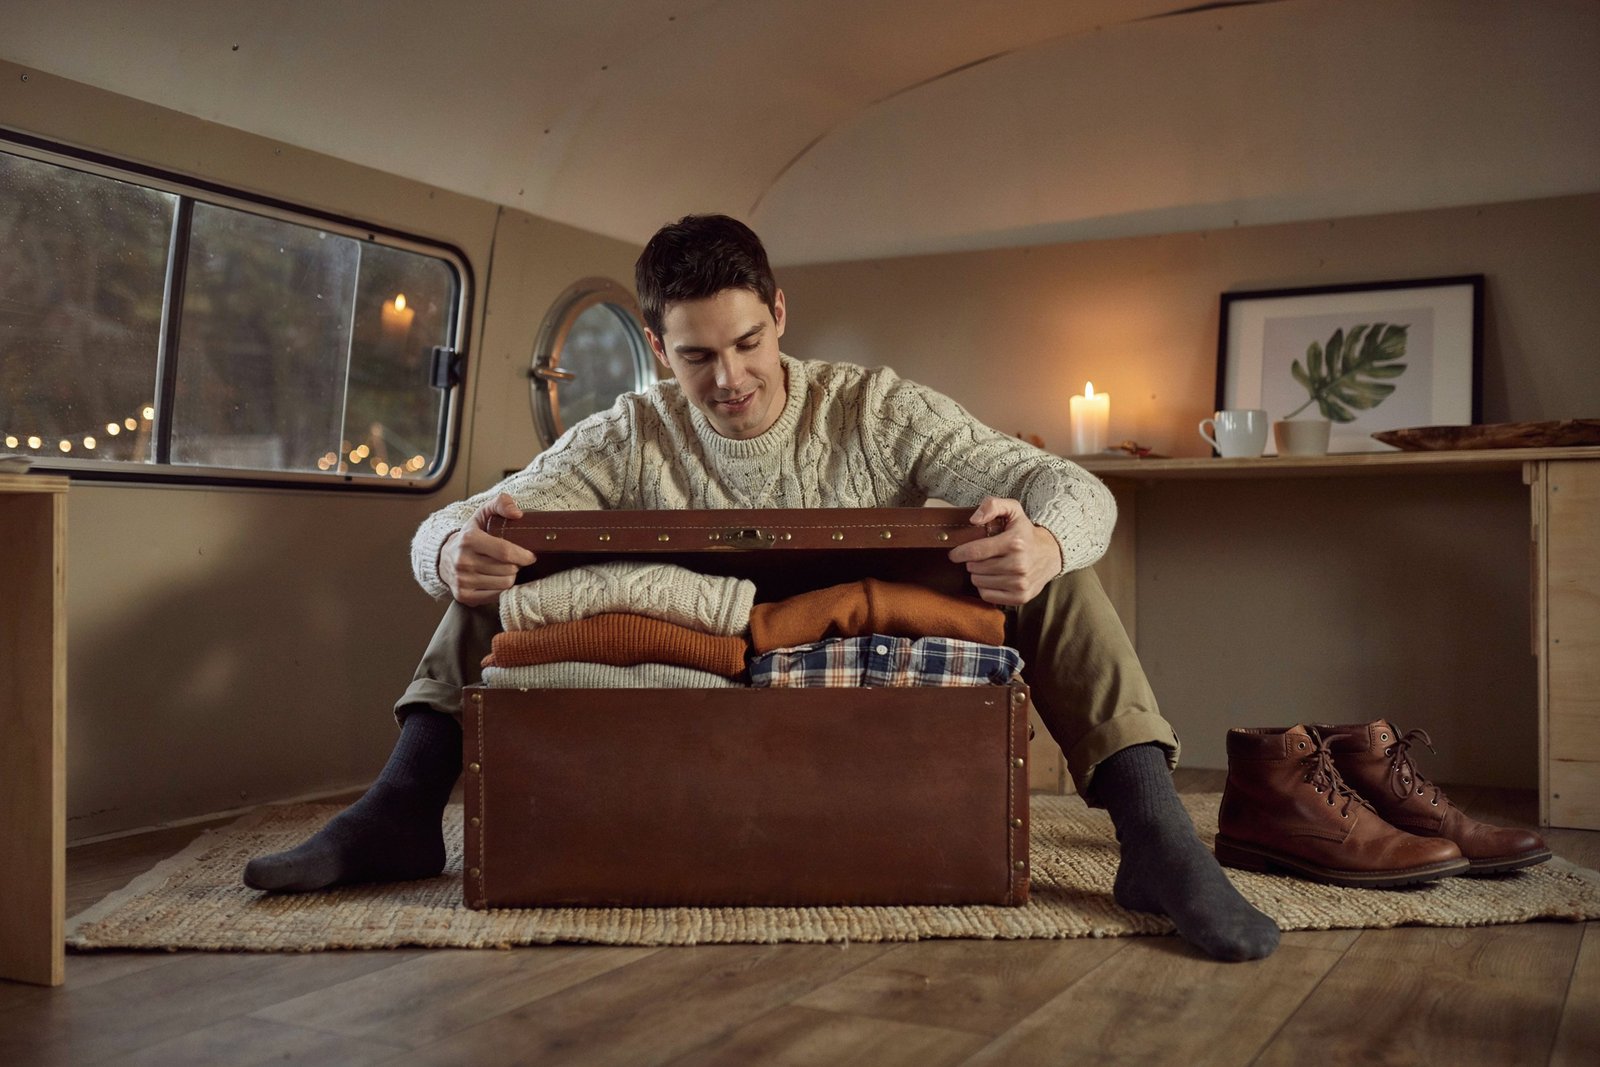
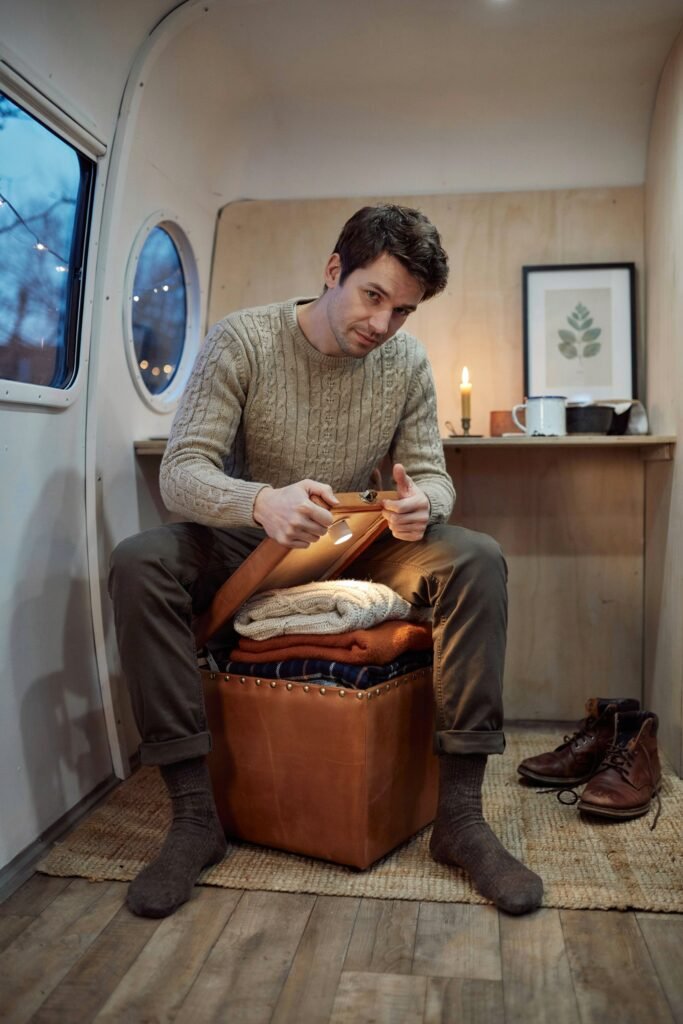
10. A Multi Purpose Storage Ottoman or Bench
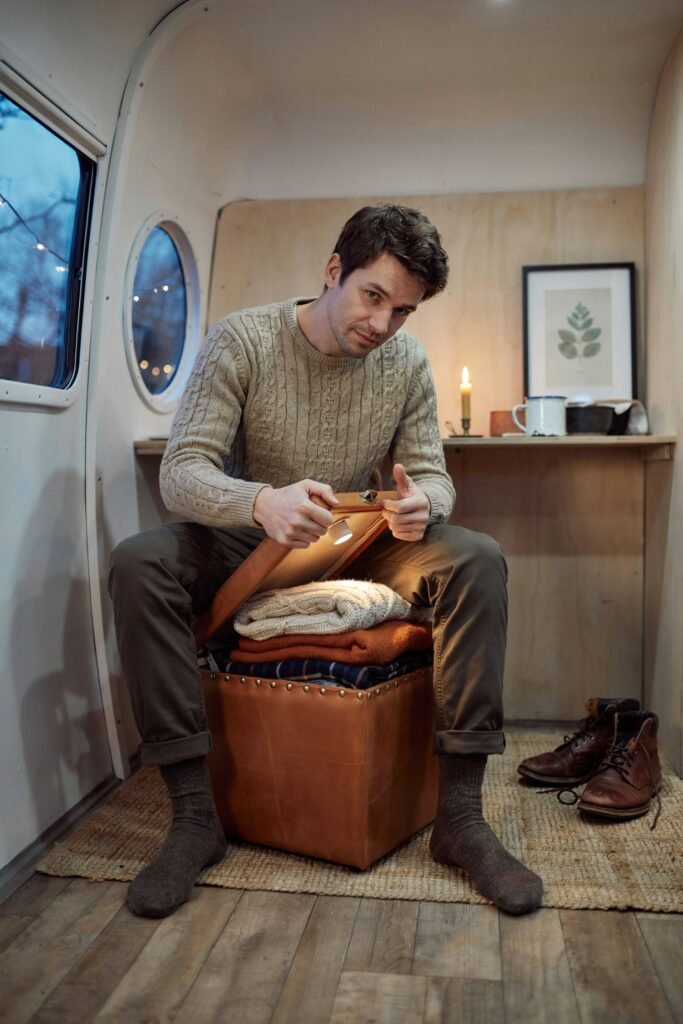
If your camper has room for any seating, consider swapping a regular chair or stool for a storage ottoman or bench.
These pieces provide comfortable seating while also hiding away blankets, shoes, board games, or anything else you want out of sight but still accessible.
This is a wonderful example of dual purpose furniture, which is essential in any small space.
Every piece of furniture in a tiny camper should ideally serve more than one function, and a storage ottoman checks that box perfectly.
Instructions for Each Essential
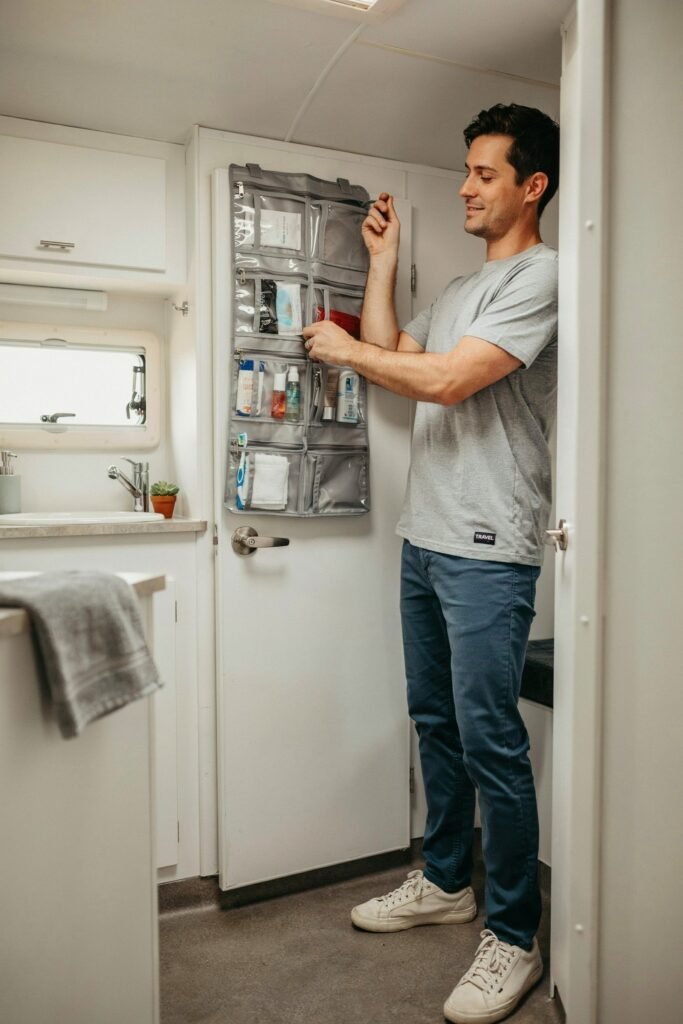
1. Over the Door Organizer
Step 1: Choose a door in your camper, bathroom, closet, or pantry, that gets the least daily traffic.
Step 2: Select an organizer with an adjustable strap or hook system so it fits your door thickness.
Step 3: Hang the organizer over the top of the door, making sure it sits flush and does not block the door from closing.
Step 4: Fill the pockets with lightweight items first, such as toiletries or snacks, to keep the door balanced.
Step 5: Check the fit after a short drive to make sure nothing shifts or falls out.
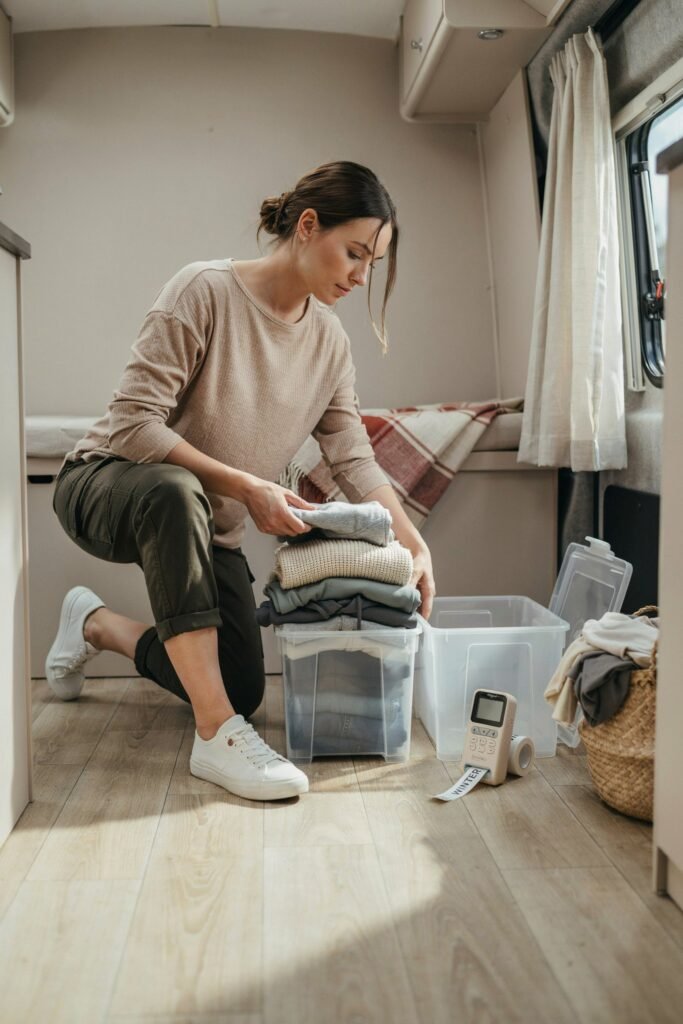
2. Stackable Bins With Labels
Step 1: Measure your cabinet, closet, or under bed space before purchasing bins so they fit properly.
Step 2: Choose bins with secure, locking lids to prevent spills during travel.
Step 3: Sort your belongings into categories, such as pantry items, toiletries, or clothing.
Step 4: Label each bin clearly using a label maker or painter’s tape and a marker.
Step 5: Stack bins by weight, placing heavier ones on the bottom for stability.

3. Tension Rods for Cabinets
Step 1: Measure the width of the cabinet where you want to add the rod.
Step 2: Choose a tension rod slightly longer than the measurement so it creates a secure fit.
Step 3: Compress the rod and position it horizontally across the front or middle of the cabinet.
Step 4: Release the rod slowly until it presses firmly against both cabinet walls.
Step 5: Test the tension by gently pushing on it before loading dishes or cutting boards behind it.
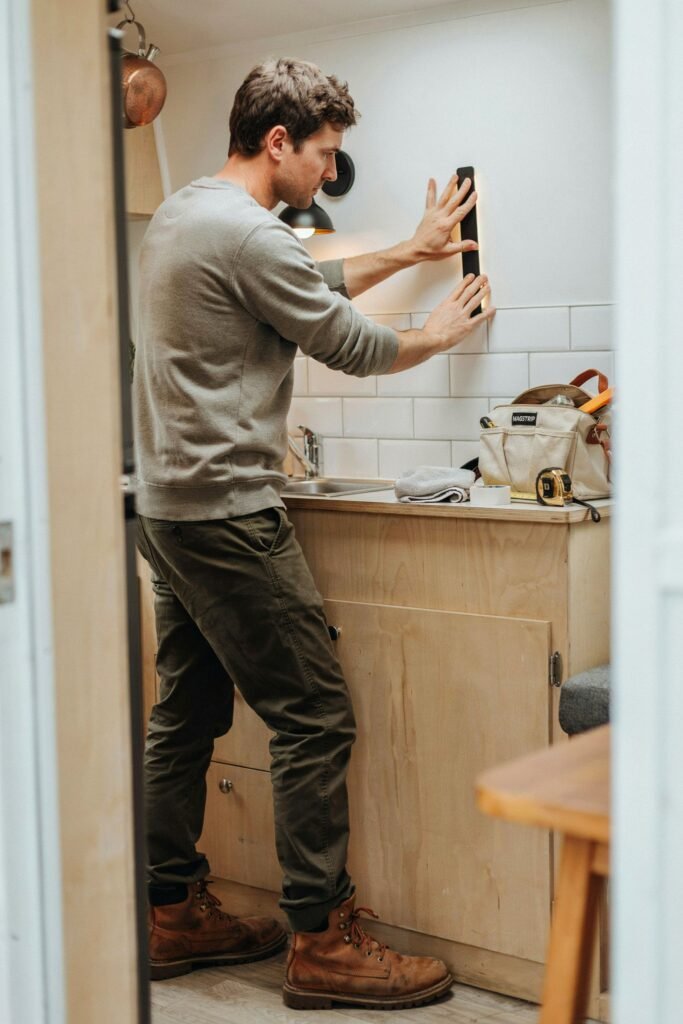
4. Magnetic Strips and Hooks
Step 1: Clean the surface where you plan to mount the strip or hooks to ensure strong adhesion.
Step 2: Decide on placement, inside a cabinet door for knives or on an open wall for utensils and keys.
Step 3: Peel the adhesive backing and press the strip or hook firmly in place for at least thirty seconds.
Step 4: Allow the adhesive to cure for the time recommended on the packaging before adding weight.
Step 5: Arrange your metal items evenly so the weight does not pull on one section.
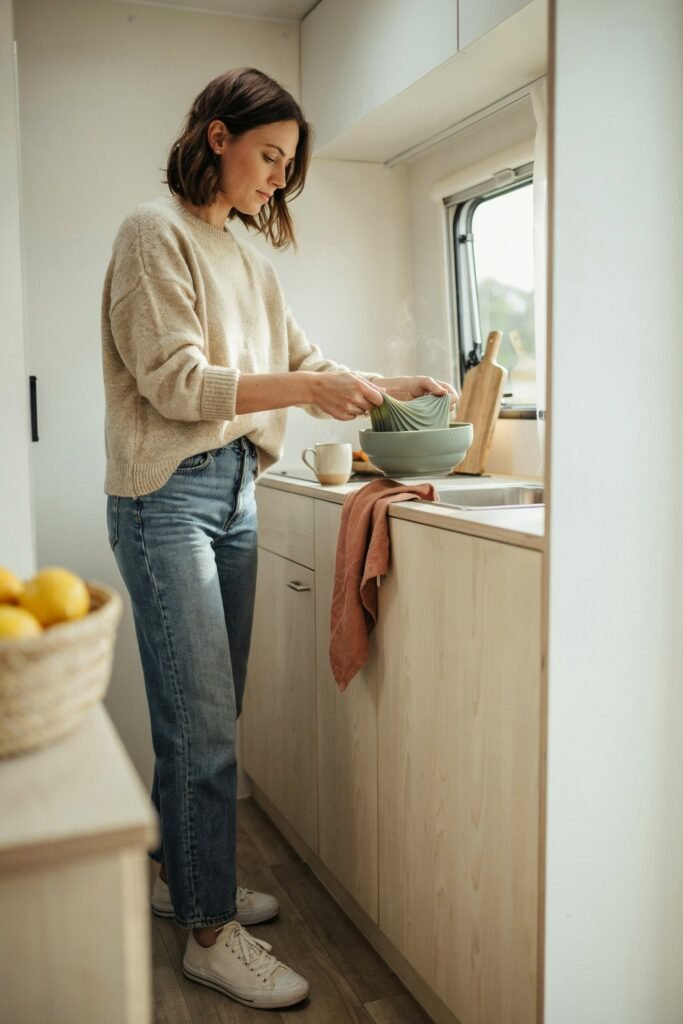
5. Collapsible Kitchenware
Step 1: Assess your kitchen tasks and choose collapsible pieces that match your most common needs, such as a mixing bowl or colander.
Step 2: Store the items in their collapsed, flat position in a drawer or shallow cabinet.
Step 3: Expand the item fully before use by pulling up on the silicone sides.
Step 4: Wash and dry thoroughly after each use to prevent moisture buildup between the folds.
Step 5: Collapse and store immediately after drying to keep your space clear.
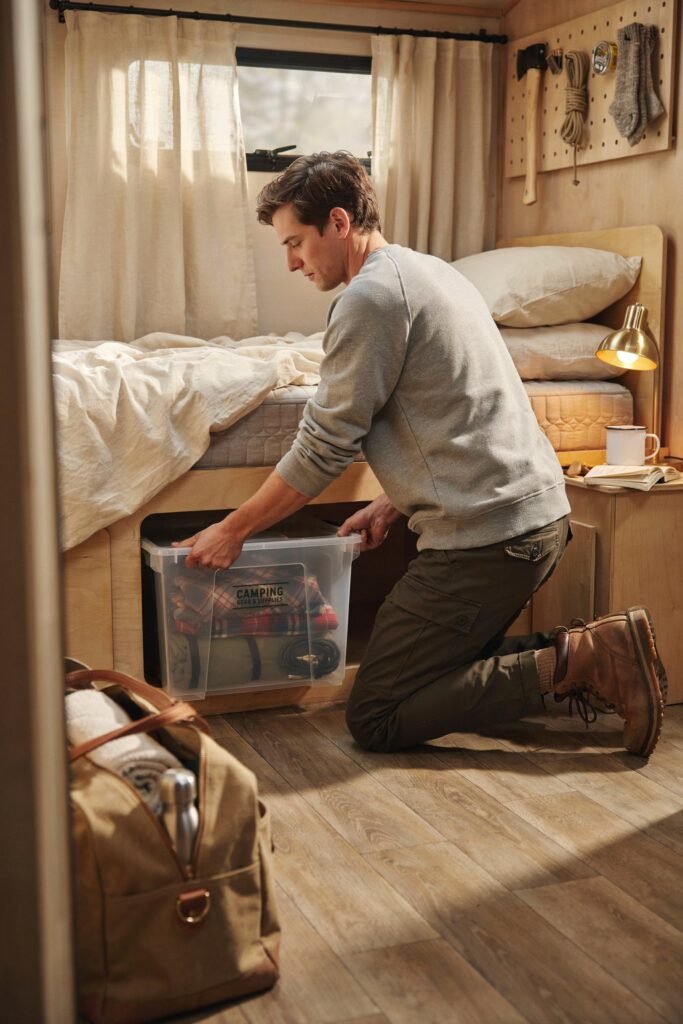
6. Under the Bed Storage Containers
Step 1: Measure the height and depth of the space under your camper bed before buying containers.
Step 2: Choose low profile containers with wheels or handles for easy sliding access.
Step 3: Sort items by season or frequency of use, keeping rarely used items further back.
Step 4: Label the front of each container so you know the contents without pulling it all the way out.
Step 5: Slide containers in fully and check that nothing blocks the bed frame or vents.
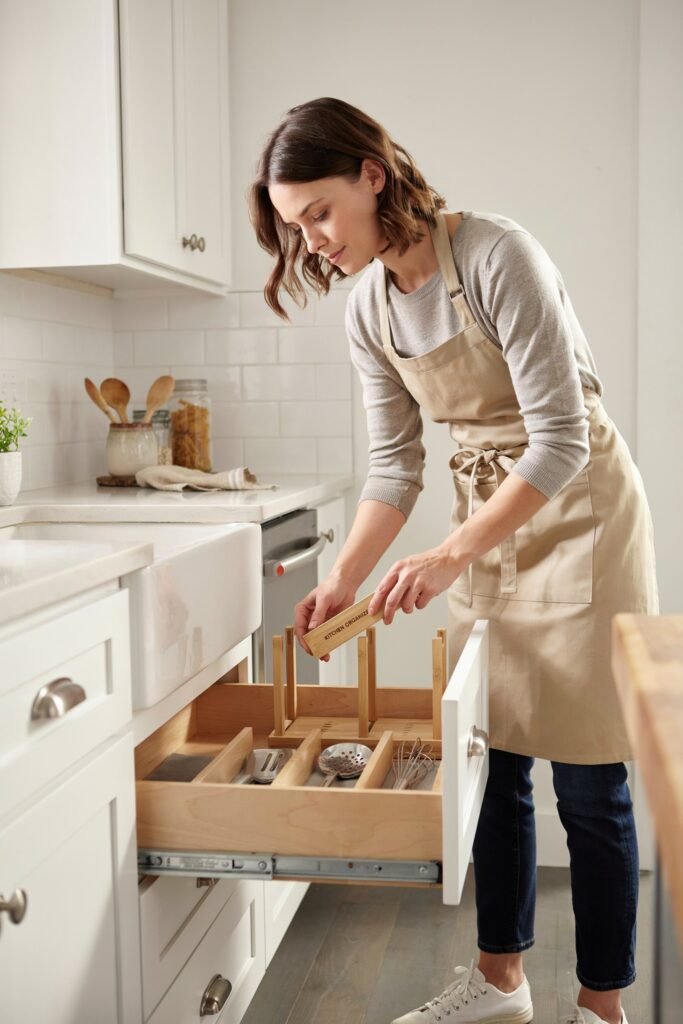
7. Drawer Dividers
Step 1: Empty the drawer completely and sort items into categories.
Step 2: Measure the interior of the drawer to choose dividers that fit or can be adjusted to fit.
Step 3: Insert the dividers to create separate sections for each category of items.
Step 4: Place frequently used items in the front sections for easy access.
Step 5: Reorganize every few weeks as needs change during your travels.
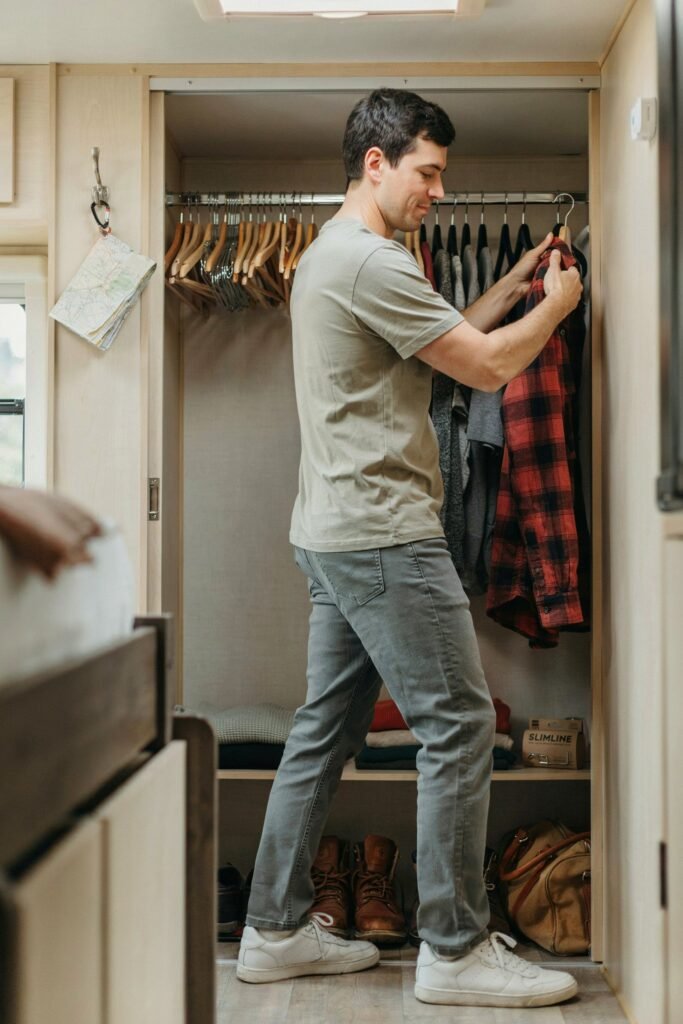
8. Slim Hangers and Compact Closet System
Step 1: Remove any bulky wooden or plastic hangers from your closet rod.
Step 2: Replace them with slim, non slip hangers to maximize hanging space.
Step 3: Add a hanging shelf organizer below or beside the rod for folded items.
Step 4: Sort clothing by type or frequency of wear to make daily choices faster.
Step 5: Fold and store off season items in bins to free up closet space.
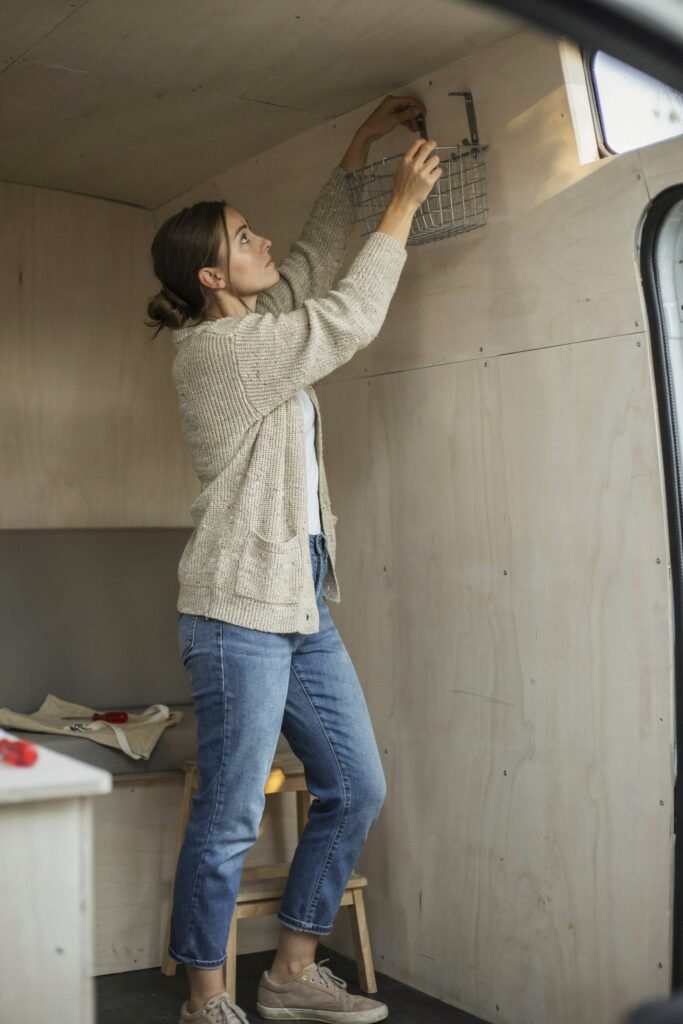
9. Wall Mounted Storage Baskets
Step 1: Identify unused wall space, above a couch, beside a bed, or near an entryway.
Step 2: Choose a lightweight basket suited to adhesive or minimal mounting hardware.
Step 3: Clean the wall surface and attach the mounting hardware according to the product instructions.
Step 4: Secure the basket in place and gently test its hold before adding items.
Step 5: Fill with lightweight items such as books, remotes, or small decor pieces.
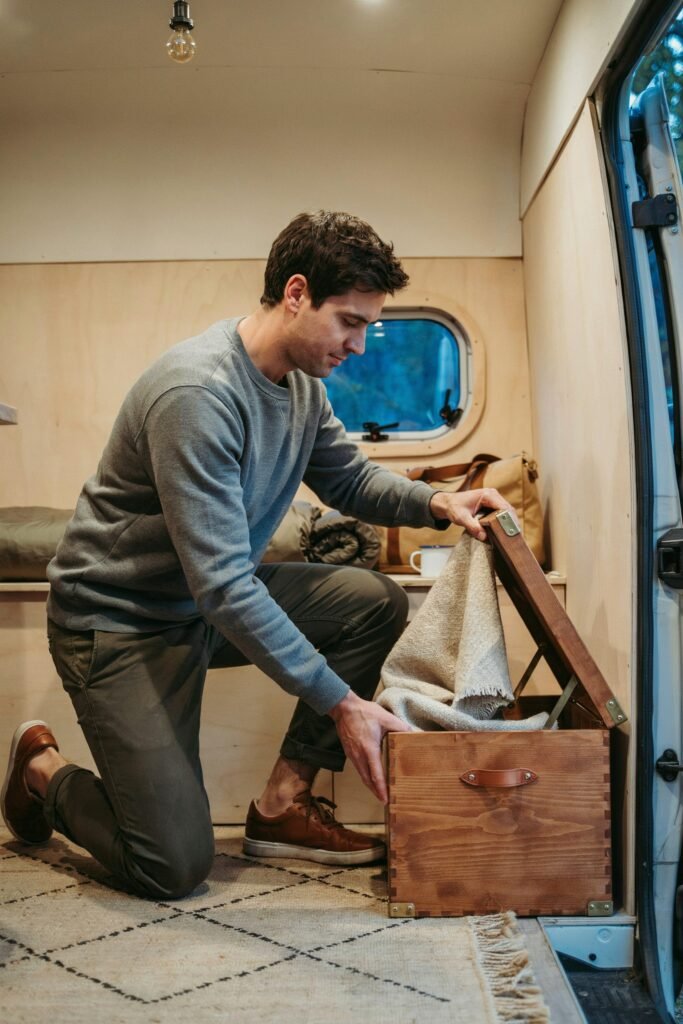
10. Multi Purpose Storage Ottoman or Bench
Step 1: Measure your available seating area to choose an ottoman or bench that fits comfortably.
Step 2: Select a style with a lift up lid or removable top for easy access to storage inside.
Step 3: Place the ottoman in a spot that works for both seating and storage access.
Step 4: Fill the inside with items you want hidden but still reachable, such as blankets or shoes.
Step 5: Secure the lid before traveling to prevent contents from shifting.
Bonus Tips for Keeping Your Camper Organized Long Term

Buying the right tools is only half the battle. Here are a few habits that will help you maintain that organized feeling long after your first cleanup day.
Do a nightly five minute reset. Before bed, spend just five minutes putting items back where they belong.
This small habit prevents clutter from ever building up in the first place.
Follow the one in, one out rule.
Every time you bring something new into your camper, consider removing something you no longer use.
This keeps your total belongings in balance with your available space.
Assign a home for everything. If an item does not have a specific designated spot, it will end up creating clutter.
Take the time to decide where each category of item belongs and stick to that system.
Reassess seasonally. Your storage needs will shift depending on the season and your travel plans.
Take time every few months to go through your bins and containers to remove anything you are no longer using.
Secure everything before driving. Tiny camper organization is not just about looks.
It is also about safety.
Make sure bins, drawers, and cabinets are properly secured before hitting the road so nothing shifts or becomes a hazard while driving.
Frequently Asked Questions
How do I organize a tiny camper on a small budget?
Start with items you likely already own, such as boxes, jars, and baskets, before buying new products. Focus your budget on a few key tools like stackable bins or tension rods, since these offer the biggest impact for the lowest cost.
What is the best way to prevent items from shifting while driving?
Use containers with locking lids, tension rods in cabinets, and non slip liners on shelves. Always do a walk through before hitting the road to check that everything is secured.
How often should I reorganize my camper?
A seasonal check every few months works well for most campers. If you travel frequently or live in your camper full time, a lighter check once a month can help keep clutter from building up.
Can I use these organization tools in a rental camper or RV?
Yes. Most of the solutions on this list, such as tension rods, magnetic strips with adhesive backing, and stackable bins, require no drilling or permanent changes, making them ideal for rentals.
What is the biggest mistake people make when organizing a small camper?
Buying storage products before decluttering. It is best to sort through your belongings first, remove what you do not need, and then choose organization tools based on what remains.
How do I keep a tiny camper organized while traveling full time?
Build small daily habits, such as a five minute nightly reset and the one in, one out rule. Consistency matters more than any single product when it comes to long term organization.
Where should I store heavier items in a small camper?
Keep heavier items low and centered, such as under the bed or in lower cabinets, to maintain balance while driving and prevent tipping hazards while parked.
Final Thoughts
Organizing a tiny camper is not about owning fancy gadgets or spending a fortune on storage solutions.
It is about being intentional with the space you have and choosing tools that genuinely make your daily life easier.
The ten essentials covered in this guide, from over the door organizers to multi purpose furniture, are simple, affordable, and proven to make a real difference in small space living.
Start with one or two items from this list rather than trying to overhaul your entire camper at once.
Small, consistent improvements add up quickly, and before long you will have a space that feels calm, functional, and truly like home, no matter where the road takes you.
If you found this guide helpful, consider bookmarking it for reference as you continue setting up your tiny camper.
A little organization goes a long way toward making small space living something you genuinely enjoy rather than something you have to constantly manage.