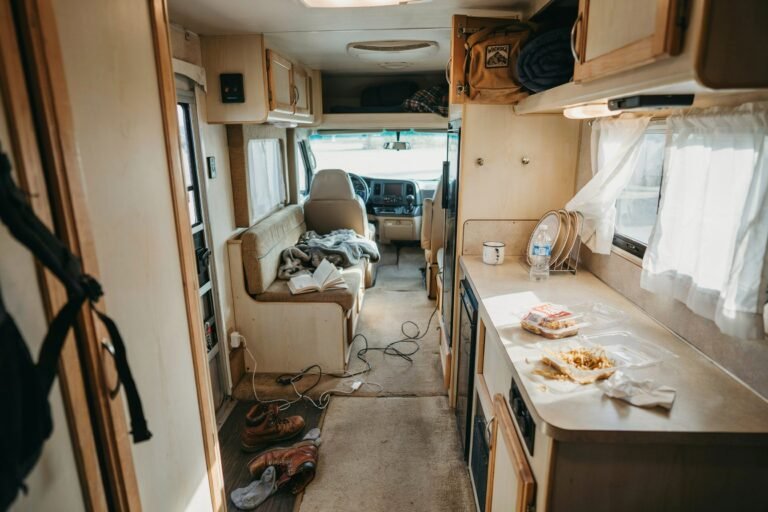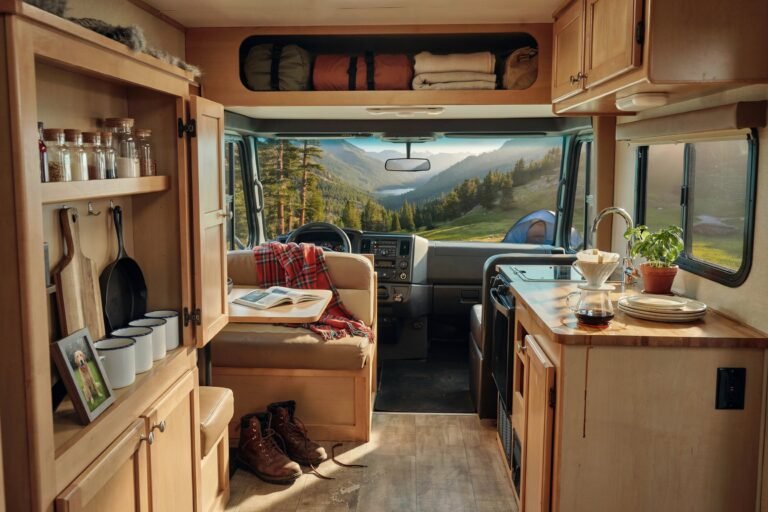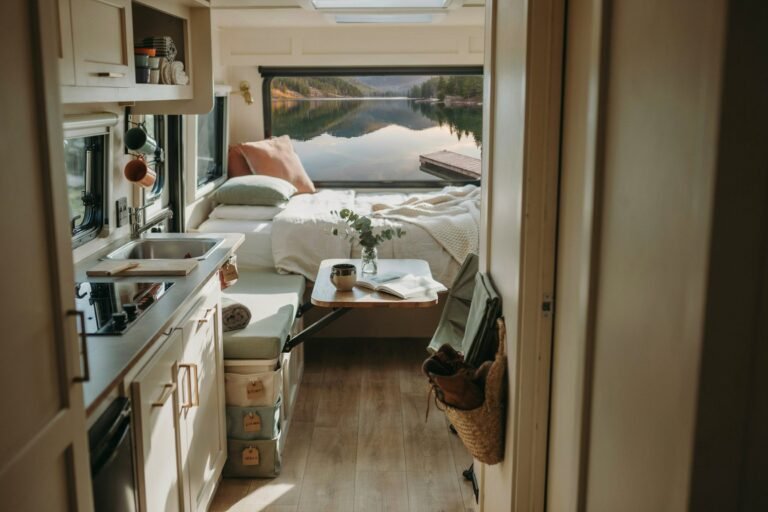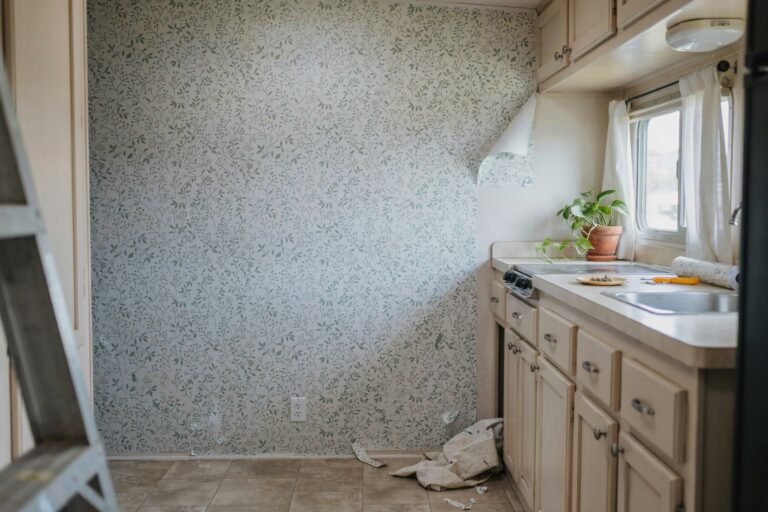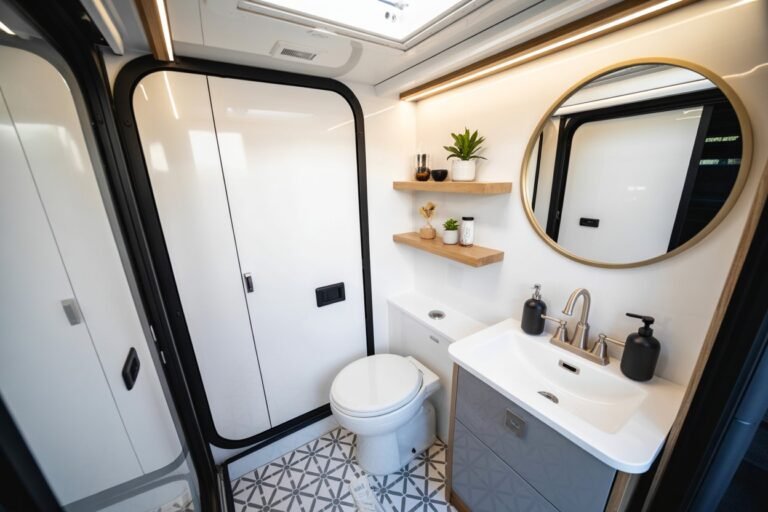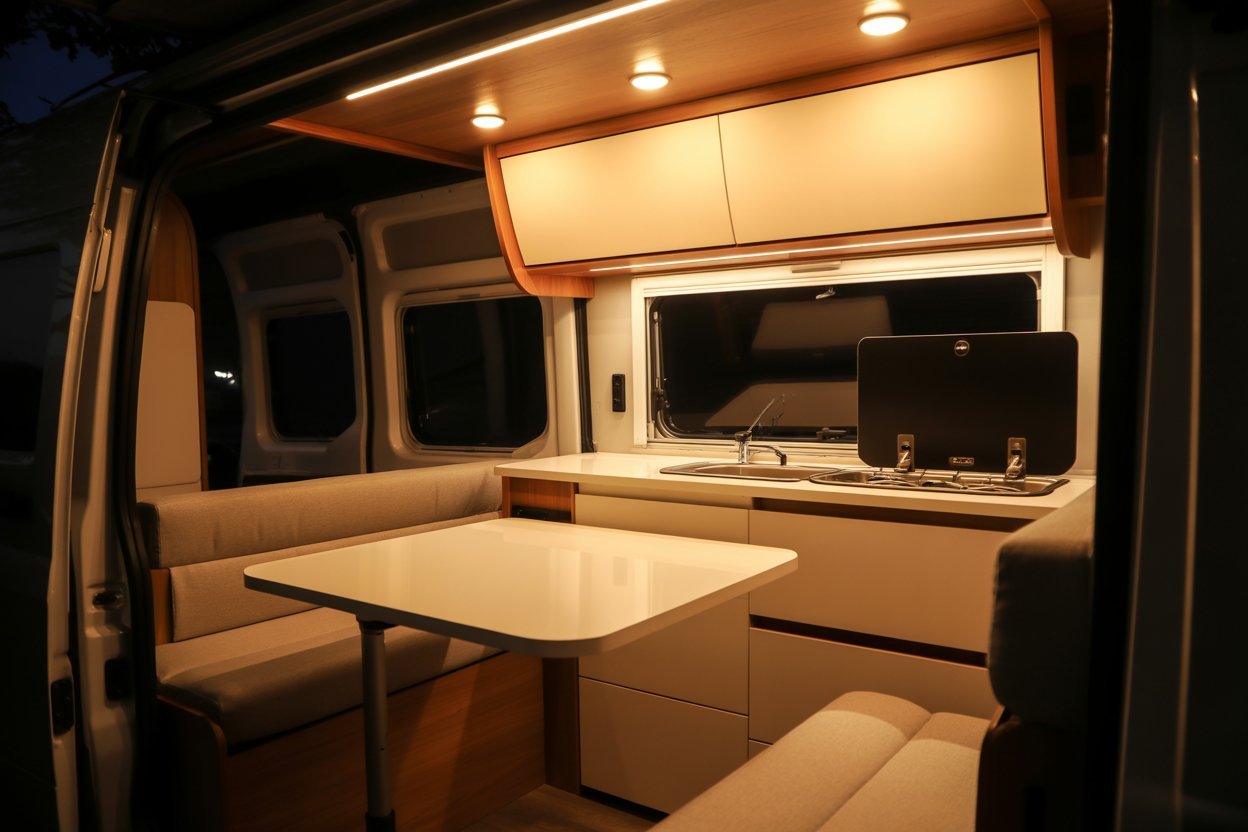
Our camper went through a boho phase before it went through a minimalist one, and honestly, the shift happened almost by accident.
After a long trip where clutter kept sliding around every time we hit a bump, I started stripping things back one piece at a time, and the calmer, cleaner space that resulted became something we actually preferred.
This post covers exactly how we got there, including the materials and steps for each change, not just the idea behind it.
If you’re weighing styles before committing to one direction, our boho camper styling ideas guide is worth comparing against this post, and our tiny camper renovation ideas on a budget covers the practical upgrade side that applies to either aesthetic.
Disclaimer: This post may contain affiliate links, which means I may earn a small commission at no extra cost to you. Always select lightweight materials designed for RV use and secure all décor and storage items before travel.
Amazon Shopping List
- White Peel and Stick Wallpaper (RV-Friendly)
- Matte Black Cabinet Hardware Set
- Woven Storage Basket Set (Neutral Tones)
- Foldable Fabric Storage Cubes (Light Colors)
- LED Under-Cabinet Lighting Strips
- Simple Linen Throw Pillow Covers
- Contact Paper for Countertop Refreshes (Marble or Solid White)
A Little Travel Shopping Tip
I try to order my travel essentials before the week of my trip because last minute shopping is stressful enough. If you regularly order packing and travel items from Amazon, Prime may be worth looking into for convenient delivery. Check out Amazon Prime here.
How I Approached This Remodel
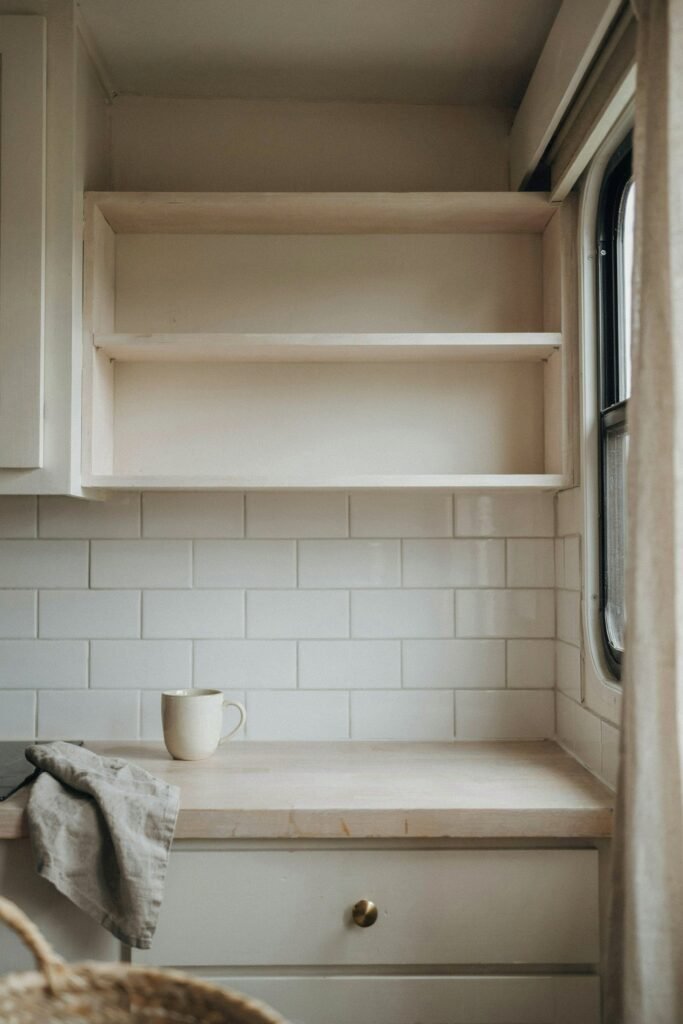
The biggest lesson I learned was that a successful camper makeover is not about adding more.
It is about choosing simple updates that make the space feel brighter, more functional, and easier to live in without stretching your budget.
- Remove before adding, since most campers already have too much visual noise built in from the factory
- Choose a tight, neutral color palette and stick to it strictly across every surface
- Prioritize function first, since a truly minimalist space still has to work hard in a small footprint
- Favor built in or flush storage solutions over anything that adds visual clutter to a countertop or shelf
- Let negative space do some of the design work, rather than filling every surface
With that approach in mind, here’s what actually transformed our camper into a clean, minimalist space, along with exactly what we used and how we did it.
1. A Strict Neutral Color Palette
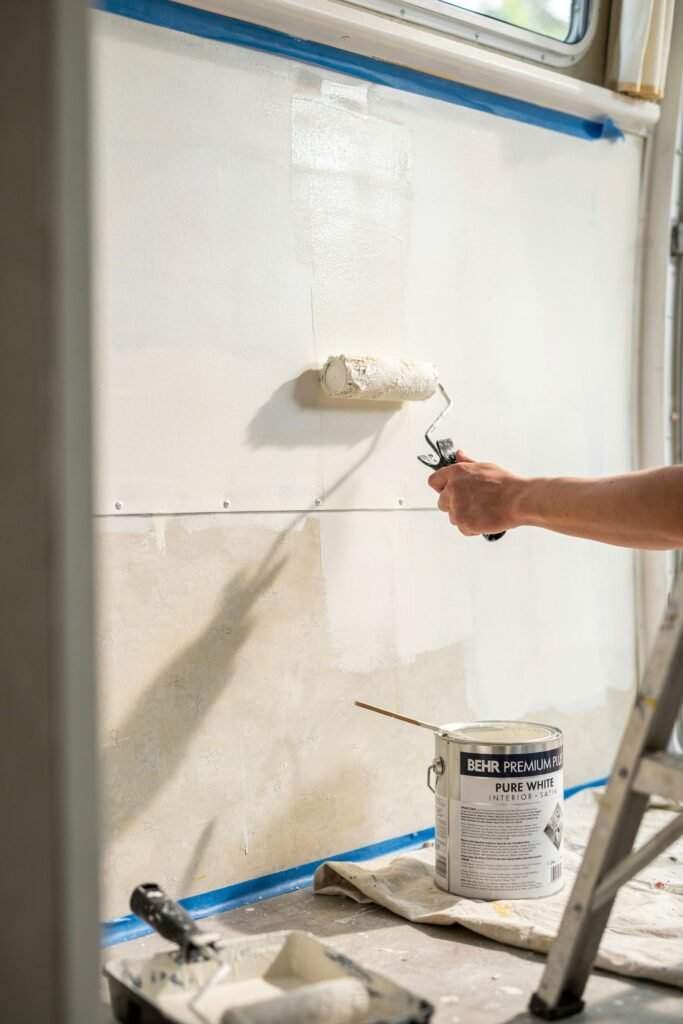
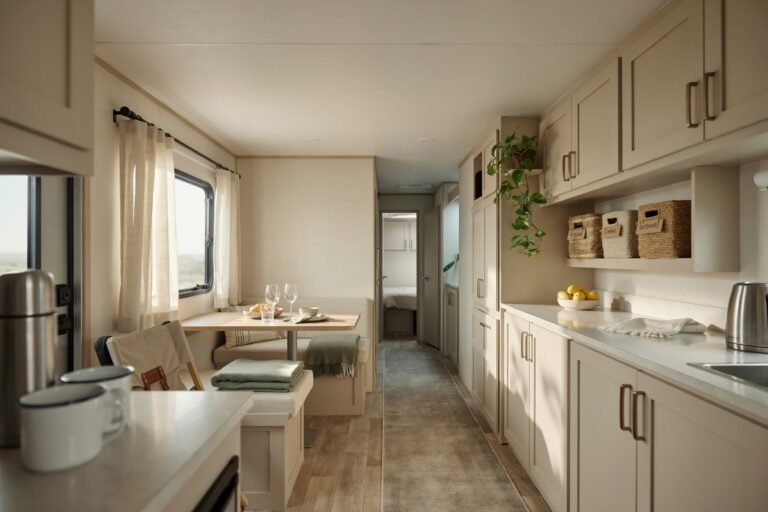
Why it works A tight palette of whites, warm greys, and one accent tone throughout the entire camper creates visual calm and makes the space feel larger than its actual square footage.
Materials needed Interior latex or RV specific paint in your chosen neutral, painter’s tape, a small foam roller, an angled brush for edges, and a primer suited for laminate or vinyl surfaces if your walls are the typical RV wall paneling.
How we did it We picked one main wall color and one slightly darker accent tone, then cleaned every surface with a degreaser before priming, since RV walls often have a slick factory finish that paint won’t grip otherwise.
We taped off trim and edges, applied primer, let it dry fully overnight, then rolled on two thin coats of paint rather than one thick one, which prevented streaking in our tight space.
My story with it We started with a mix of colors carried over from our previous boho phase, and repainting everything into a cohesive neutral scheme made the biggest single difference in how calm the space actually felt to be inside.
2. Flush Cabinet Fronts
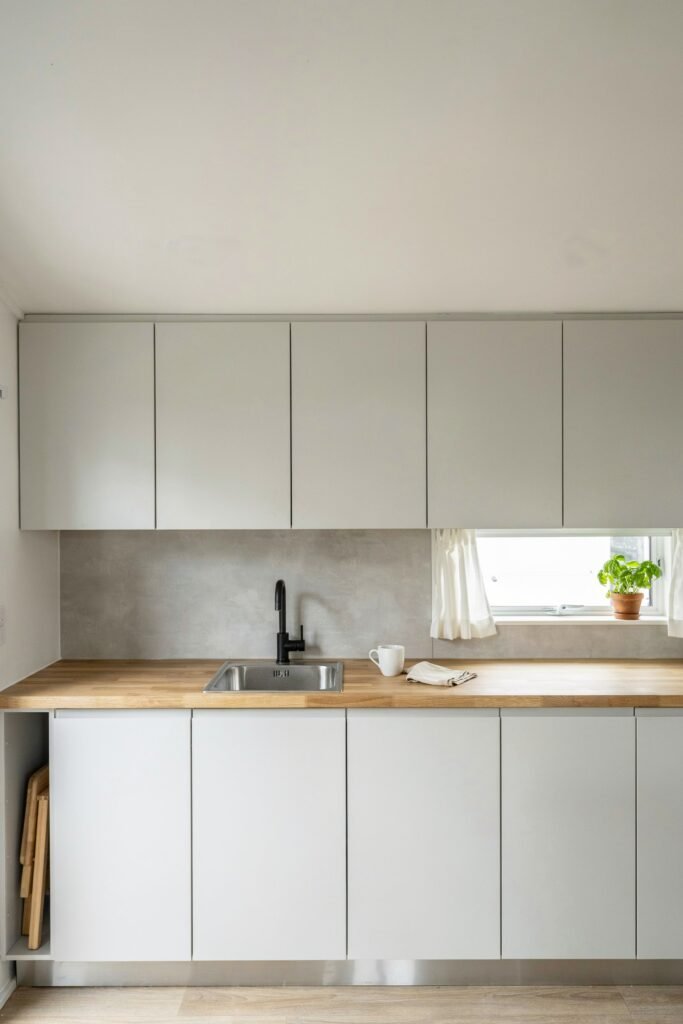
Why it works Flush, handleless or minimal hardware cabinet fronts create clean lines that let the eye rest instead of catching on every cabinet edge and pull.
Materials needed Flat panel cabinet door blanks or thin plywood cut to size, wood glue, a sander, primer and paint, and slim push to open hardware if you want a fully handleless look.
How we did it We removed the original ornate cabinet doors, measured them precisely, and either replaced them with flat panel blanks ordered to size or covered the existing doors with thin plywood glued flat over the paneling.
After sanding the edges smooth, we primed and painted them to match our new palette, then installed push to open latches so no hardware interrupted the clean surface.
My story with it We replaced our original ornate cabinet doors with simple flat panel versions, and the kitchen area alone felt significantly calmer once the visual clutter of the original hardware and paneling was gone.

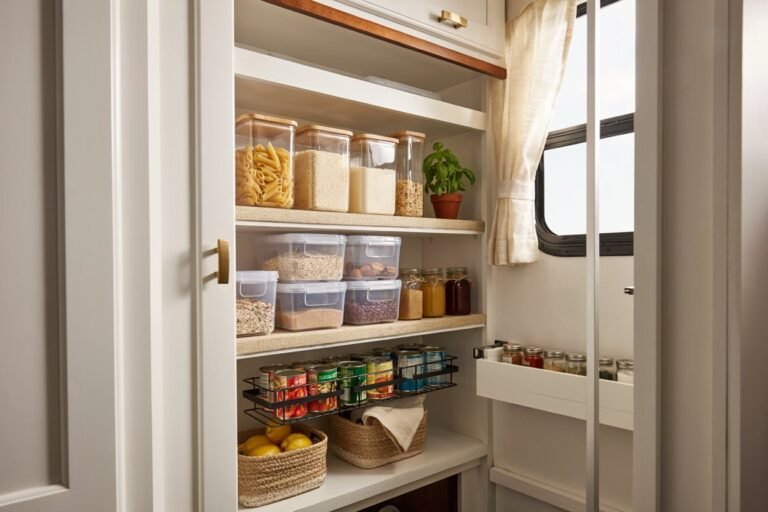
3. Concealed Storage Wherever Possible
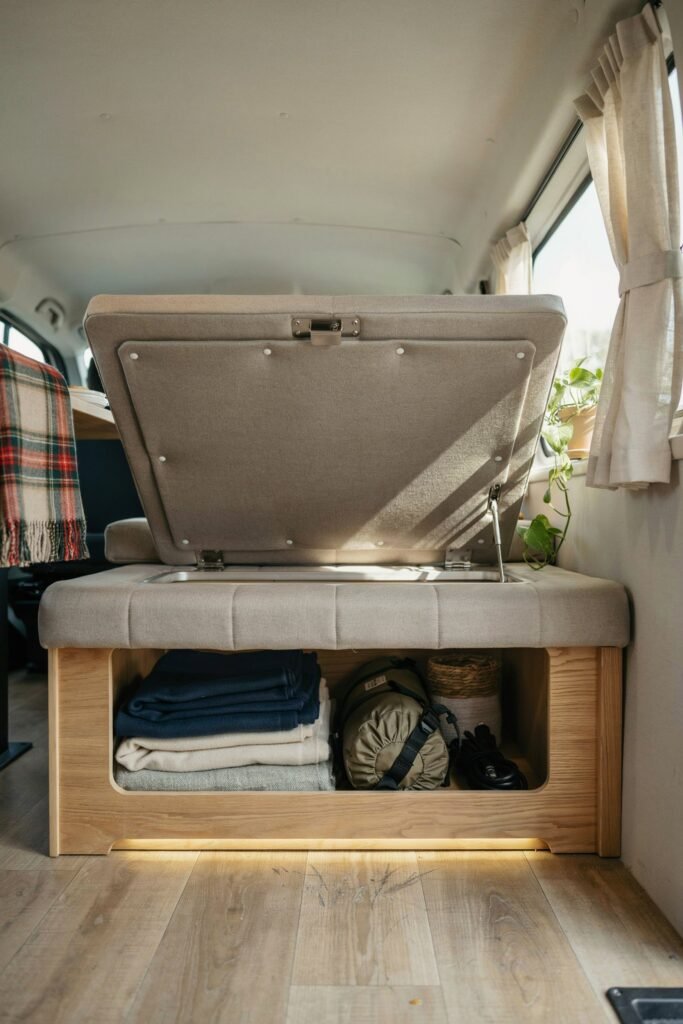
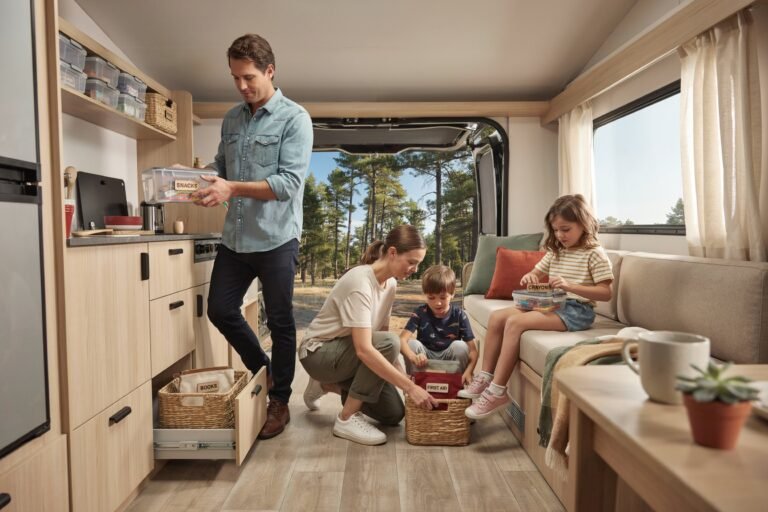
Why it works Concealed storage keeps daily items out of sight until needed, which matters enormously in a small space where visible clutter accumulates fast.
Materials needed Piano hinges, plywood for bench tops, foam padding and fabric if building a cushioned lid, and basic wood screws.
How we did it We built simple lift top storage benches by attaching plywood tops to our existing seating frames using piano hinges along the back edge, then added foam and fabric on top to keep the seating comfortable.
This turned previously open shelving into hidden storage without losing any seating function.
My story with it The difference in how organized the space looked, even on messier travel days, was immediate once open shelving became concealed storage instead.
4. A Single Statement Material
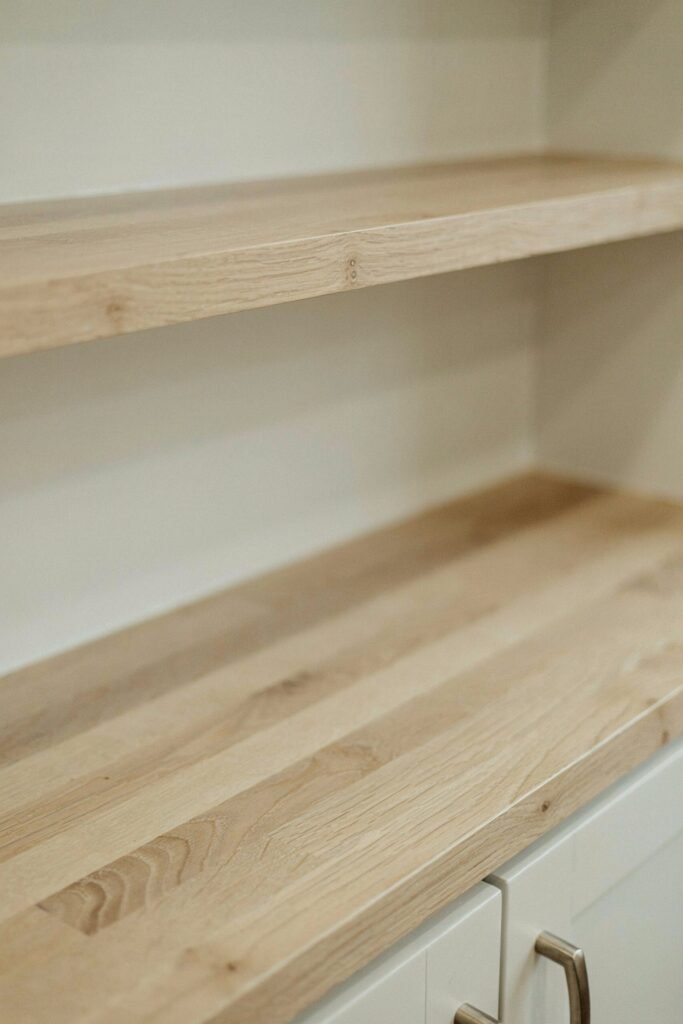
Why it works Repeating a single material, like a specific wood tone or a matte stone look, ties a minimalist space together far more effectively than mixing several different finishes.
Materials needed Laminate sheets or contact paper in your chosen finish, contact cement or adhesive backing, a smoothing tool, and a utility knife for trimming edges.
How we did it We chose a light oak toned laminate and measured our countertop, a small shelf, and a bathroom accent panel, then cut the material to size with a straight edge and utility knife.
We applied it using contact cement for the countertop and adhesive backed material for the smaller accents, smoothing out air bubbles with a plastic scraper as we worked.
My story with it That consistency did more to make the space feel intentional than any single decor item could have.

5. Hidden Cord and Cable Management
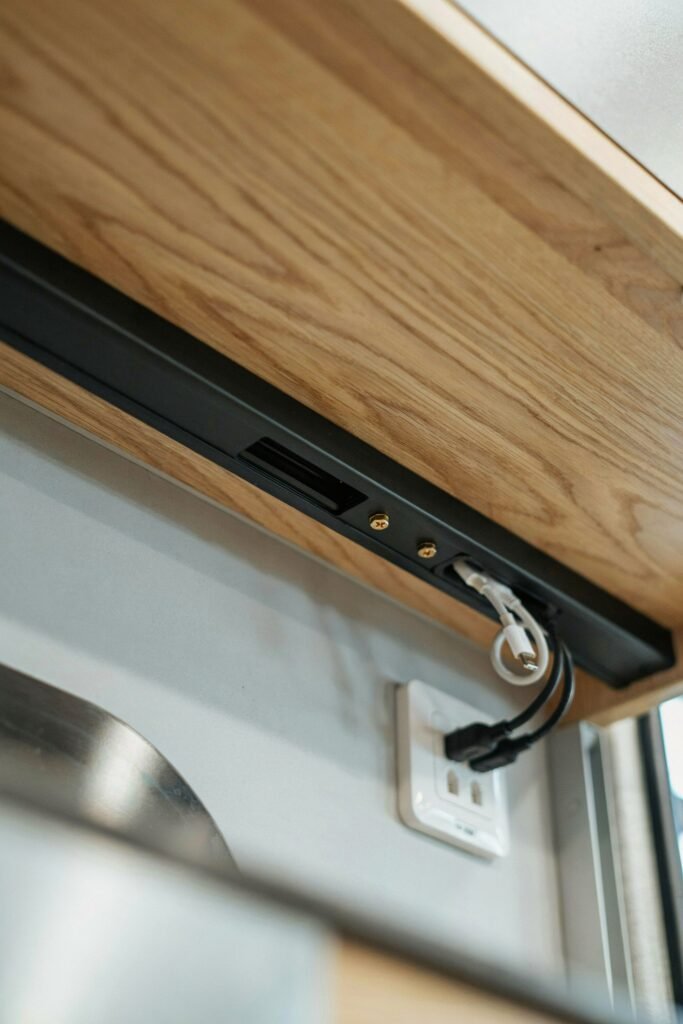
Why it works Routing cables behind panels or through simple cord channels keeps countertops and surfaces free of visual clutter, which matters more in minimalism than in almost any other style.
Materials needed Adhesive backed cord channels or raceways, a small drill if routing behind panels, and cable ties for bundling.
How we did it We mapped out where our charging station and outlets sat relative to the counter, then ran a slim adhesive cord channel along the underside of the upper cabinets down to the outlet, tucking the excess cable length behind our new backsplash panel using cable ties to keep it bundled and flat.
My story with it Adding a simple concealed channel behind the backsplash solved a tangled cord mess completely, freeing up counter space we didn’t realize we were losing.
6. Minimal, Functional Lighting
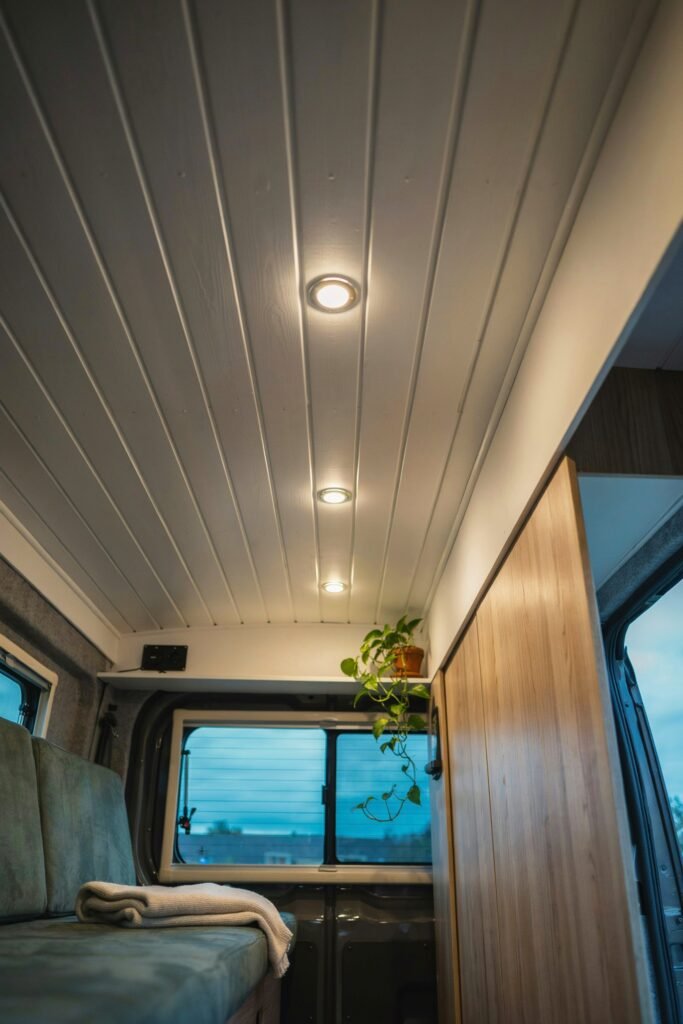
Why it works A consistent, simple lighting scheme, the same fixture style throughout, reduces visual clutter and gives the whole camper a more cohesive, considered feel.
Materials needed Matching low profile LED puck lights or a slim recessed lighting kit rated for 12 volt RV systems, wire connectors, and basic electrical tools.
How we did it We removed the mismatched original fixtures, checked that our RV’s wiring matched the voltage of our new lights, and installed a single style of low profile puck lights throughout the main living area, connecting them to the existing wiring using simple twist on wire connectors.
My story with it It removed a layer of visual busyness we hadn’t fully noticed until it was gone.
7. Streamlined Window Coverings
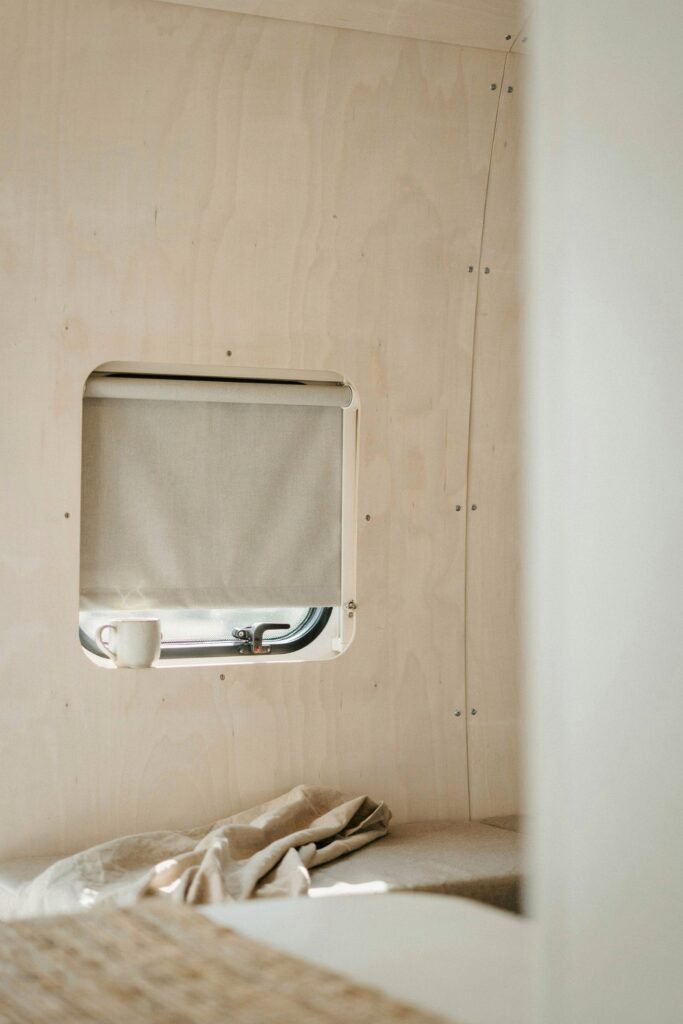
Why it works Simple roller shades or clean linen panels in a neutral tone let natural light in without adding pattern or busy texture to compete with the rest of the space.
Materials needed Cordless roller shades cut to your window dimensions, mounting brackets, and a screwdriver.
How we did it We measured each window carefully, ordered roller shades in a matching neutral tone, and mounted the brackets directly above each window frame using the included hardware, trimming the shades to size where needed for a flush, built in look.
My story with it The change let far more natural light into the space while removing one more visual element competing for attention.
8. A Capsule Approach to Decor
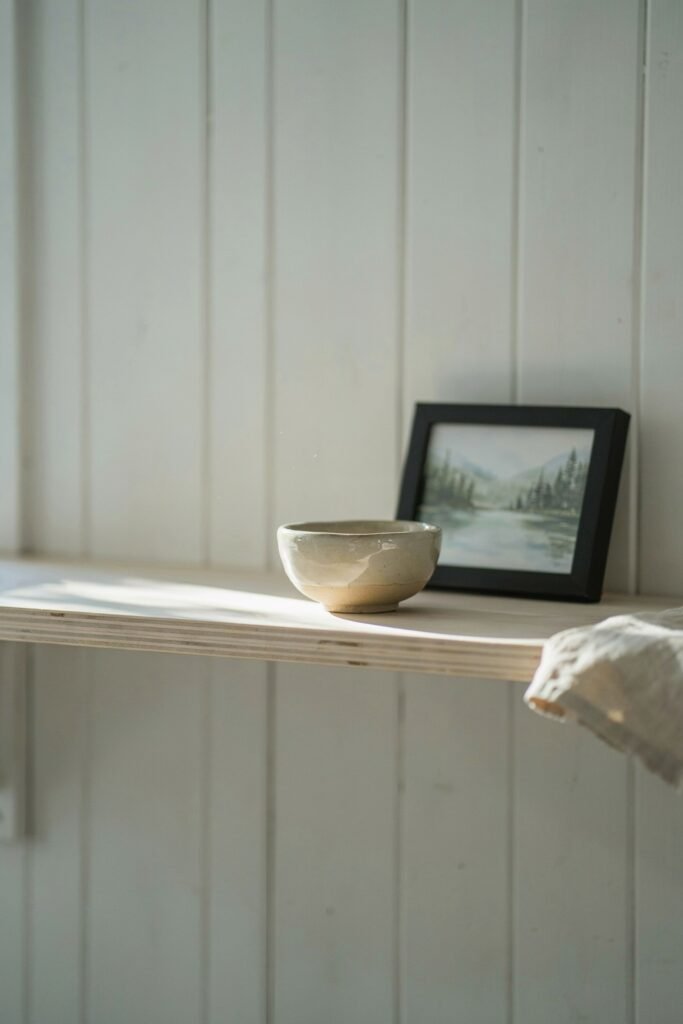
Why it works A small number of carefully chosen decor pieces, rather than many small items, gives a minimalist space room to breathe and lets each remaining piece feel more considered.
Materials needed None beyond what you already own, this is primarily an editing exercise rather than a purchase.
How we did it We removed every decor item from a shelf, then reintroduced only two pieces we genuinely loved, waiting a full week before deciding whether to add anything else back. Most of what we removed never returned.
My story with it The shelf itself became a design element instead of just storage for clutter.
9. Built In Seating with Clean Lines
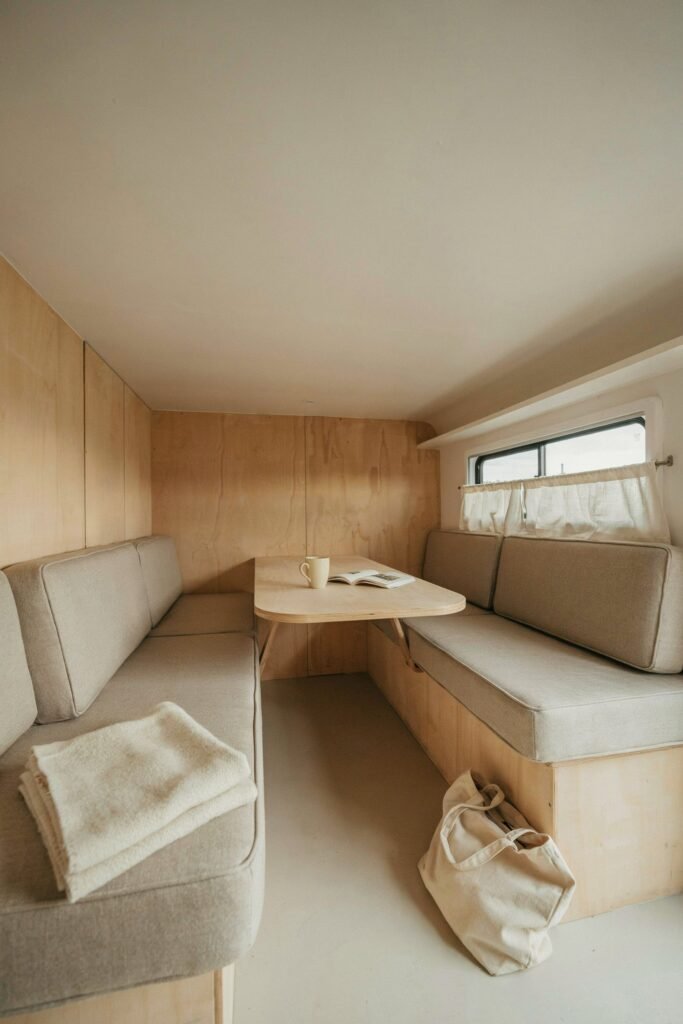
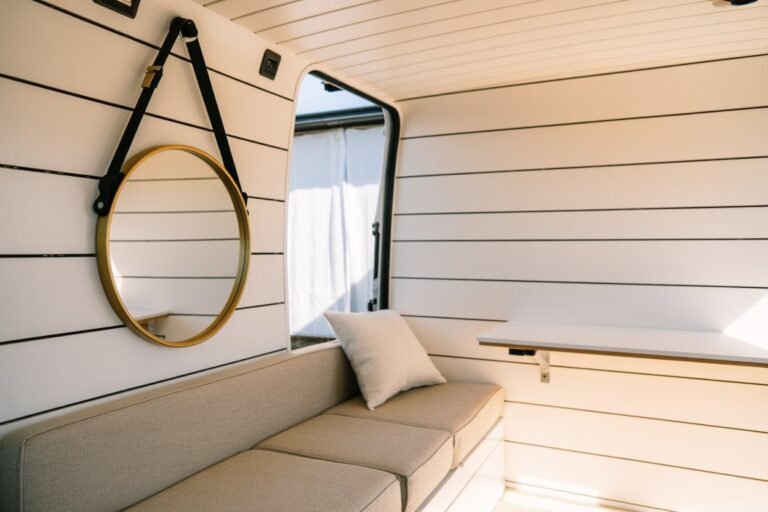
Why it works Simple, solid colored upholstery with clean, boxy lines reads as far more intentional than patterned or overly plush seating, and it photographs and lives more calmly too.
Materials needed Solid colored upholstery fabric, a staple gun, foam padding if replacing worn cushioning, and a seam ripper to remove the old fabric.
How we did it We removed the original patterned cushion covers using a seam ripper, replaced any flattened foam inside, then wrapped and stapled new solid colored fabric tightly around each cushion base, folding corners neatly the way you would wrap a gift box.
My story with it It instantly made the entire main living area feel more cohesive with the rest of the remodel.
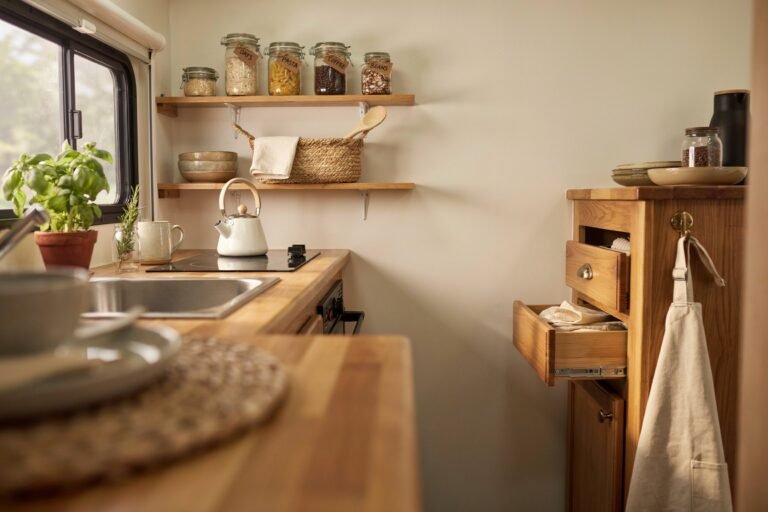
10. A Monochrome Kitchen Setup
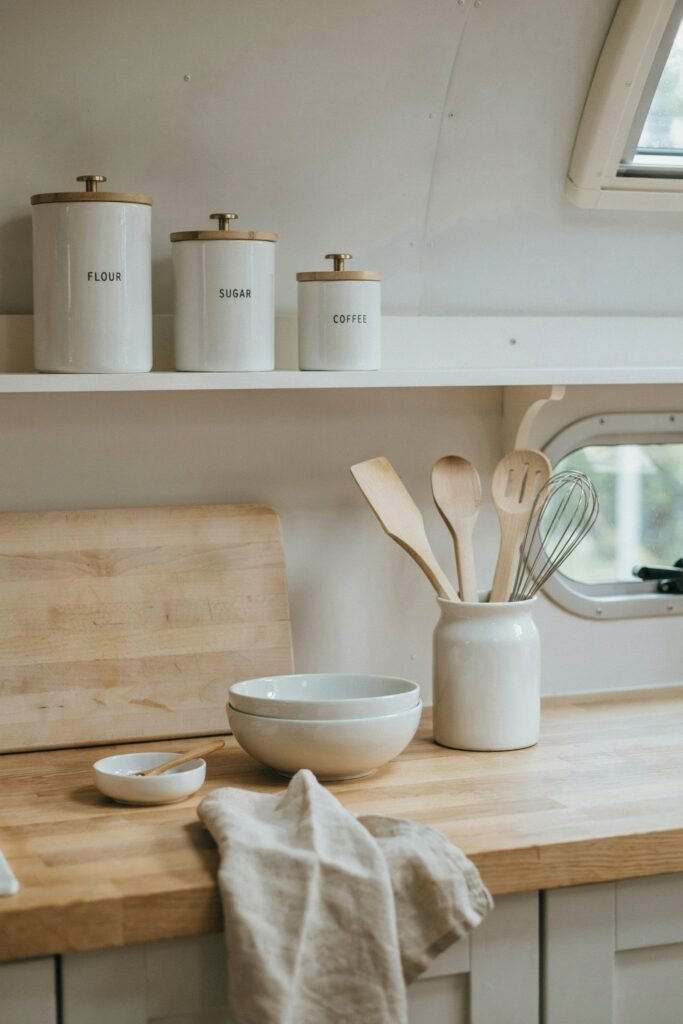
Why it works Choosing kitchen tools, containers, and small appliances in a single consistent color or material keeps an inherently busy area from visually overwhelming the rest of the space.
Materials needed Matching storage containers, a consistent set of kitchen tools, and open bins or trays if you want visible items to stay coordinated too.
How we did it We took stock of everything in our kitchen drawers and cabinets, donated or replaced anything that broke the palette, and standardized on white ceramic and light wood tools and containers, refilling anything that came in mismatched packaging into our new matching set.
My story with it The kitchen counter went from looking cluttered even when clean to looking intentional even when in use.
11. Negative Space as a Design Choice
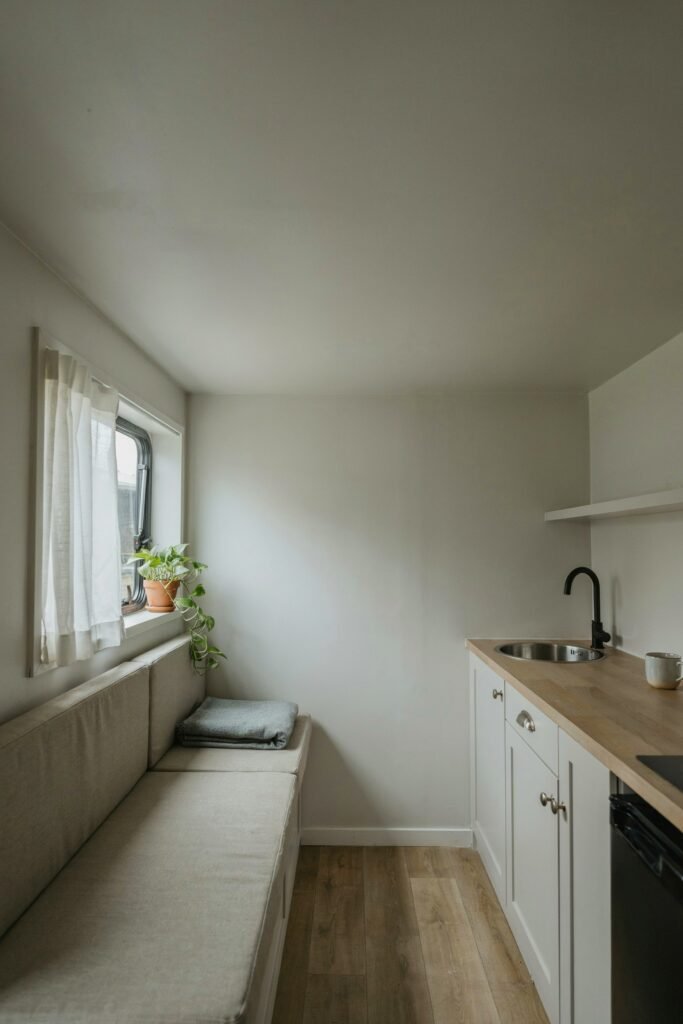
Why it works Leaving deliberate empty space, an uncluttered counter, a bare wall section, gives a small space room to breathe and prevents the claustrophobic feeling that dense decor can create in a camper.
Materials needed None, this is entirely a mindset and editing choice rather than a purchase.
How we did it Before adding anything new to the remodel, we spent a full week simply removing items and observing how the space felt with less.
We only reintroduced pieces that we actively missed, which ended up being far fewer than what we started with.
My story with it It made the whole camper feel noticeably calmer to be inside, without spending a single dollar.
A Few Practical Notes on Going Minimalist
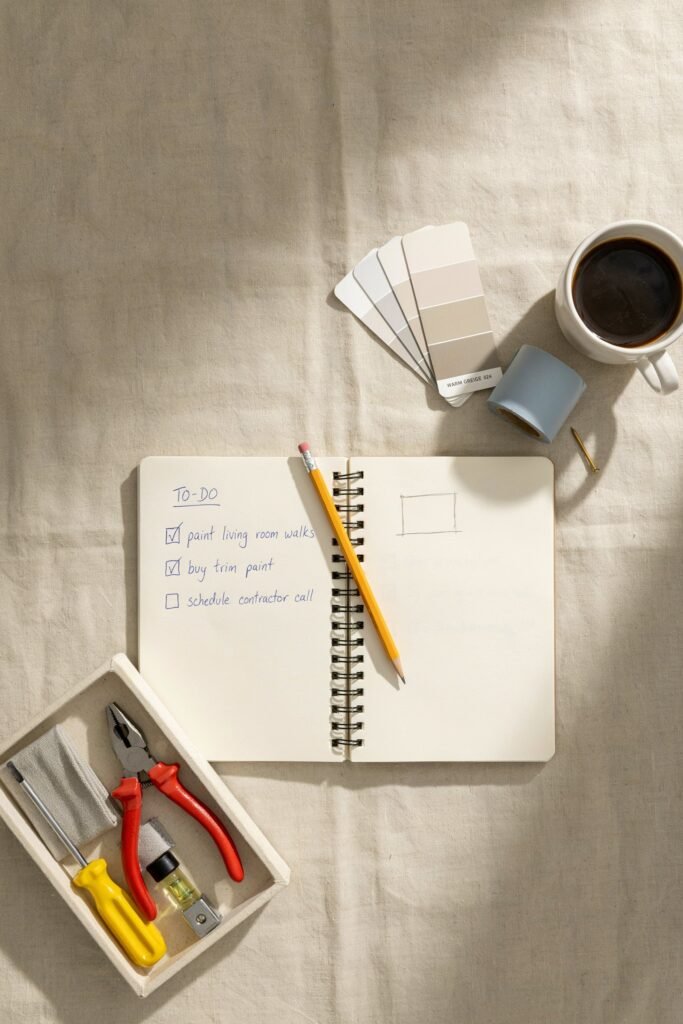
Here are a few things I wish I had known before starting my own minimalist camper makeover.
These simple lessons made every decision easier and helped me avoid spending money on changes I did not really need.
- Edit ruthlessly before you redecorate, since removing items often matters more than adding new ones
- Choose durable, easy to clean materials for any high traffic minimalist surfaces, since minimalism shows wear and mess more visibly than a busier design would
- Build in enough concealed storage before committing to an open, uncluttered look, or the minimalist aesthetic won’t hold up to actual daily use
- If you’re tackling structural upgrades alongside the aesthetic, our tiny camper renovation ideas on a budget covers cost effective ways to handle cabinets, flooring, and fixtures
- Our RV organization products worth buying pairs well with this style, since good organization is what makes a minimalist look actually livable
FAQ
Is a minimalist remodel more expensive than other camper styles? Not necessarily. Many of the changes we made, like decluttering, painting, and streamlining window coverings, cost very little.
The main investment tends to go toward better concealed storage, similar in cost to the budget upgrades in our tiny camper renovation guide.
Does a minimalist camper feel cold or impersonal? It didn’t for us, though it required more intention with the few pieces we kept.
A single meaningful photo or object tends to stand out more in a minimalist space than it would surrounded by other decor.
How do I keep a minimalist camper from looking cluttered during actual daily use? Concealed storage is the real answer here.
We built in enough hidden storage before committing to an open, uncluttered look, which lets the space return to its clean state quickly even after a busy day of cooking or unpacking.
Can I transition from a more decorated style to minimalist without a full renovation? Yes, and that’s essentially what we did.
Removing excess decor, streamlining textiles, and committing to a tighter color palette can shift the whole feel of a space significantly before you touch a single structural element.
What’s the easiest first step toward a minimalist camper remodel? Start by removing rather than adding.
We didn’t buy anything for the first week of this process, just edited down what we already had, and that alone changed how the space felt before a single new item arrived.
Final Thoughts
Eleven ideas, and nearly all of them came down to the same underlying lesson, less really did end up feeling like more once we committed to it fully.
The calm, uncluttered space we ended up with wasn’t about spending more money than our previous style.
It was about being far more intentional with what actually earned a place inside.
If you’re planning where your newly remodeled camper might take you next, our 10 best road trips in America and RV packing essentials guide are good next stops for planning the trip itself.
Whichever style you land on, boho or minimalist, the best camper remodels are the ones that actually fit how you live on the road.