
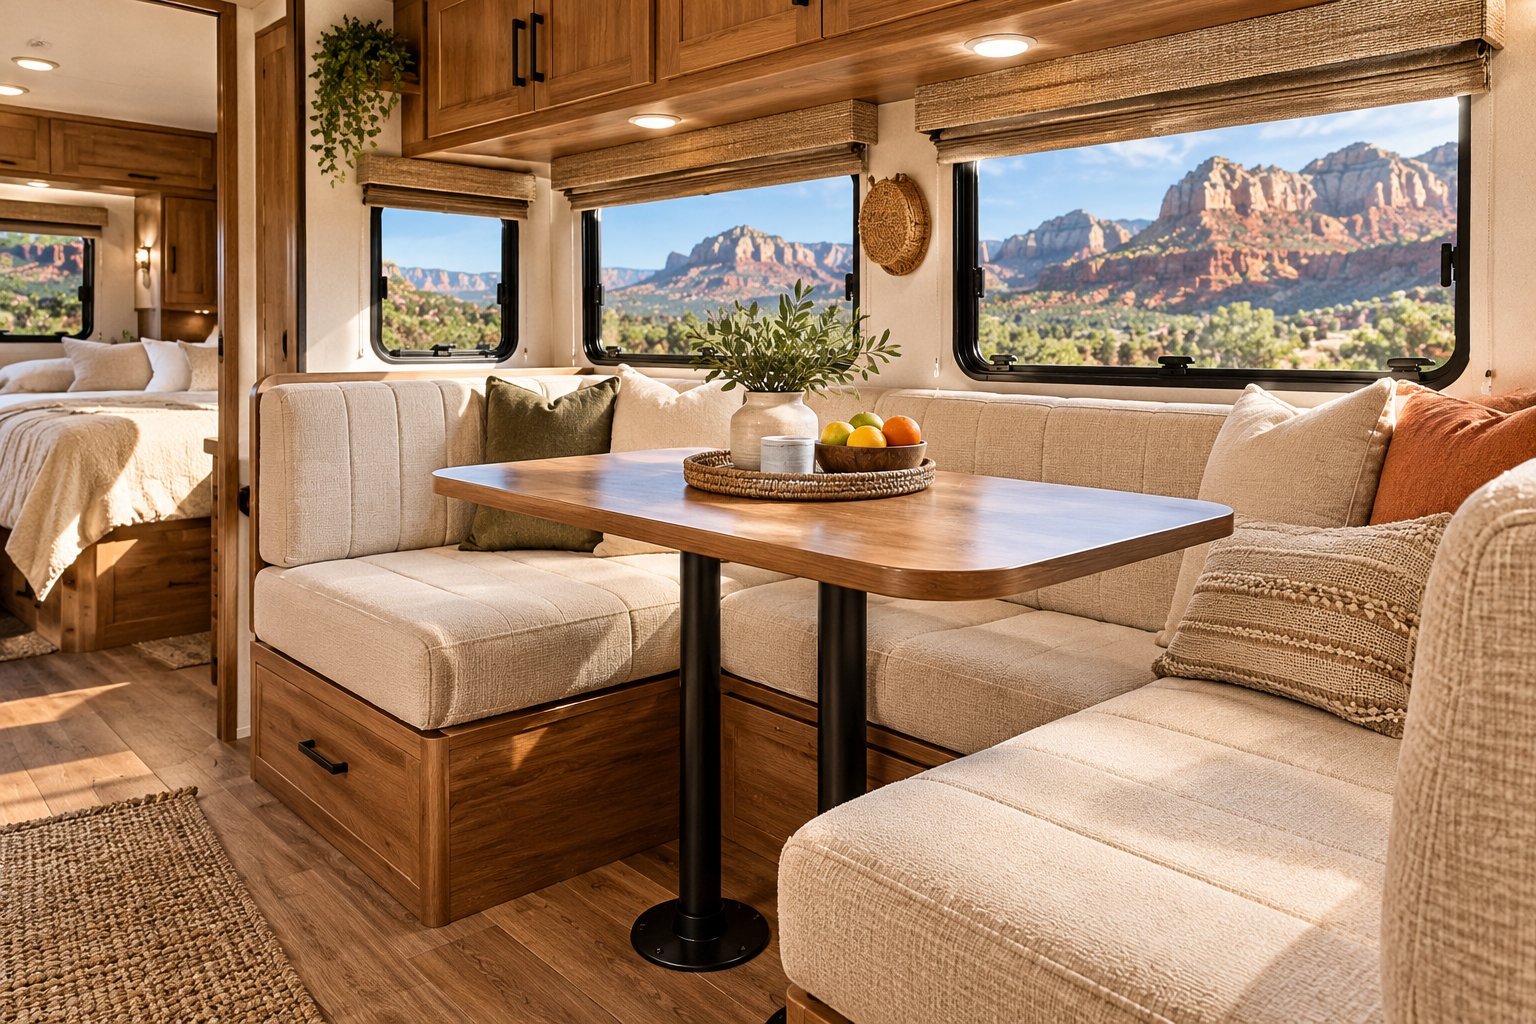
Camper cushions can make a small RV feel comfortable and inviting, but worn-out fabric, faded colors, stains, and outdated patterns can quickly make the entire interior look tired.
Replacing every cushion with new ones can also become expensive, especially when the existing foam is still in good condition.
That is why I love the idea of reupholstering camper cushions. It gives you a chance to refresh your RV interior without spending money on a completely new dinette or sofa.
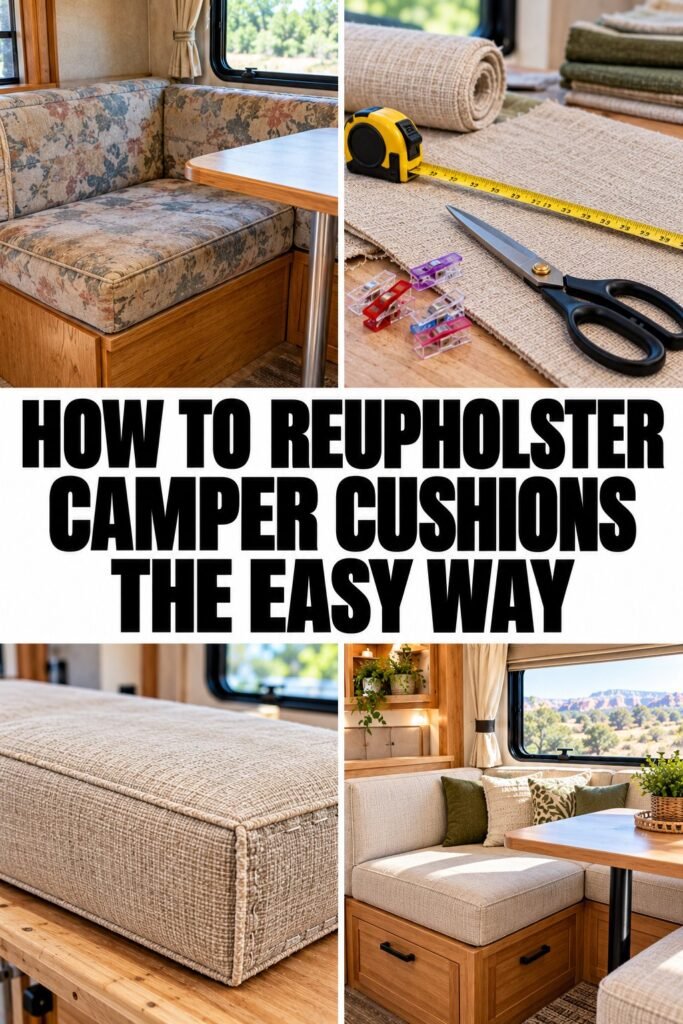
You can choose a fabric that matches your style, improve the appearance of the seating area, and keep the original foam if it is still comfortable.
The good news is that you do not need professional upholstery experience to tackle this project.
With a few basic tools, suitable fabric, and some patience, you can transform old camper cushions into something that looks fresh and inviting.
In this guide, I will walk you through how to reupholster camper cushions step by step, including how to measure the fabric, remove the old covers, work with different cushion shapes, and get a neat finish even if you are doing this for the first time.
Why Reupholster Camper Cushions Instead of Replacing Them?
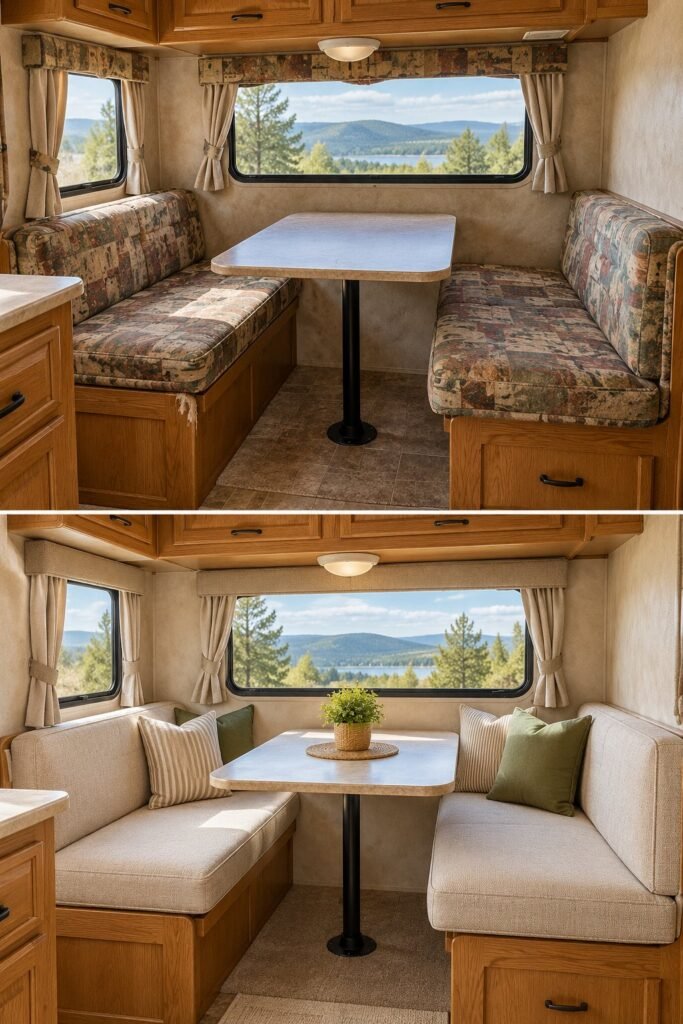
Camper cushions are often one of the first things that show signs of wear. They get used regularly, exposed to sunlight, and sometimes collect food stains, dust, and moisture.
Even when the foam underneath is perfectly usable, the fabric can make the seating area look old.
Reupholstering allows you to improve the appearance without replacing everything.
Here are a few reasons I would consider reupholstering before buying new cushions.
1. It Costs Less Than Buying New Cushions
Custom RV cushions can be surprisingly expensive, especially when you need several pieces for a dinette, sofa, or convertible bed.
If the foam is still in good condition, replacing only the fabric can save a considerable amount of money. You mainly need upholstery fabric, thread or staples, and a few basic supplies.
2. You Can Choose Your Own Style
One of the biggest advantages is having control over the final appearance.
You can choose neutral colors for a clean, modern interior, textured fabric for a cozy look, or a darker material that hides everyday marks better.
Some popular choices include:
- Warm beige and cream for a bright, simple interior.
- Charcoal gray for a modern camper.
- Olive green for a natural outdoor-inspired look.
- Navy blue for a classic, clean appearance.
- Brown or tan upholstery for a warm, rustic feel.
I recommend choosing a fabric that works with your curtains, flooring, cabinets, and other soft furnishings rather than selecting a color in isolation.
3. You Can Keep Comfortable Original Foam
If your existing cushions still feel supportive, there may be no reason to replace the foam.
Keeping the original foam can reduce waste and make the project more affordable. However, take time to inspect it before covering anything. Foam that smells musty, crumbles, stays damp, or has lost its shape may need replacing.
4. It Makes a Small Camper Feel New Again
The dinette is often one of the most noticeable areas inside a camper. Fresh cushion covers can change the entire look of the space without requiring a full renovation.
You can pair the new upholstery with simple curtains, a small rug, or decorative pillows to create a more coordinated interior.
What You Need to Reupholster Camper Cushions
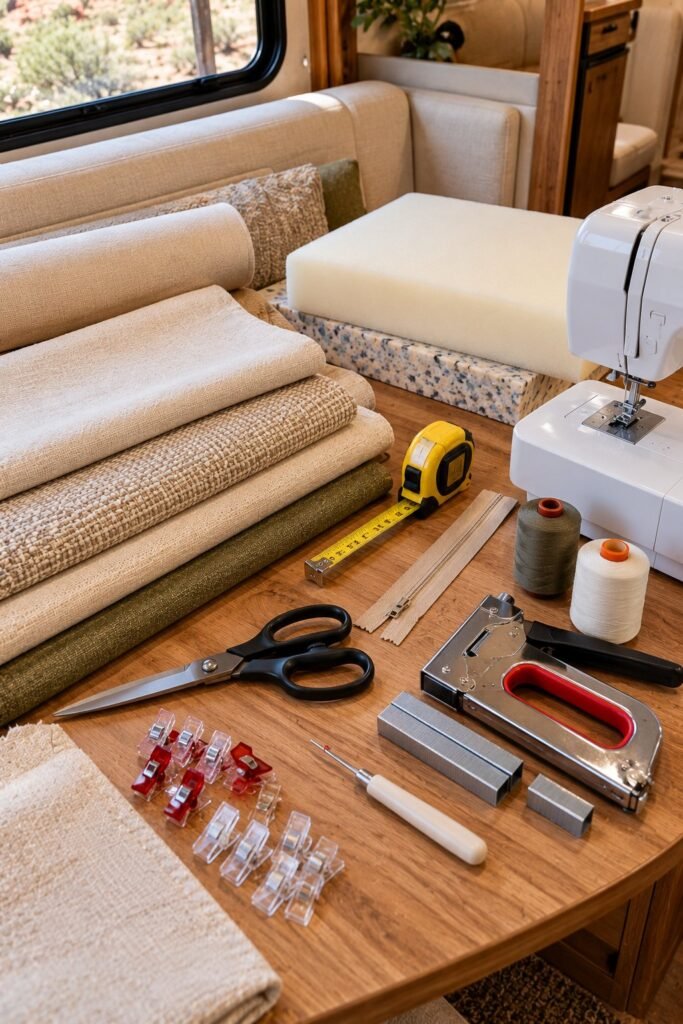
Before removing the old fabric, gather everything you need. Having your supplies ready makes the project easier and helps prevent unnecessary interruptions.
You do not need a professional upholstery workshop. Most basic camper cushion projects can be completed with ordinary household tools.
Essential Supplies
| Supply | What It Is Used For |
|---|---|
| Upholstery fabric | Covers the existing cushion foam |
| Measuring tape | Measures each cushion accurately |
| Fabric scissors | Cuts fabric to the required size |
| Sewing machine | Creates fitted cushion covers |
| Upholstery thread | Provides strong seams |
| Straight pins or fabric clips | Holds fabric pieces together |
| Staple gun | Attaches fabric to wooden cushion bases |
| Upholstery staples | Secures fabric in place |
| Seam ripper | Removes old stitching |
| Marker or fabric chalk | Marks cutting and sewing lines |
| Zippers or hook-and-loop fasteners | Makes removable covers easier to clean |
You may not need every item. The supplies depend on how your camper cushions are constructed.
For example, cushions with removable covers may only require new fabric and a sewing machine. Cushions attached to wooden seat bases may need a staple gun instead.
Step 1: Remove the Camper Cushions and Inspect Them
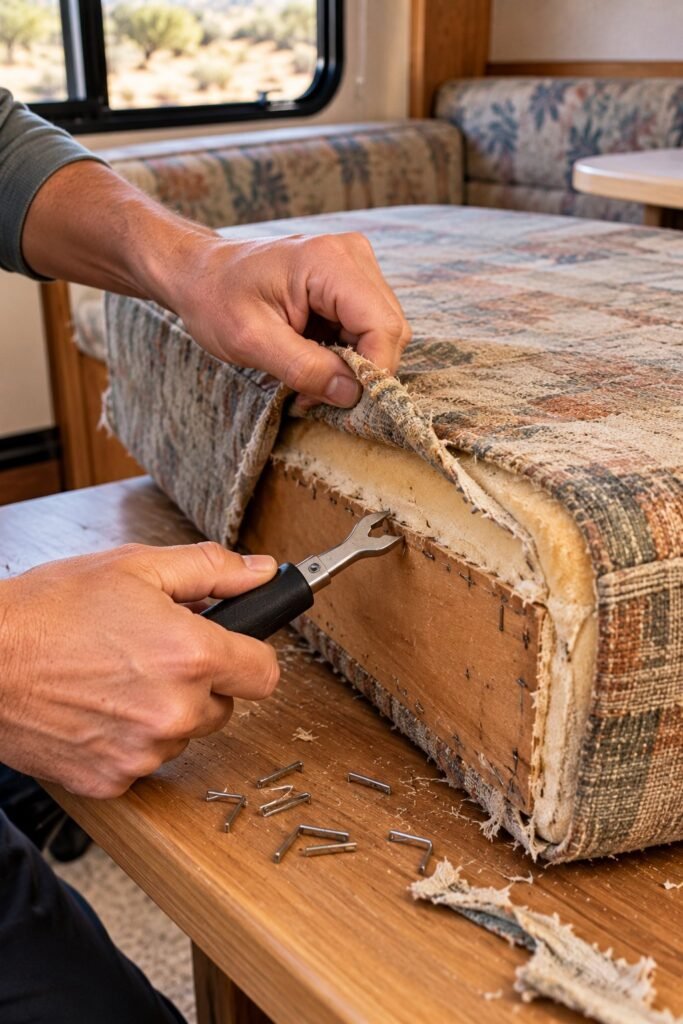
Start by taking all the cushions out of the camper. Place them on a clean, flat surface where you have enough room to work.
If your cushions are attached to a wooden base, carefully remove the screws or fasteners holding them in place. Keep the hardware somewhere safe so you can reinstall everything later.
Before removing the old upholstery, inspect each cushion.
Check for:
- Torn or weakened fabric.
- Loose seams and broken zippers.
- Flattened or uneven foam.
- Musty smells or signs of moisture.
- Damaged wooden backing.
- Areas where the fabric has separated from the cushion.
This inspection helps you decide whether you only need new covers or whether the foam and backing also need attention.
My tip: Take photographs of every cushion before taking anything apart. Capture the corners, seams, zipper placement, and the way the fabric wraps around the foam. These pictures can serve as a reference when you start putting everything back together.
Step 2: Remove the Old Fabric Carefully
Once you have inspected the cushions, remove the existing covers.
If the covers have zippers, open them and gently slide the foam out. Avoid pulling aggressively because older fabric can tear and make it difficult to use as a measuring guide.
For cushions that have been stapled to wooden backing, turn them over and use a staple remover or flat screwdriver to carefully remove the staples.
If the fabric is sewn together, a seam ripper can help you open the seams without cutting through the individual fabric panels.
Try to keep the old fabric pieces intact. They can be extremely useful as patterns for cutting your new upholstery.
If the old covers are badly damaged or stretched, do not assume they are still accurate measurements. Measure the foam itself before cutting the replacement fabric.
Step 3: Measure Each Camper Cushion
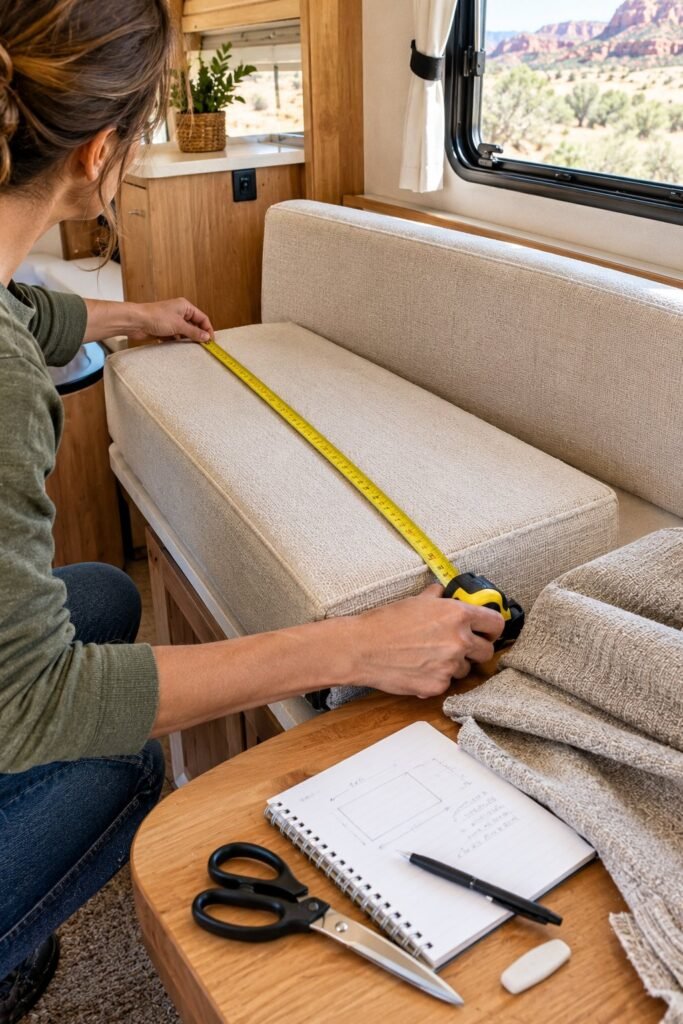
Accurate measurements are one of the most important parts of this project. A cover that is too small will be difficult to fit, while excess fabric can create loose corners and wrinkles.
Measure each cushion separately, even if several pieces appear to be the same size.
Record these measurements:
- Length from one end to the other.
- Width across the cushion.
- Thickness or height.
- Any rounded corners or unusual shapes.
For a simple rectangular cushion, you will usually need a top panel, a bottom panel, and side panels known as boxing.
The boxing is the strip of fabric that runs around the sides of the cushion. Its width should account for the cushion thickness and your seam allowance.
For example, if your foam is 4 inches thick, you will need enough fabric for the 4-inch side panel plus additional material for sewing the seams.
Do not forget to include a seam allowance when cutting. Around ½ inch is a common starting point, although you should adjust it to suit your sewing method and the original cover construction.
Make a Measurement Chart
If you have several dinette cushions, write down the measurements in a simple chart.
| Cushion | Length | Width | Thickness |
|---|---|---|---|
| Seat cushion 1 | Measure | Measure | Measure |
| Seat cushion 2 | Measure | Measure | Measure |
| Back cushion 1 | Measure | Measure | Measure |
| Back cushion 2 | Measure | Measure | Measure |
Label each cushion so you know which measurements belong to which piece. This is especially helpful when the cushions have slightly different shapes.
Step 4: Choose the Right Fabric for Camper Cushions
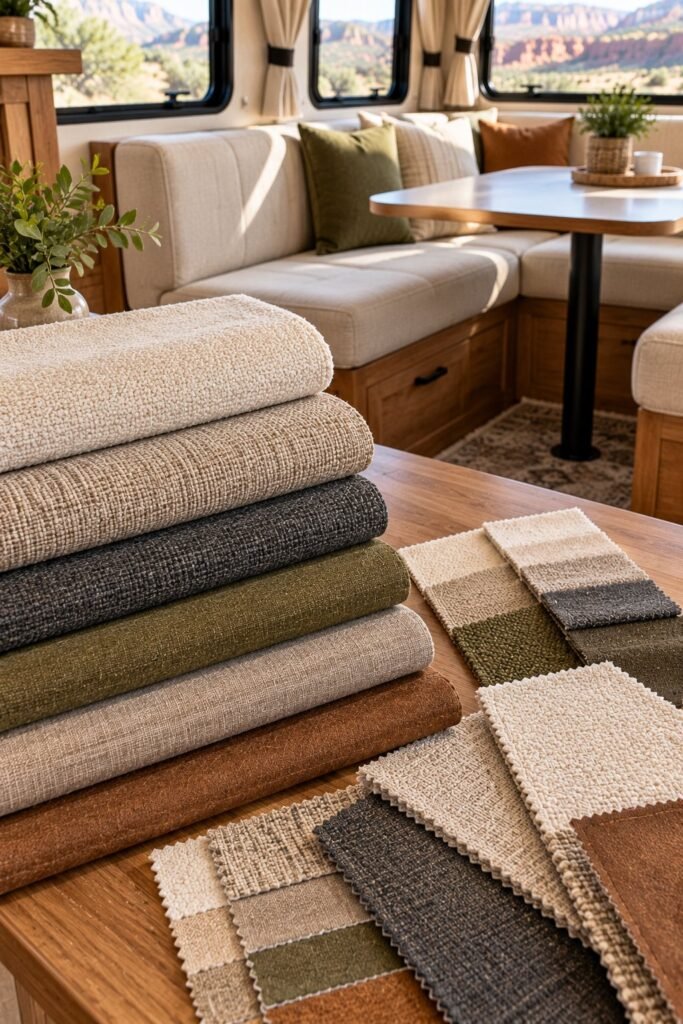
Choosing upholstery fabric is just as important as measuring correctly. Camper cushions experience regular use, and the material needs to handle movement, friction, sunlight, and occasional spills.
I would avoid choosing fabric based only on its appearance. A beautiful material that stains easily or wears out quickly may not be the best choice for a frequently used RV.
Good Fabric Options for RV Cushions
Upholstery-grade polyester
Polyester upholstery fabric is available in many colors and textures. It is often a practical choice for camper seating because it can offer good durability and is relatively easy to maintain.
Performance fabric
Performance upholstery fabrics are designed for everyday use and may offer better resistance to stains, moisture, and fading, depending on the product. They are worth considering for a family camper or a frequently used RV.
Canvas
Canvas has a sturdy, casual appearance that works particularly well in rustic or outdoor-inspired camper interiors. It is generally heavier than ordinary decorative cotton, so check that your sewing machine can handle the thickness.
Microfiber
Microfiber can feel soft and comfortable while offering a practical surface for everyday seating. Check the manufacturer’s cleaning instructions before purchasing.
Vinyl
Vinyl is easy to wipe clean and can be useful in areas where spills are common. However, some types can feel warm or sticky in hot weather, so consider your climate and comfort preferences.
What to Look for Before Buying
Before purchasing fabric, check:
- Whether it is suitable for upholstery.
- Its abrasion or wear rating, if provided.
- Whether it is treated for stain resistance.
- Its cleaning instructions.
- Whether the color is likely to fade in sunlight.
- Whether it is thick enough for your intended sewing method.
For a camper that receives a lot of direct sunlight, UV resistance is particularly useful.
I also recommend buying a little extra fabric. Having spare material gives you room for mistakes, pattern matching, and future repairs.
Step 5: Cut the New Fabric
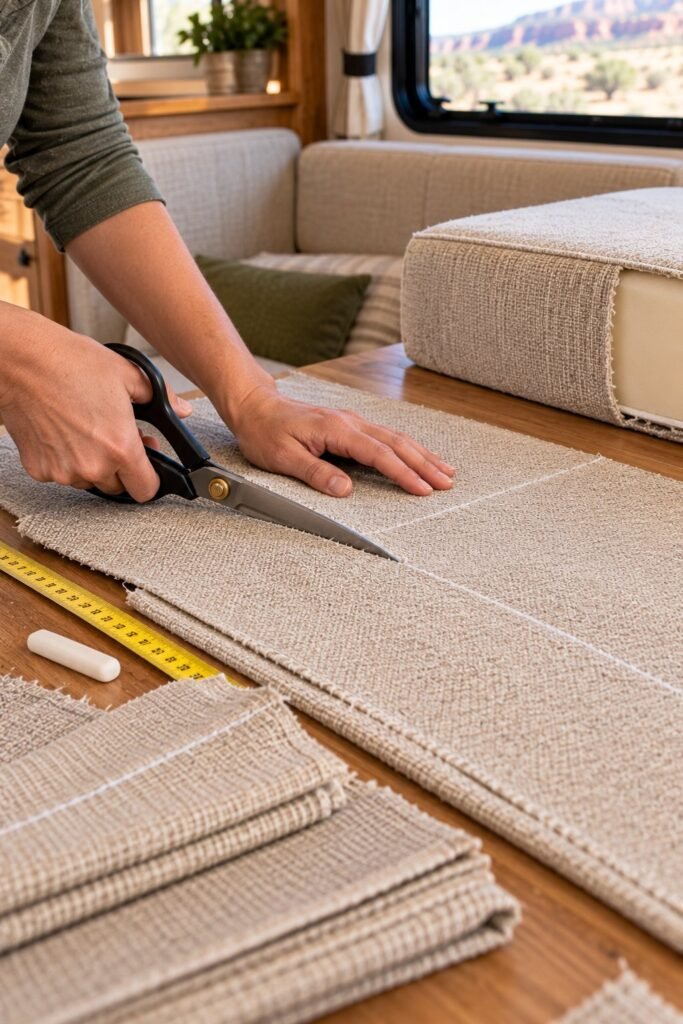
After choosing your material and confirming the measurements, it is time to cut the new fabric.
Lay the fabric on a large, clean surface with the wrong side facing up. Use your measurement chart and old cushion covers as guides.
For a basic rectangular cushion, you will generally cut:
- One top panel.
- One bottom panel.
- Long side strips for the boxing.
- Additional fabric for corners, zipper panels, or special shapes.
Mark each piece with fabric chalk or a washable marker. Label the pieces before cutting so you do not mix them up.
Use sharp fabric scissors and cut slowly along your markings.
If your fabric has stripes, checks, or a repeated pattern, pay attention to how the design will line up when the cushion is assembled. Matching patterns can make the finished upholstery look much more professional.
Important: Before cutting all the fabric, double-check the measurements and seam allowances. It is much easier to correct a paper measurement than to replace a piece of fabric that has already been cut.
Step 6: Sew the New Cushion Covers
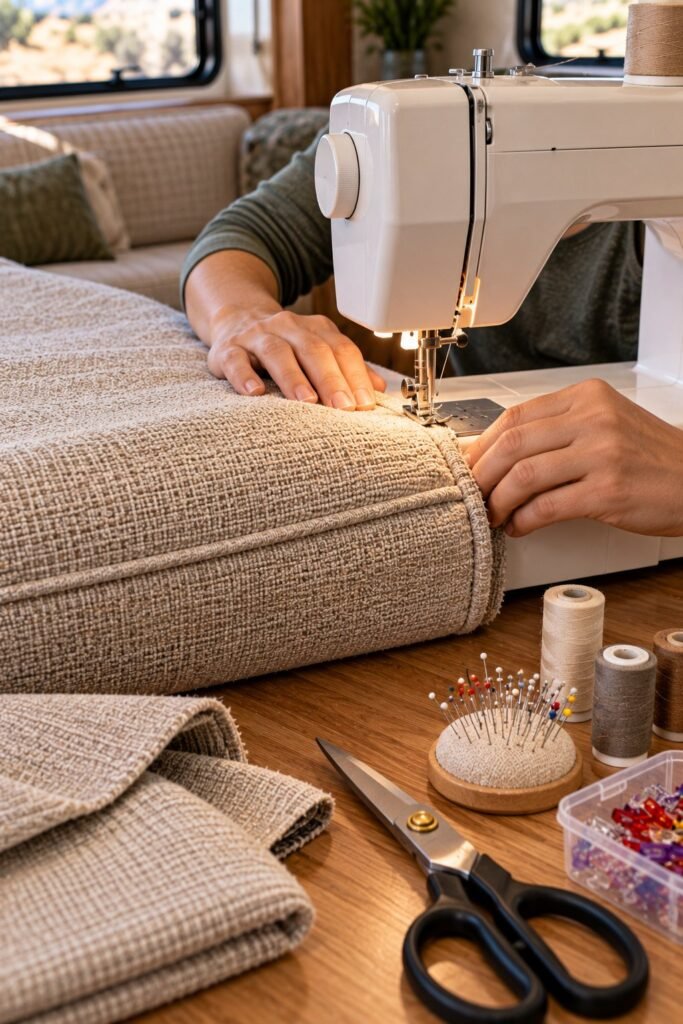
Now that your fabric pieces are cut, you can start assembling the new covers.
For cushions with removable covers, a sewing machine is usually the easiest way to get a neat and secure finish.
Start by placing the top panel and side boxing pieces together with their right sides facing each other. Pin or clip the edges so the fabric does not move while sewing.
Sew slowly along the edges, keeping a consistent seam allowance. Once the boxing is attached to the top panel, connect the remaining side sections to form the cushion shape.
Before attaching the bottom panel, decide where you want the zipper to go.
For most camper cushions, placing the zipper along the back or underside makes it less noticeable. It also makes it easier to remove the cover when you need to wash or replace it.
Tips for Sewing Camper Cushion Covers
- Use upholstery-grade thread rather than lightweight thread.
- Choose a needle suitable for the thickness of your fabric.
- Sew slowly around corners.
- Reinforce areas that will experience frequent pulling.
- Avoid stretching the fabric while sewing.
- Test your stitch length and tension on a fabric scrap first.
If you are using thick canvas or heavy upholstery material, test your sewing machine before starting the actual covers. Some domestic machines struggle with multiple thick layers.
Step 7: Add a Zipper for Easy Removal
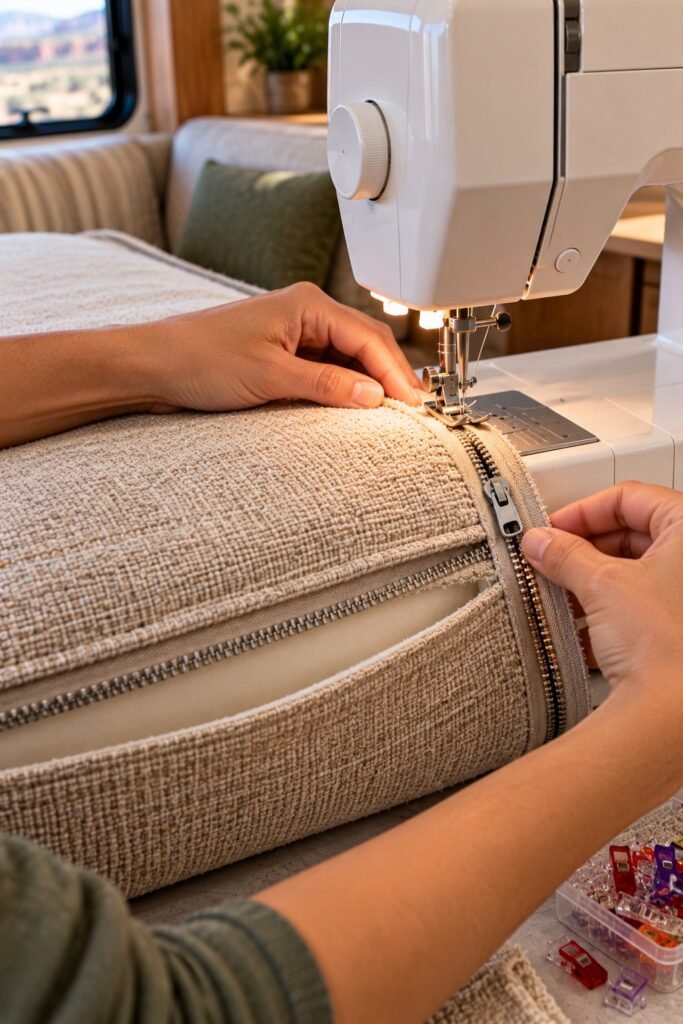
A zipper is one of the most useful features you can add to camper cushion covers.
Without one, removing the cover for cleaning or replacing the foam can become difficult. A zipper gives you access without having to cut or unstitch the fabric.
You can install a zipper along one side of the cushion or across the back panel.
Here is a simple way to do it:
- Choose a zipper that is long enough to make removing the foam easy.
- Position it along the seam where it will be least noticeable.
- Pin or clip the zipper tape to the fabric.
- Use a zipper foot on your sewing machine.
- Sew along both sides of the zipper.
- Check that it opens and closes smoothly before completing the cover.
A longer zipper is often easier to work with because you can remove the foam without forcing it through a small opening.
If sewing a zipper feels too complicated, you can use a professionally made cushion zipper panel or another secure closure suitable for upholstery. Avoid relying on loose fabric folds that can open during everyday use.
Step 8: Turn the Cover Right Side Out and Insert the Foam
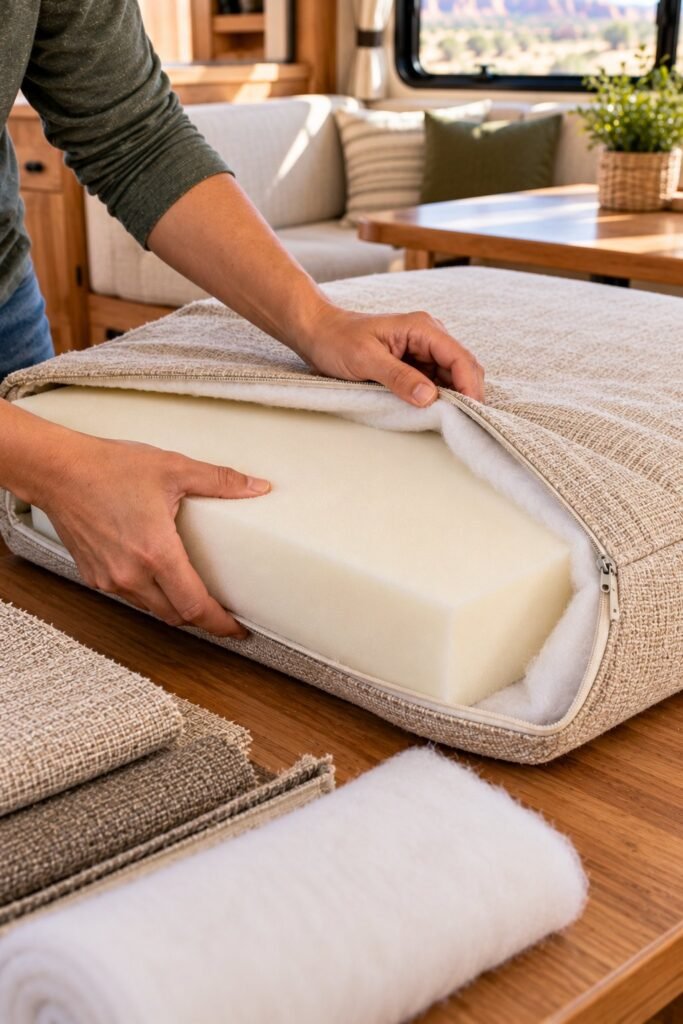
Once the cover is sewn, turn it right side out and gently push out the corners.
Check the seams for loose threads, uneven stitching, or gaps before inserting the foam.
Open the zipper and carefully slide the foam into the cover. Start with one end and gradually work the foam into each corner.
If the cover feels slightly snug, that can help create a smooth appearance. However, it should not be so tight that the seams are under excessive tension or the zipper struggles to close.
For larger cushions, folding the foam gently can make insertion easier. Avoid bending it sharply or forcing it through the opening.
Once the foam is inside, distribute it evenly and check all the corners.
The finished cushion should have a smooth surface without excessive wrinkles, loose fabric, or visible gaps.
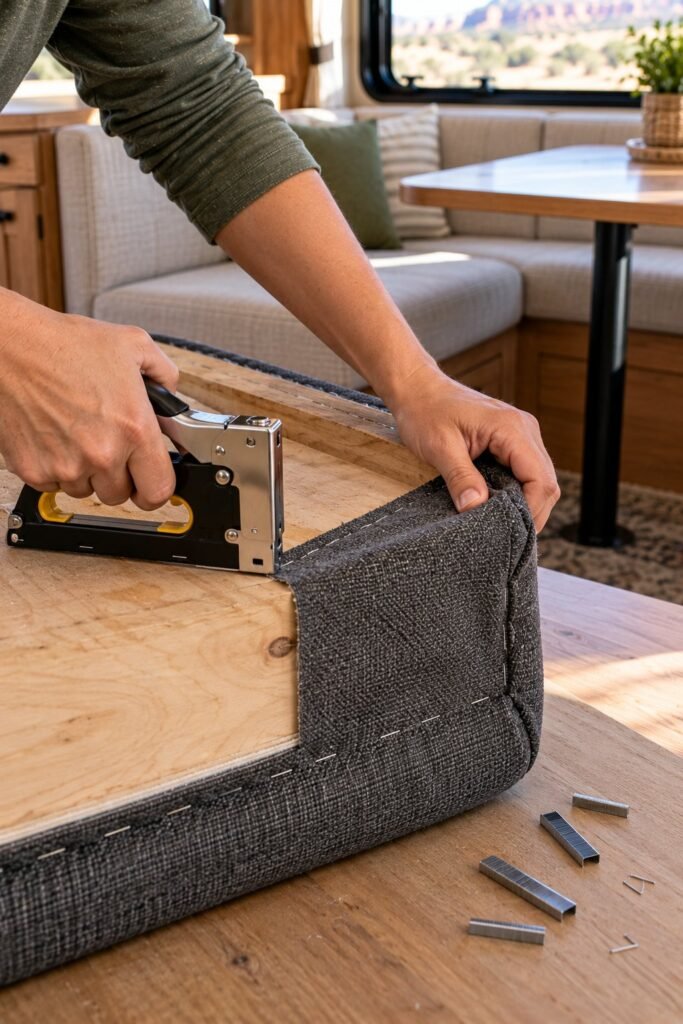
Step 9: Reupholster Cushions With Wooden Bases
Not every camper cushion has a removable fabric cover. Some dinette seats have foam attached to a wooden board, with the upholstery wrapped around the edges and stapled underneath.
These cushions can also be refreshed without sewing a complete cover.
This method is particularly useful for camper dinettes and fixed seating.
What You Need
- New upholstery fabric.
- Staple gun.
- Upholstery staples.
- Fabric scissors.
- Measuring tape.
- Screwdriver or staple remover.
- Optional new foam or batting.
How to Do It
1. Remove the cushion from the camper
Unscrew or release the cushion from its mounting points. Keep the hardware somewhere safe.
2. Remove the old staples
Turn the cushion upside down and carefully remove the staples holding the old fabric in place.
3. Inspect the foam and wooden board
Check the foam for damage and make sure the board is not cracked, damp, or deteriorating. Replace damaged materials before continuing.
4. Position the new fabric
Lay the fabric face down on a clean surface. Place the cushion on top with the seating surface facing the fabric.
Make sure you have enough fabric on every side to wrap around the foam and wooden backing.
5. Staple the fabric in place
Begin by placing a few staples in the middle of one side. Move to the opposite side and gently pull the fabric taut before adding more staples.
Repeat the process on the remaining sides.
Working from the center toward the corners helps distribute the fabric evenly and reduces wrinkles.
6. Finish the corners
Fold the fabric neatly at each corner, similar to wrapping a present. Avoid creating large, bulky folds that prevent the cushion from sitting flat.
Add staples underneath to secure the folds.
7. Trim the excess fabric
Once everything is secure, carefully trim excess material while leaving enough fabric around the staples to prevent the edges from coming loose.
Check that no staples are exposed where someone could touch or sit against them.
Important: This method only works when the cushion has a suitable wooden backing. Do not staple fabric directly into foam, and make sure the finished cushion can be securely reinstalled in the camper.
Step 10: Add New Foam or Batting if Needed
Sometimes the fabric is not the only problem. Older camper cushions may have become flat, uneven, or uncomfortable after years of use.
If the foam has lost its support, replacing it while reupholstering can make a noticeable difference.
When Should You Replace Camper Cushion Foam?
Consider replacing the foam if:
- It stays compressed after someone gets up.
- It has developed permanent dips.
- It crumbles when handled.
- It has a persistent musty smell.
- It has been exposed to moisture and cannot be properly dried or cleaned.
- It no longer provides comfortable support.
For replacement foam, look for upholstery foam intended for seating rather than soft craft foam.
The correct firmness depends on how the cushions will be used. A dinette seat generally needs more support than a decorative back cushion.
Should You Add Batting?
Batting is a soft layer placed around the foam to create a fuller, smoother appearance.
It can help hide small imperfections in older foam and soften the edges of a cushion.
However, it is not a replacement for damaged or unsupportive foam. If the cushion has lost its structure, replace the foam first.
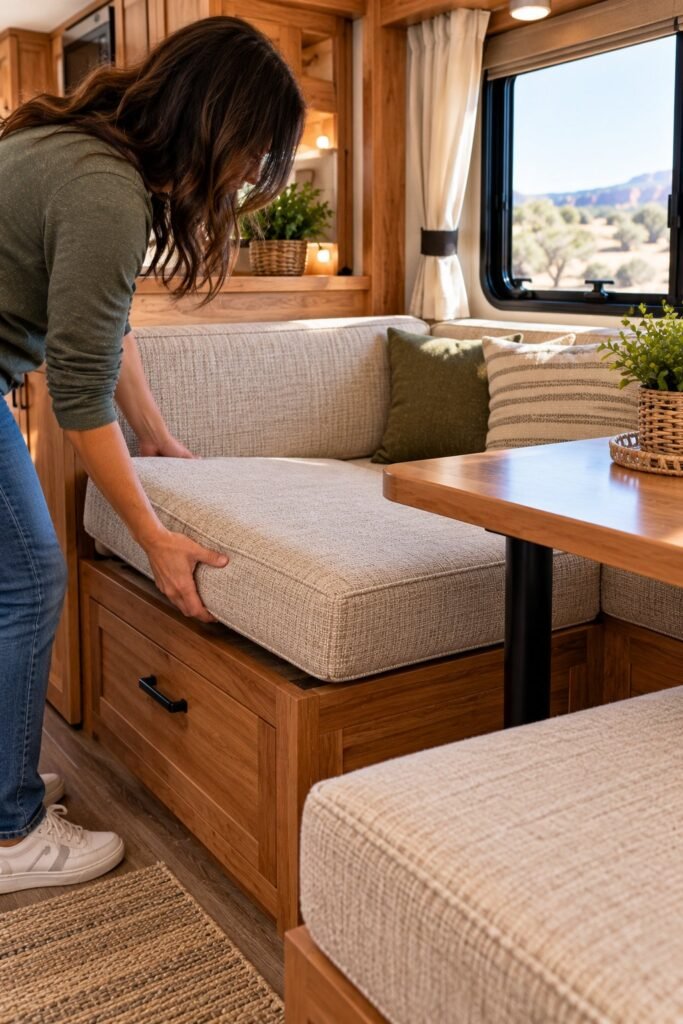
Step 11: Reinstall the Cushions in Your Camper
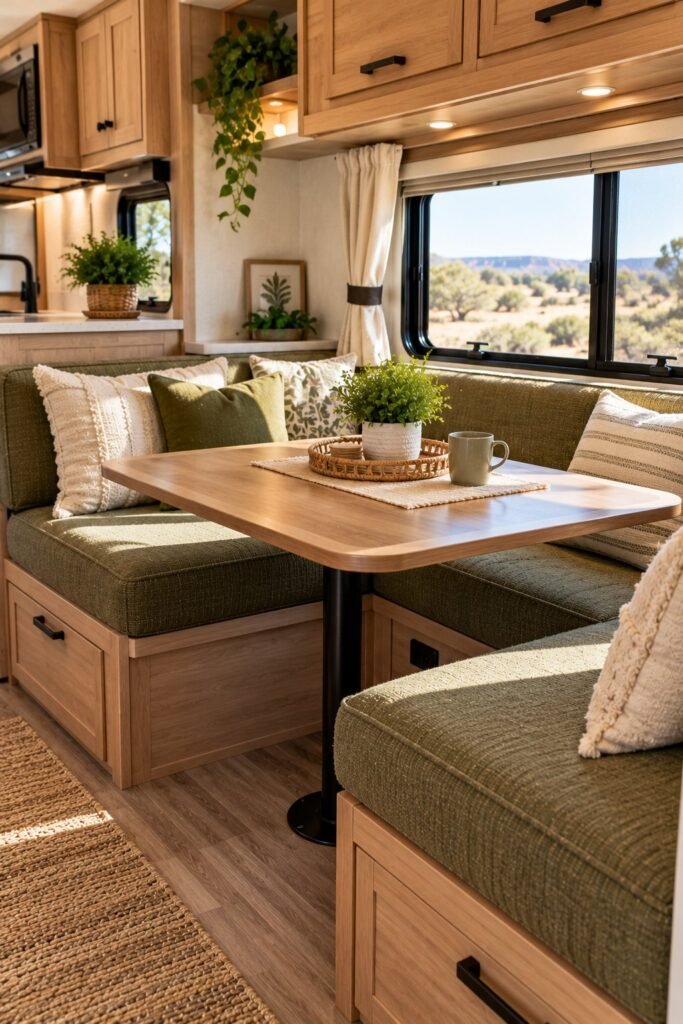
Once all the covers are finished, place the cushions back inside your camper.
If you removed screws, brackets, or other mounting hardware, reinstall them carefully.
Check that:
- Each cushion fits its original position.
- The covers are not pulling against the seams.
- Zippers are closed and positioned safely.
- The seating surface is smooth.
- Cushions do not slide around when someone sits down.
- Any original safety or mounting features remain functional.
Sit on each cushion and check how it feels. If one side looks uneven, remove the cover and reposition the foam before making any further adjustments.
Take your time with this stage. A properly fitted cushion makes the entire project look much more professional.
How to Make Reupholstered Camper Cushions Look More Expensive
You do not need expensive materials or a complete RV renovation to create a beautiful interior. A few thoughtful design choices can make your new cushions look like custom upholstery.
1. Choose Neutral Upholstery
Neutral colors such as beige, cream, taupe, and warm gray can make a small camper feel brighter and more spacious.
They also work well with different cabinet finishes and flooring styles.
2. Use Textured Fabric
A subtle woven texture can make simple upholstery look more interesting without overwhelming a small interior.
Look for durable fabrics with a linen-like appearance or a soft, understated pattern.
3. Add Coordinating Throw Pillows
A couple of small decorative pillows can make a camper dinette feel more like a comfortable living room.
Choose washable covers and avoid oversized pillows that take up too much seating space.
4. Keep Patterns Simple
Large, busy patterns can make a compact RV feel crowded. Small geometric designs, subtle stripes, or solid colors are often easier to coordinate.
If you want a patterned fabric, consider using it on the back cushions while keeping the seat cushions in a solid color.
5. Match the Curtains and Flooring
Your cushions do not need to match everything exactly. However, choosing colors that complement the curtains, flooring, and cabinets helps the entire space feel coordinated.
Common Mistakes to Avoid When Reupholstering Camper Cushions
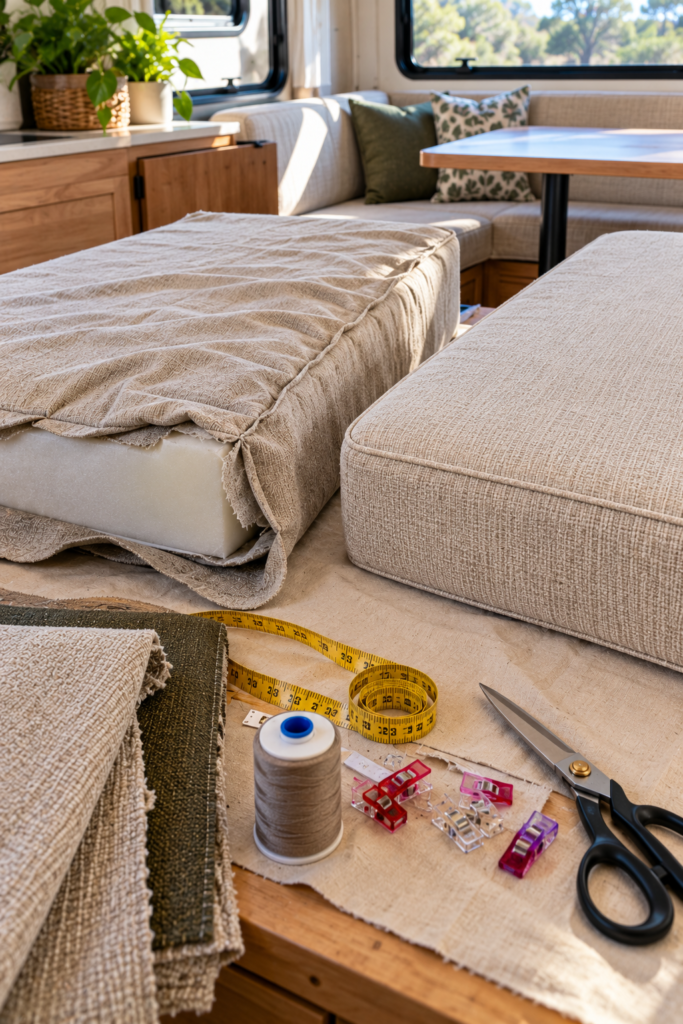
A few small mistakes can make an otherwise simple project more difficult. Here are some things I would watch out for.
Buying Too Little Fabric
Always calculate the fabric needed for every cushion, including the side panels, seams, corners, and pattern matching.
Buying a little extra is better than discovering that you are short of material halfway through the project.
Skipping the Foam Inspection
Covering damaged or damp foam does not solve the problem. It can trap odors and moisture inside the cushion.
Inspect and repair the foam before installing the new upholstery.
Choosing Fabric That Is Too Thin
Ordinary lightweight decorative fabric may not withstand the repeated friction of camper seating.
Choose upholstery-grade material designed for regular use.
Pulling the Fabric Too Tightly
Tight fabric can distort the cushion and put unnecessary pressure on the seams.
Aim for a smooth, secure fit rather than stretching the material as tightly as possible.
Forgetting About Cleaning
Camper cushions are used for eating, relaxing, and sometimes sleeping. Choose a fabric with practical cleaning instructions.
Removable covers are especially useful because you can take them off when they need attention.
Ignoring Sunlight Exposure
Camper interiors can receive strong sunlight through windows. Some fabrics fade faster than others.
If your RV spends a lot of time parked outdoors, consider upholstery with suitable UV resistance and use window coverings when the camper is not in use.
How Much Does It Cost to Reupholster Camper Cushions?
The cost depends on the number of cushions, their dimensions, the fabric you choose, and whether the foam needs replacing.
A small dinette with two or four cushions may require considerably less material than a camper with a large U-shaped seating area.
Here is a simple breakdown of the main expenses.
| Item | What Affects the Cost |
|---|---|
| Upholstery fabric | Fabric type, quality, and quantity |
| Thread and sewing supplies | Whether you already own them |
| Zippers | Length and number required |
| Foam | Thickness, firmness, and quantity |
| Batting | Whether you want a fuller finish |
| Staple gun and staples | Whether you need to purchase tools |
| Professional labor | Complexity and number of cushions |
The most effective way to control your budget is to inspect the original foam first. If it is still in good condition, you may only need to purchase fabric and a few sewing supplies.
For an accurate estimate, measure every cushion and calculate the fabric requirements before shopping. Fabric prices vary considerably, so avoid relying on a single general price estimate.
Frequently Asked Questions
Can I reupholster camper cushions without sewing?
Yes. If your cushions have wooden bases, you can often remove the old fabric and staple new upholstery underneath. For cushions with removable fabric covers, sewing is usually the better option because it creates a fitted cover.
What is the best fabric for camper cushions?
Upholstery-grade polyester and performance fabrics are practical choices for many campers. Canvas and microfiber can also work, depending on the style and cleaning requirements. Choose a durable material that can handle frequent use.
Can I reuse my old camper cushion foam?
Yes, if it is clean, dry, supportive, and still holds its shape. Replace foam that is crumbling, permanently compressed, damaged, or affected by persistent moisture.
How much extra fabric should I buy?
The amount depends on the cushion dimensions, thickness, construction, and fabric pattern. Calculate the top, bottom, and side panels separately, include seam allowances, and purchase extra for mistakes and pattern matching.
Is it better to use removable cushion covers?
For many campers, yes. Removable covers make cleaning and future repairs easier. A zipper is a practical option, especially for cushions that receive regular use.
How long does it take to reupholster camper cushions?
A simple cushion cover may take a few hours once you have measured and prepared the fabric. A complete camper dinette with several cushions can take a full weekend or longer, depending on the number of pieces and your sewing experience.
Can I reupholster camper cushions with a regular sewing machine?
Often, yes. A domestic sewing machine can handle many medium-weight upholstery fabrics. However, thick canvas, heavy vinyl, and multiple layers may require a machine designed for heavier materials. Test a fabric sample first.
Final Thoughts
Reupholstering camper cushions is one of the most practical ways to refresh an RV interior without spending money on an entirely new seating setup.
The most important things are choosing durable fabric, measuring carefully, inspecting the foam, and taking your time with the corners and seams. You do not need to rush the process or have professional upholstery skills to get a good result.
If your original cushions are still comfortable, replacing the fabric can give them a completely different appearance while keeping the parts that already work.
I would start with one small cushion before tackling the entire dinette. It gives you a chance to practice your measurements, sewing, and fitting technique. Once you are happy with the result, you can move on to the remaining cushions and give your camper a fresh, coordinated look.