

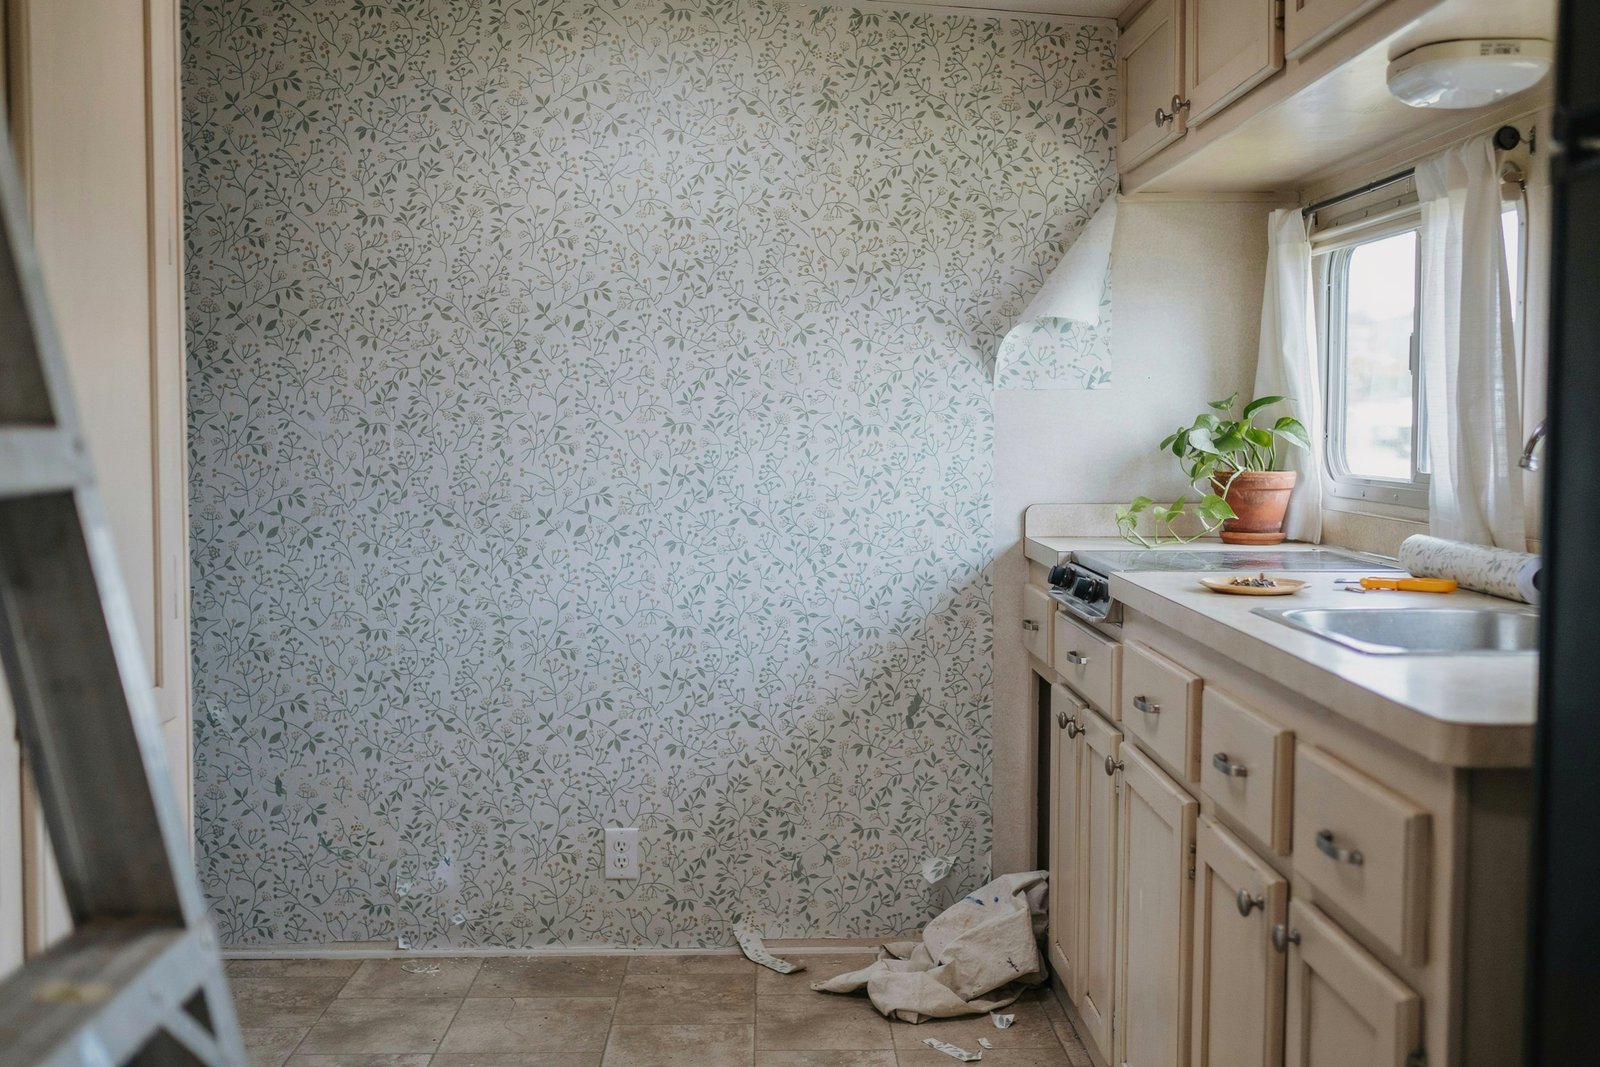
Our camper renovation budget started at almost nothing, which forced us to get creative fast.
We couldn’t afford a full gut renovation, so we learned instead to prioritize the small, affordable changes that actually shifted how the space felt day to day.
This post covers exactly what we did, room by room, along with what turned out to be worth the money and what we’d skip if we started over.
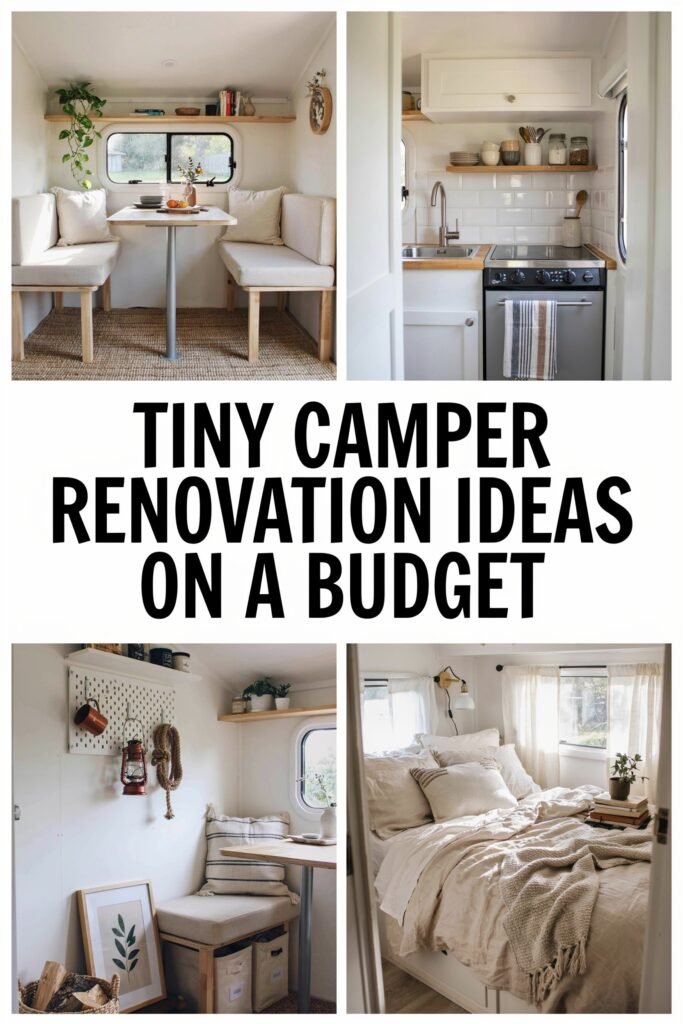
If you’re styling the space alongside renovating it, our boho camper styling ideas guide pairs naturally with this post, and our RV organization products worth buying covers the functional side of small space living.
Disclaimer: This post may contain affiliate links, which means I may earn a small commission at no extra cost to you. Always use lightweight, RV-safe materials and ensure all renovation items are properly secured before traveling.
Amazon Shopping List: Tiny Camper Renovation Ideas on a Budget
- Peel and Stick Wallpaper (Budget-Friendly RV Design)
- Peel and Stick Vinyl Floor Tiles
- Contact Paper for Countertops and Cabinets
- Matte Black Cabinet Knobs and Pulls Set
- LED Puck Lights or Battery-Powered Lighting
- Foldable Fabric Storage Cubes
- Woven Storage Basket Set
A Little Travel Shopping Tip
I try to order my travel essentials before the week of my trip because last minute shopping is stressful enough. If you regularly order packing and travel items from Amazon, Prime may be worth looking into for convenient delivery. Check out Amazon Prime here.
How We Approached This Renovation
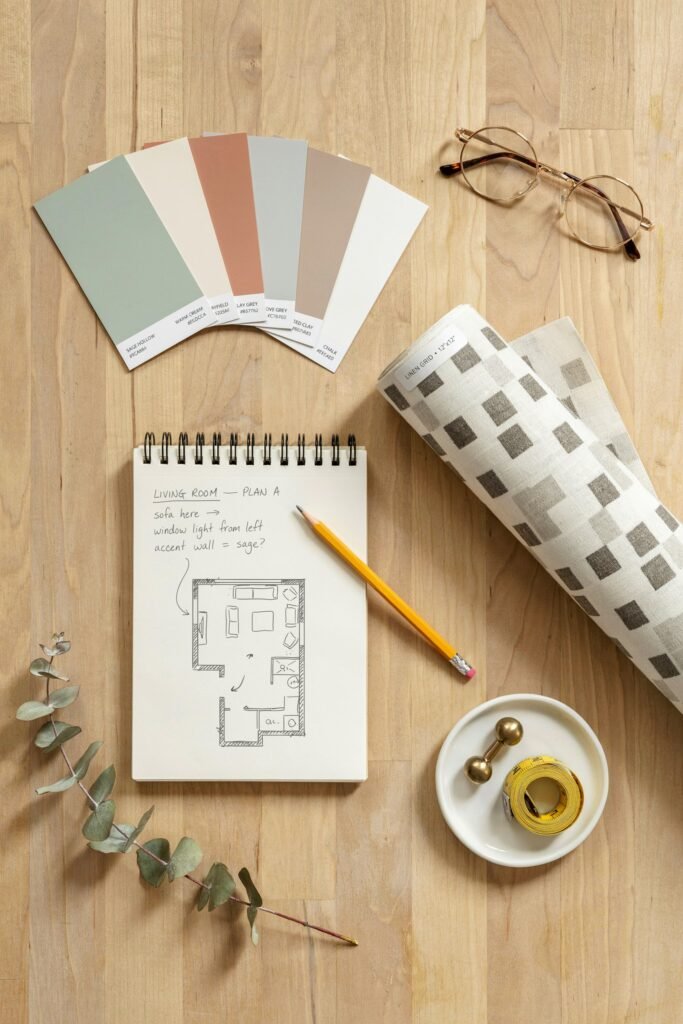
I kept one rule in mind while planning every upgrade: if it was not going to make the camper feel more comfortable, more useful, or more like our own space, it was not worth spending money on.
- Prioritize changes that affect how the space feels daily, not just how it photographs
- Choose peel and stick or removable options wherever possible, since they cost less and allow flexibility later
- Do the labor ourselves whenever the skill required was reasonable, saving the bulk of our budget for materials
- Focus on one room or area at a time, rather than spreading a small budget too thin across the entire camper
- Research thoroughly before buying, since a cheap material that fails quickly ends up costing more in the long run
With that approach in mind, here’s what actually made the biggest difference in our tiny camper renovation.
Video Guide For More Ideas
1. Peel and Stick Wallpaper
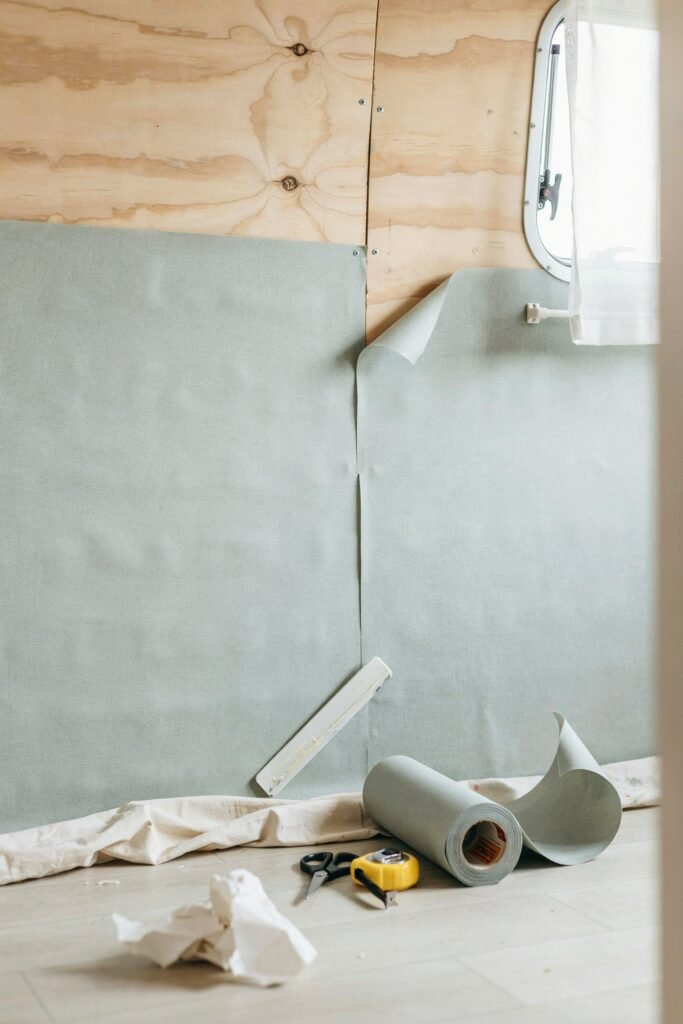
This was our very first renovation project, and it remains the single most transformative change for the amount we spent.
Why it’s worth it Peel and stick wallpaper completely changes the tone of a space without requiring paint, primer, or any real mess, and it’s removable if you change your mind or move to a new camper later.
My story with it Our camper’s original walls were a flat, uninspired beige that made the whole space feel dated.
A single weekend applying a soft textured wallpaper in the main living area changed the entire feel of the camper for less than we expected to spend.
Cost and effort
Roughly $30 to $60 for enough to cover a main living area, and about one afternoon of work. It’s beginner friendly, even if you’ve never applied wallpaper before.
2. Repainting Cabinets
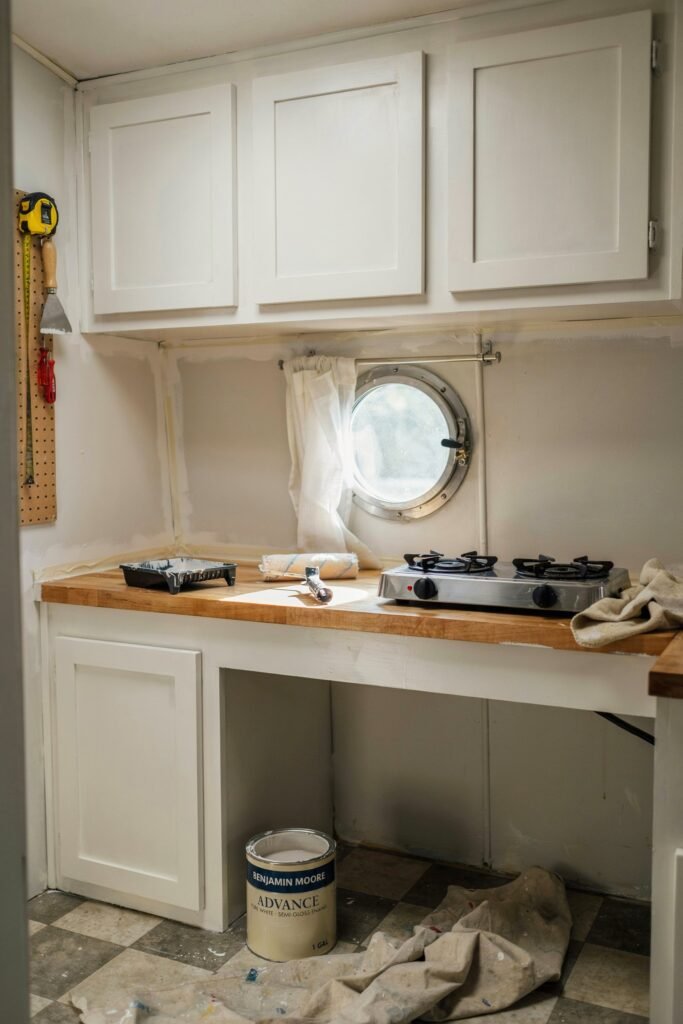
Dated wood cabinetry was one of the biggest visual issues in our camper, and this fix cost far less than replacing them entirely.
Why it’s worth it A fresh coat of paint on existing cabinets modernizes the whole kitchen area without the expense or labor of a full cabinet replacement.
My story with it Our original cabinets were a heavy, orange toned wood that made the kitchen feel small and dark.
Sanding, priming, and repainting them a soft white brightened the entire space dramatically, and it remains one of the best value projects we tackled.
Cost and effort
Roughly $40 to $70 for paint, primer, and supplies, spread across a full weekend once you account for drying time between coats. It’s beginner to intermediate, mostly requiring patience rather than skill.

3. New Cabinet Hardware
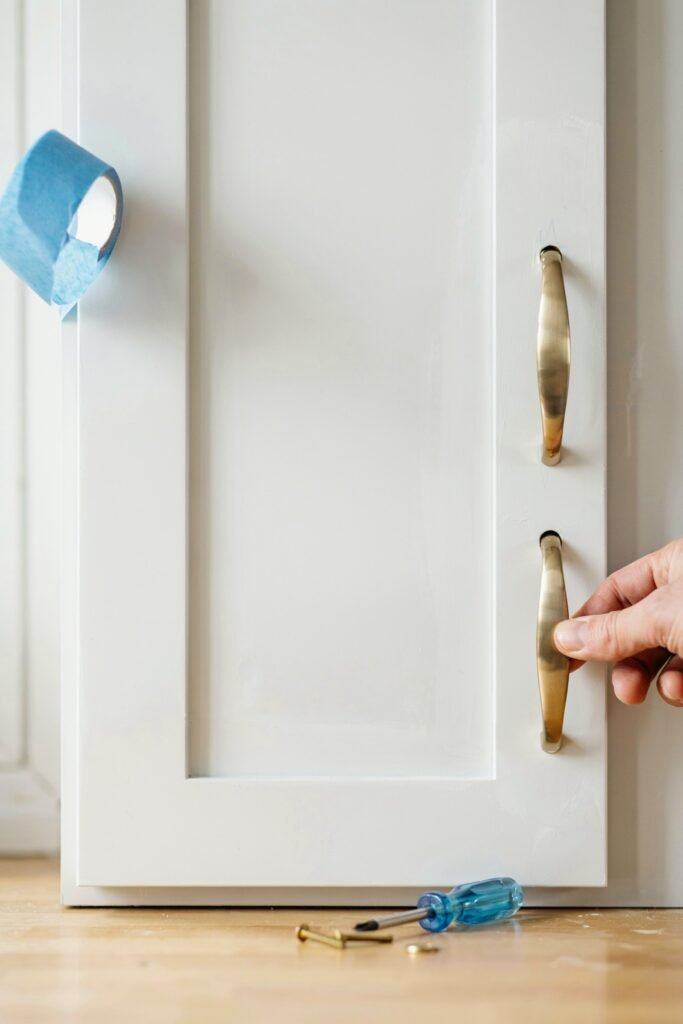
This tiny upgrade made a bigger visual difference than we expected for such a small investment.
Why it’s worth it Swapping outdated knobs and pulls for updated hardware is one of the cheapest ways to modernize a kitchen or bathroom without touching the cabinets themselves.
My story with it We paired this project directly with the cabinet repaint, and the combination of fresh paint and new brass pulls made the kitchen look like a completely different renovation, despite costing very little beyond the hardware itself.
Cost and effort
Roughly $20 to $50 depending on how many pulls and knobs you need, and under an hour to install with a basic screwdriver.
4. Peel and Stick Flooring
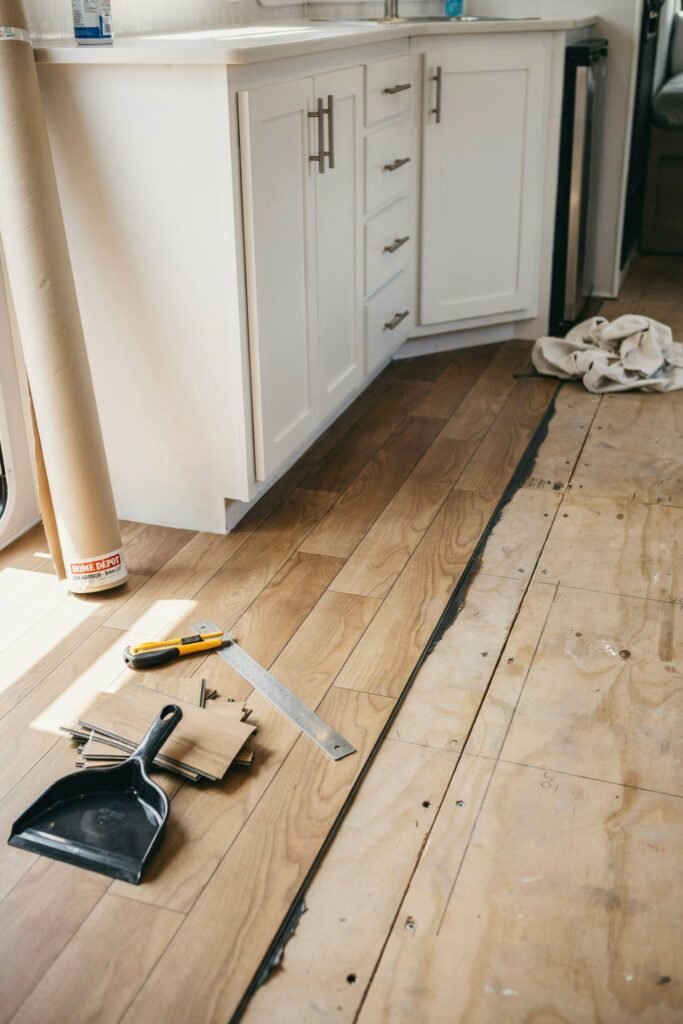
Original camper flooring is often thin, worn, or an outdated pattern, and this project transformed the entire footprint of our space.
Why it’s worth it Peel and stick vinyl flooring installs without professional help and dramatically changes the feel of a space, all for a fraction of the cost of traditional flooring materials.
My story with it Our original flooring had visible wear patterns near the entrance and kitchen area that no amount of rugs could fully hide.
Installing new peel and stick flooring over a single weekend gave the entire camper a cohesive, updated look.
Cost and effort
Roughly $80 to $150 depending on your camper’s square footage, and a full weekend to complete properly. It’s beginner to intermediate, mostly a matter of careful measuring and cutting.
5. A New Faucet
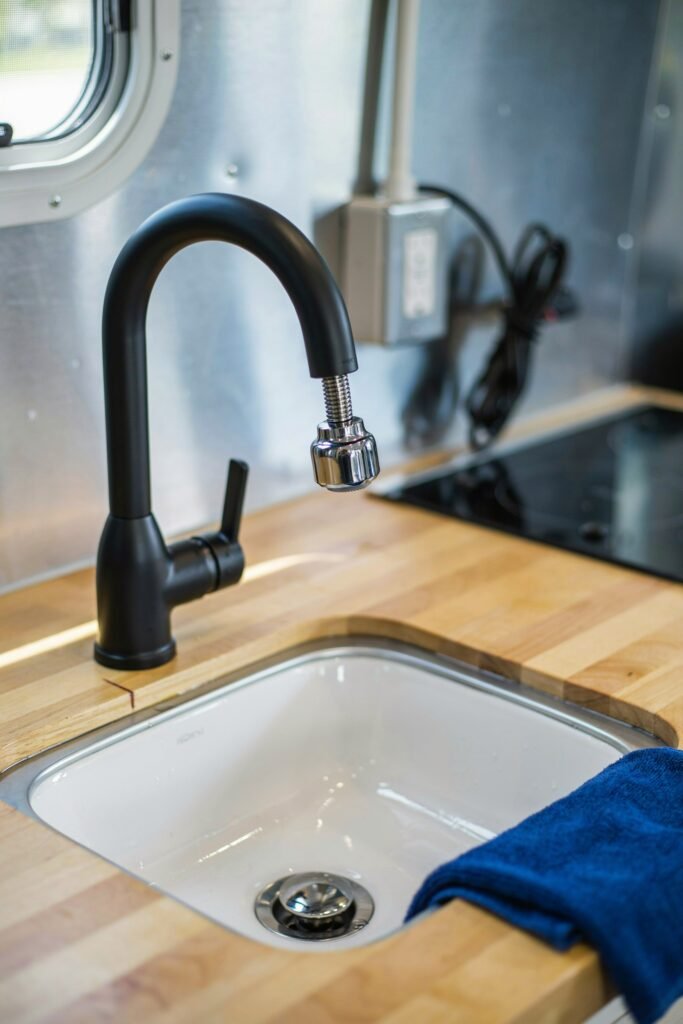
This small kitchen and bathroom upgrade punches well above its cost in terms of visual impact.
Why it’s worth it A dated or worn faucet stands out immediately in a small space, and swapping it for an updated version is a relatively simple, affordable project most people can tackle themselves.
My story with it Our original kitchen faucet was corroded and barely functional, and replacing it turned out to be one of the easiest projects on this entire list, completed in under an hour with basic tools.
Cost and effort
Roughly $30 to $80 depending on the style you choose, and under an hour with basic tools. Beginner friendly, no plumbing experience required.

6. Removable Wall Trim or Shiplap
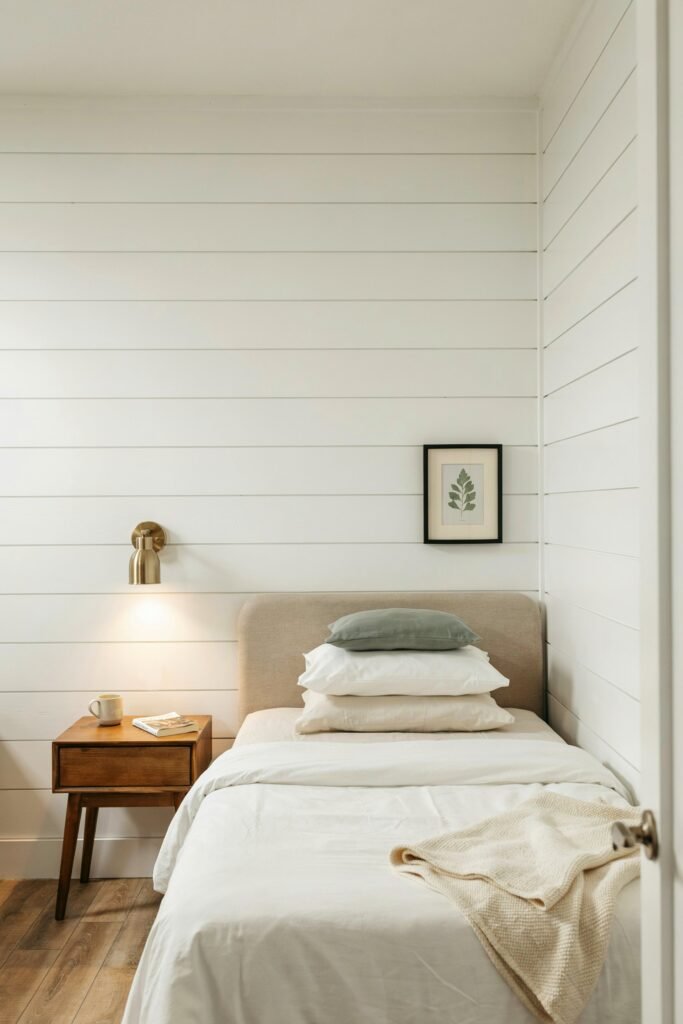
This project added texture and dimension to otherwise flat, featureless walls without a major investment.
Why it’s worth it Lightweight, adhesive backed trim or faux shiplap panels bring architectural interest to a camper’s interior walls, mimicking a look that would be far more expensive and labor intensive in a traditional installation.
My story with it We added a small section of faux shiplap behind our bed as a test project, and it looked good enough that we expanded it to the main living area on our next renovation weekend.
Cost and effort
Roughly $40 to $90 depending on how much wall space you’re covering, and a few hours per wall section. Beginner to intermediate, mostly requiring a level and some patience.
7. New Light Fixtures
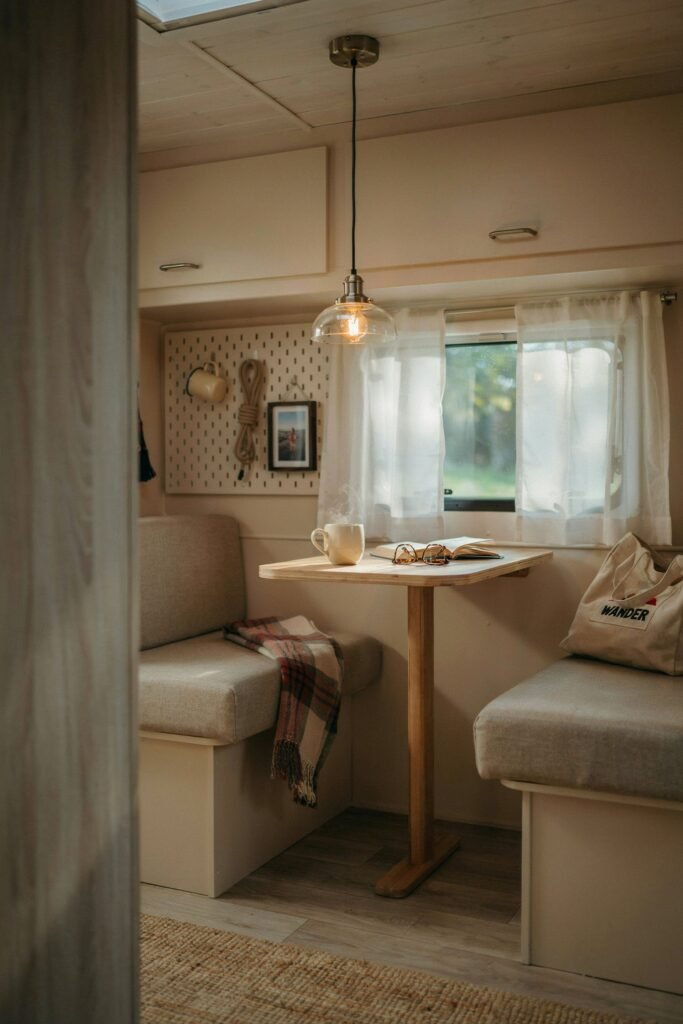
Original camper lighting tends to be harsh and purely functional, and this swap changed the entire ambiance of our space.
Why it’s worth it Updated light fixtures, even simple, affordable ones, soften a space significantly compared to standard factory installed lighting.
My story with it Our original overhead lights cast a flat, clinical glow that made evenings inside feel less relaxing than they should have.
Swapping in warmer toned fixtures made an immediate, noticeable difference to how the space felt after dark.
Cost and effort
Roughly $20 to $60 per fixture, and about an hour per fixture to install. Basic comfort with simple wiring helps, though many fixtures now use straightforward plug and play connections.
8. A Fresh Coat of Paint on the Walls
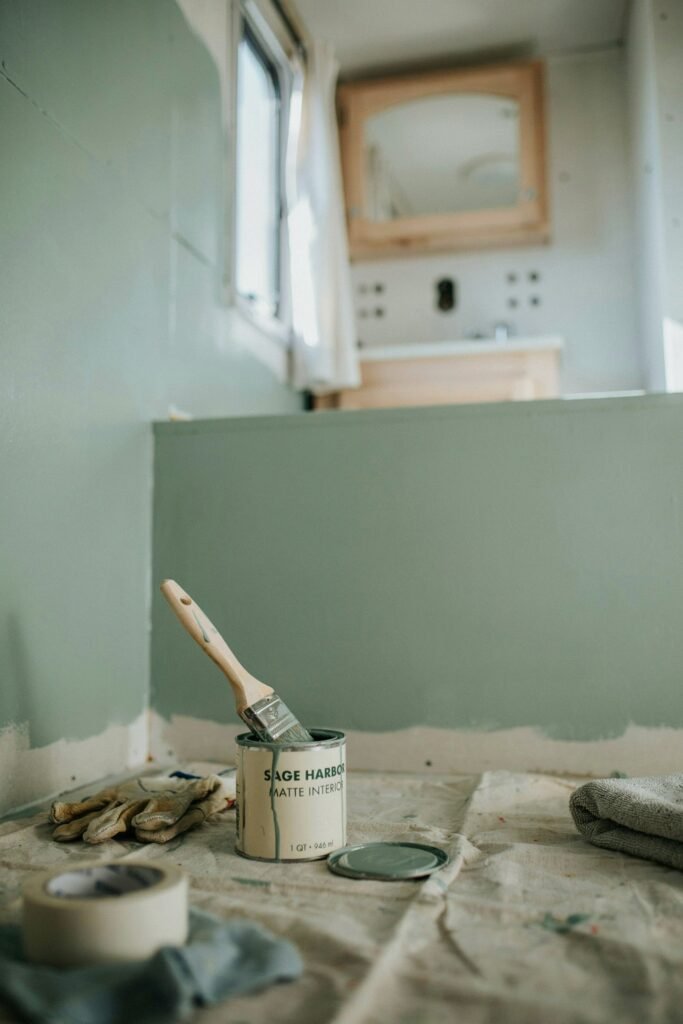
For any wall sections not covered in wallpaper or trim, paint remained one of our most cost effective tools.
Why it’s worth it Paint is one of the most affordable ways to completely change a room’s tone, and it requires minimal specialized skill to apply well.
My story with it We repainted our bathroom’s small remaining wall space in a soft sage tone that tied the whole aesthetic together with minimal cost, completing the entire project in an afternoon.
Cost and effort
Roughly $25 to $40 for a small room, and an afternoon of work including dry time. Beginner friendly.
9. Upgraded Curtains or Window Coverings
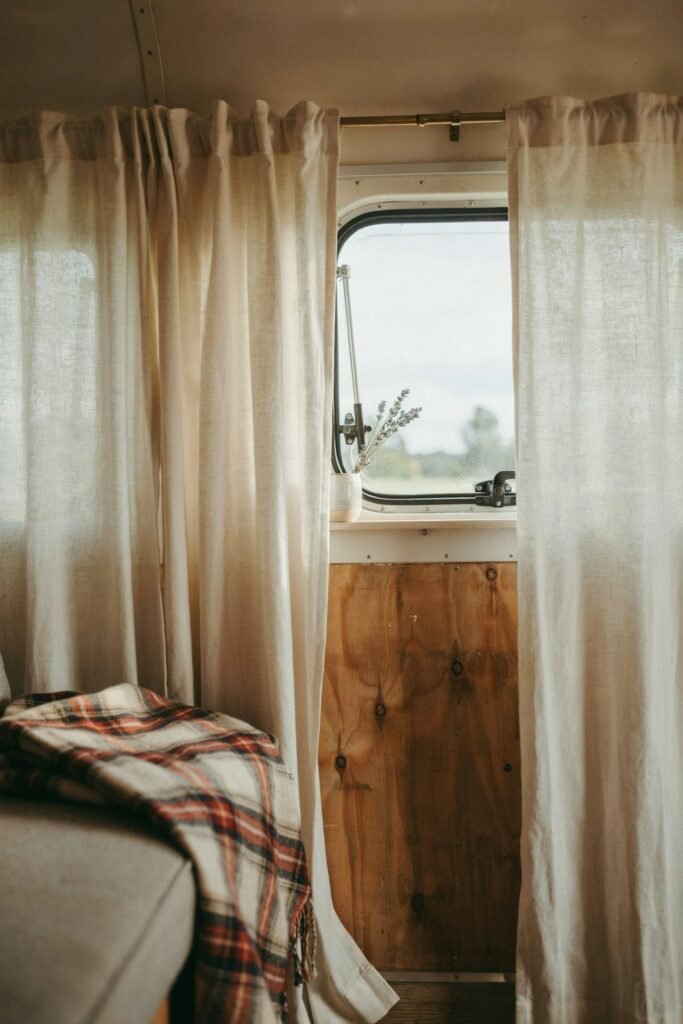
Original camper curtains are often thin, stiff, and purely functional rather than attractive.
Why it’s worth it New curtains in a better fabric and color soften natural light and tie a room together, similar to what worked well in our boho camper styling approach.
My story with it Replacing our original curtains was one of the cheapest projects on this list, but it changed the quality of light throughout the entire main living space more than almost any other single change.
Cost and effort
Roughly $30 to $70 depending on fabric and size, and under an hour to hang. No tools required beyond a basic curtain rod setup.
10. A New Bathroom Mirror
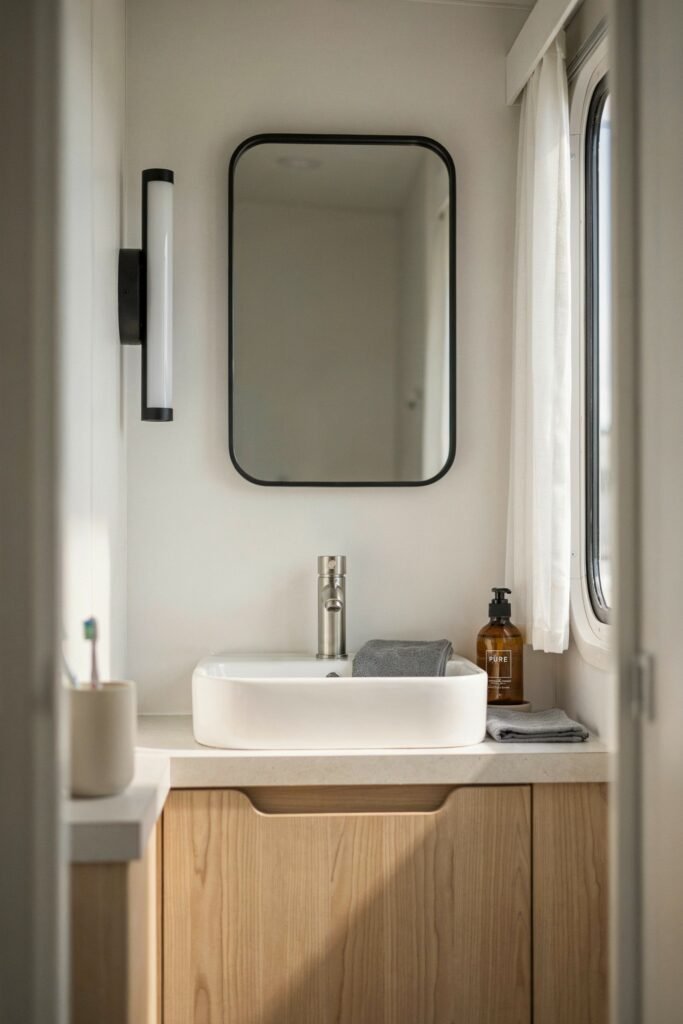
Small bathrooms benefit disproportionately from small upgrades, and this was one of the easiest wins in our entire renovation.
Why it’s worth it An updated mirror with a proper frame instantly elevates a bathroom’s appearance compared to a standard builder grade version.
My story with it Our original bathroom mirror was a plain, unframed rectangle that did nothing for the space.
A simple framed replacement, installed in under thirty minutes, made the entire bathroom feel more finished.
Cost and effort
Roughly $20 to $45, and under thirty minutes to install. Beginner friendly.
11. Contact Paper for Countertops
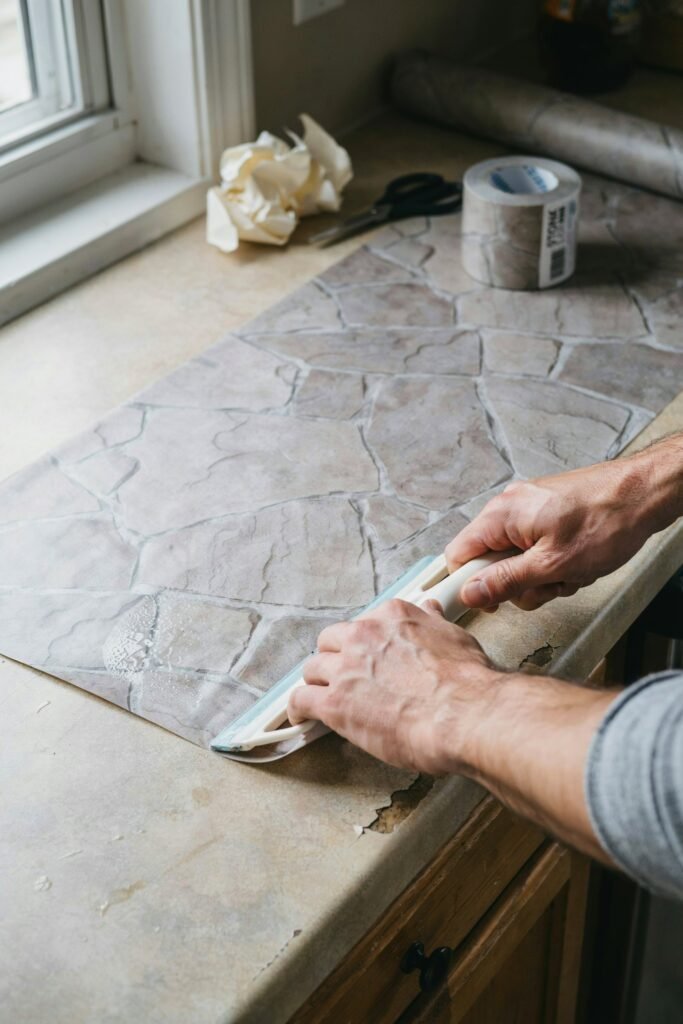
This is one of the more surprising budget wins from our entire renovation process.
Why it’s worth it High quality contact paper designed to mimic stone or wood can convincingly update a dated countertop without the cost of full replacement.
My story with it We were skeptical this would look convincing, but a well applied contact paper on our kitchen counter held up better than expected and fooled more than one guest into thinking we’d replaced the counters entirely.
Cost and effort
Roughly $15 to $30, and an hour or two to apply carefully. Beginner friendly, though smoothing out air bubbles takes a little patience.
12. New Drawer Liners
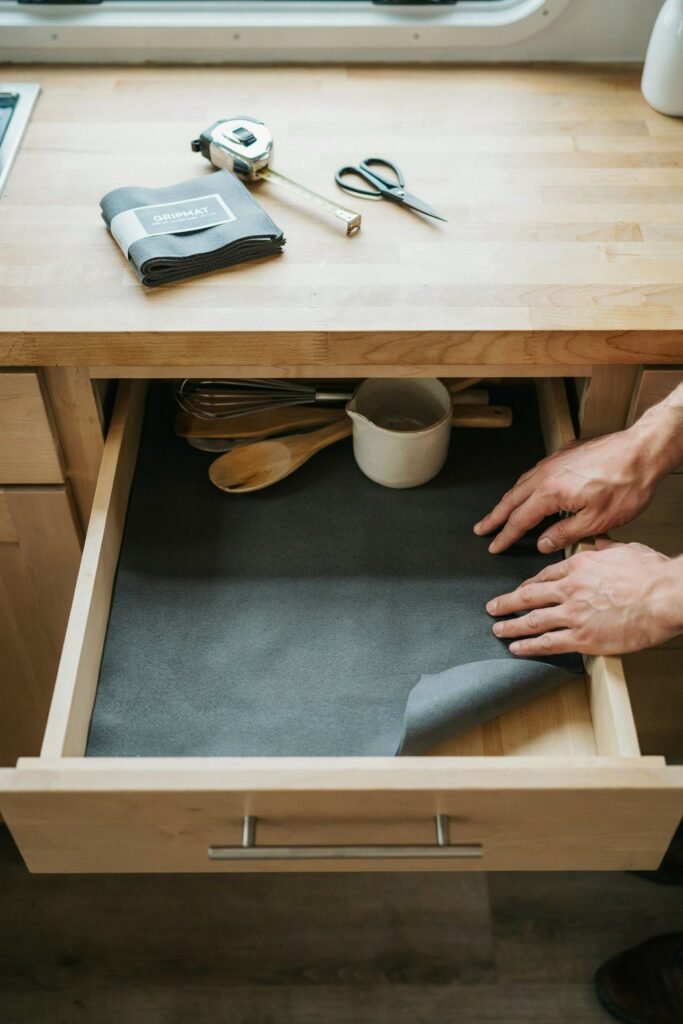
This is the smallest, cheapest project on this entire list, and it’s worth including because of how much it improved daily function.
Why it’s worth it Fresh, grippy drawer liners keep contents from sliding and protect surfaces underneath, an inexpensive fix that also supports the organization systems covered in our RV organization guide.
My story with it Our old, worn liners had started peeling and no longer gripped anything properly.
Replacing them took less than an hour and immediately made our kitchen drawers function better on the road.
Cost and effort
Roughly $10 to $20 total, and under an hour for the whole camper. Beginner friendly.
What We’d Skip If We Started Over
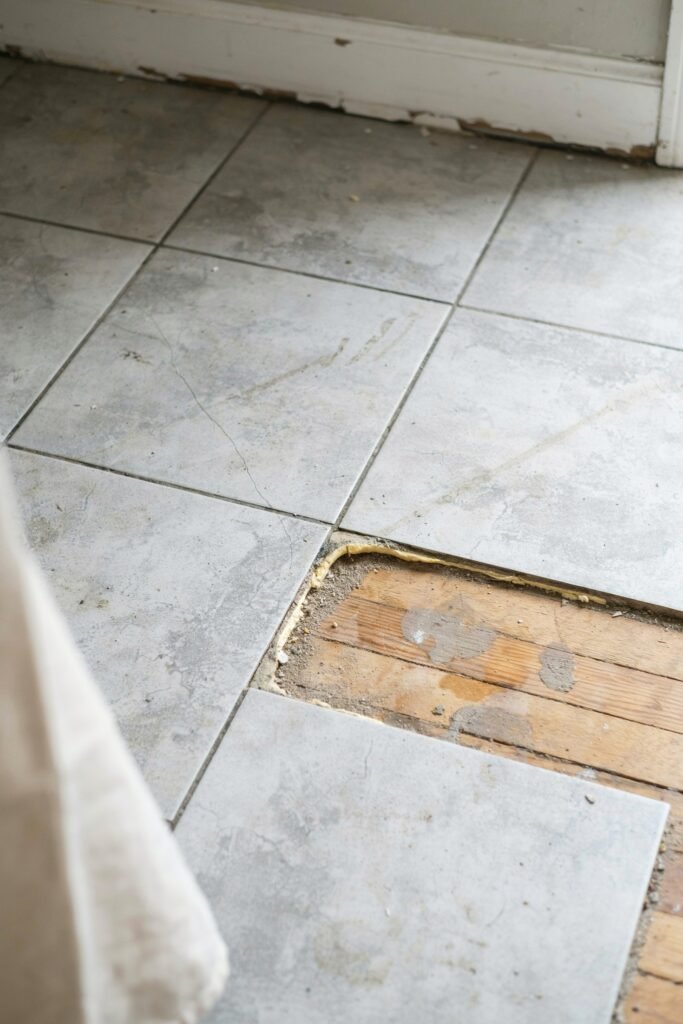
A few honest lessons from projects that didn’t deliver the value we expected.
- Cheap peel and stick tile in high traffic areas. Ours started lifting at the edges within a few months and needed replacing sooner than expected
- A budget shower head replacement. The pressure was disappointing enough that we ended up spending more later on a proper upgrade
- Overly trendy paint colors. A bold accent wall we loved initially felt dated within a year, while our neutral choices have aged much better
FAQ
What’s the single best budget upgrade to start with? Peel and stick wallpaper, without question.
It made the biggest visual difference for the least amount of money and effort in our entire renovation, and it’s fully removable if you change your mind later.
How much did this entire renovation cost overall? We spread these projects across several months and kept the total well under what a single major renovation project would have cost, largely by tackling one room at a time and doing the labor ourselves.
Do I need special skills to do these renovations myself? Most of these projects require only basic tools and patience.
Painting, applying peel and stick materials, and swapping hardware are all beginner friendly, though something like plumbing for a new faucet benefits from a little research beforehand.
How long do peel and stick materials actually last in a moving camper? Ours have held up well for over two years with proper application, though we did learn that higher quality materials in high traffic areas last significantly longer than the cheapest options available.
Should I renovate before or after I start using the camper regularly? We renovated gradually while still using our camper for trips, tackling one project at a time between drives.
It took longer than doing everything at once, but it kept the budget manageable and let us live with each change before committing to the next one.
Final Thoughts
Twelve upgrades, and every single one taught us that a tiny budget doesn’t mean tiny results if you’re strategic about where the money goes.
The changes that made the biggest difference were rarely the most expensive ones. They were the projects that touched how the space actually felt to live in every single day.
If you’re planning where your renovated camper might take you next, our 10 best road trips in America and RV packing essentials guide are good next stops for planning the trip itself.
Whatever budget you’re working with, the best camper renovations are usually built slowly, one affordable project at a time.


