
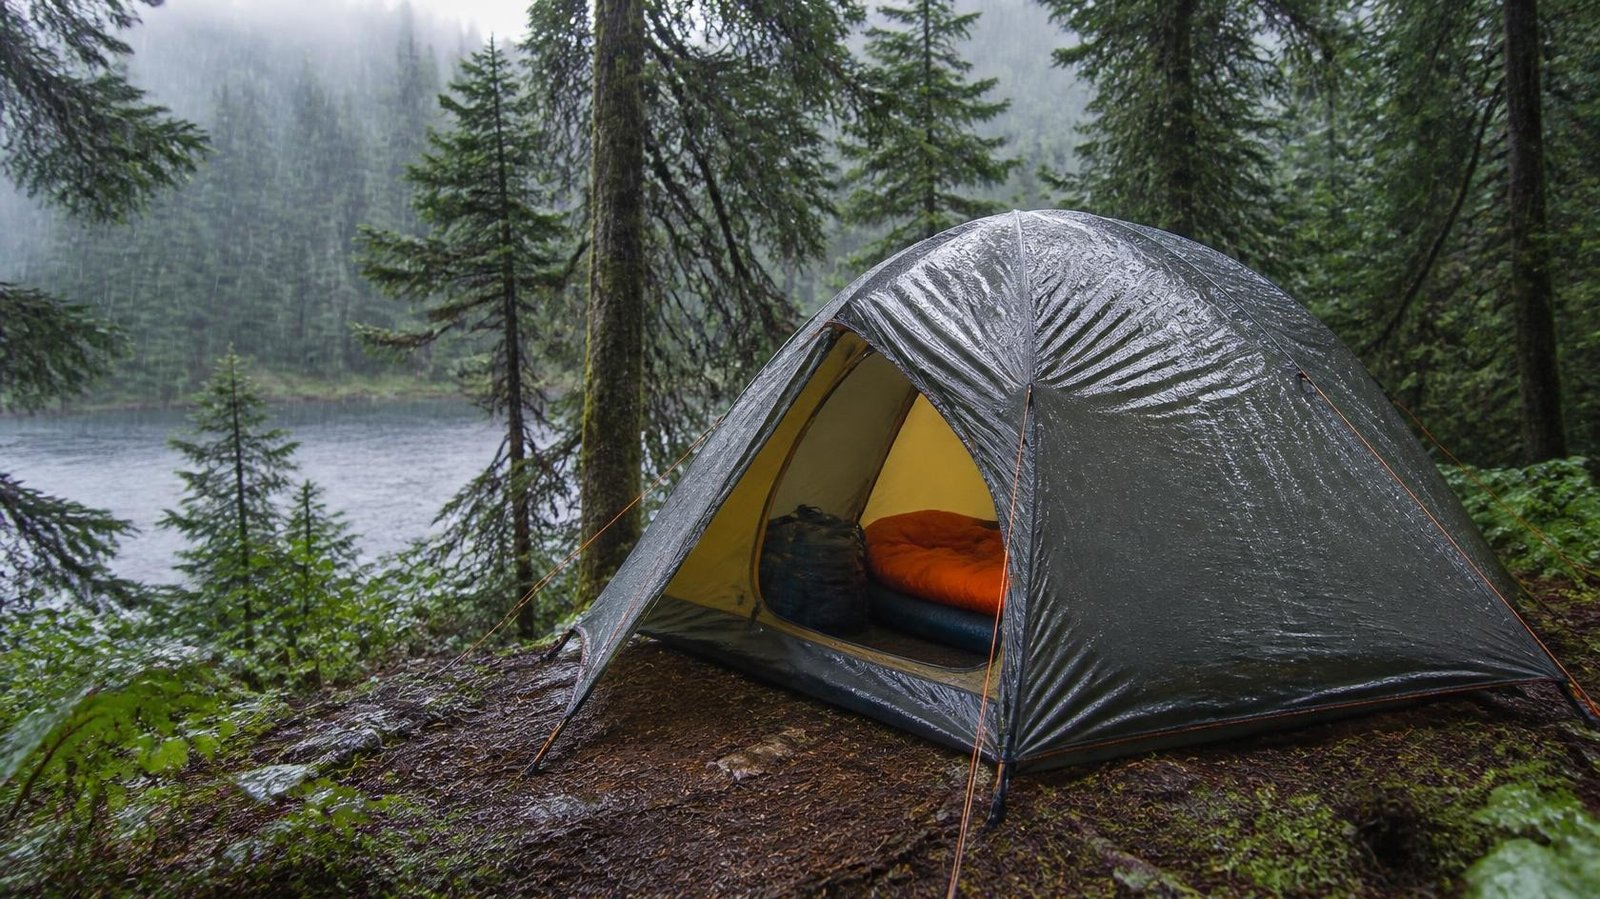
Heavy rain can turn a relaxing camping trip into a frustrating experience when water starts dripping through the tent, bedding feels damp, and puddles begin forming around the entrance.
The good news is that keeping your tent dry is not only about buying expensive camping equipment. The way you choose your campsite, set up your shelter, and manage moisture inside the tent can make a significant difference.
A reliable rain protection routine starts before the first raindrop falls. You need a suitable camping spot, a properly fitted rainfly, and a sleeping area protected from ground moisture and condensation.
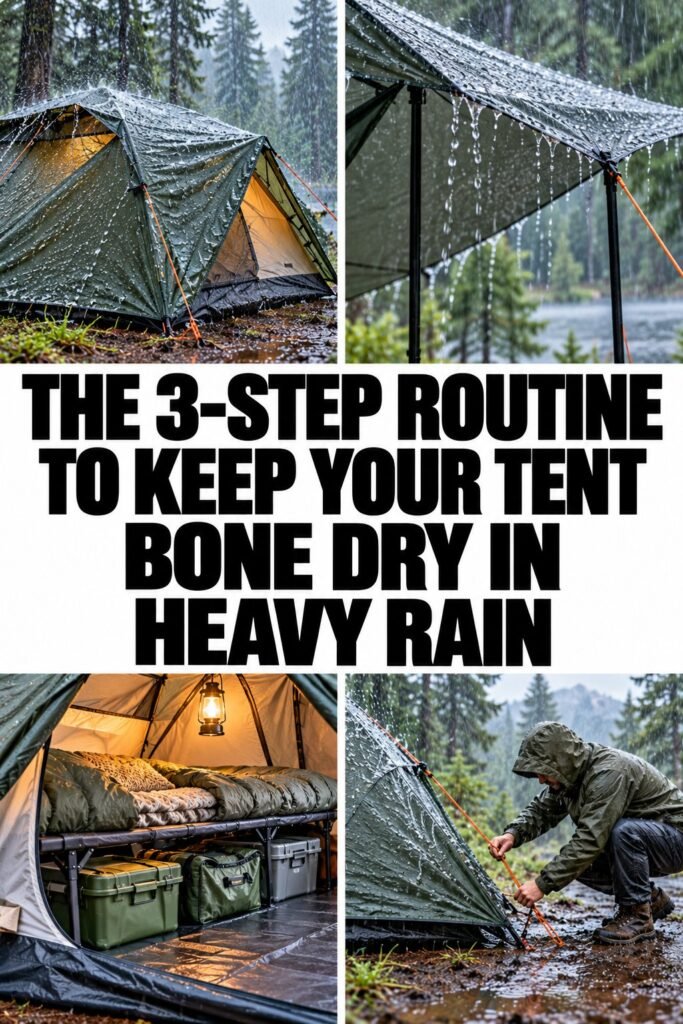
Each step works together to reduce the chances of waking up to wet clothes, soggy sleeping bags, or water collecting inside your shelter.
Even a good waterproof tent can struggle when it is pitched incorrectly or exposed to conditions beyond its design limits. Learning a simple routine helps you prepare more confidently, respond quickly when the weather changes, and protect your essential camping gear.
Here are three practical steps to help keep your tent as dry as possible during heavy rain.
Step 1: Choose the Right Campsite Before Pitching Your Tent
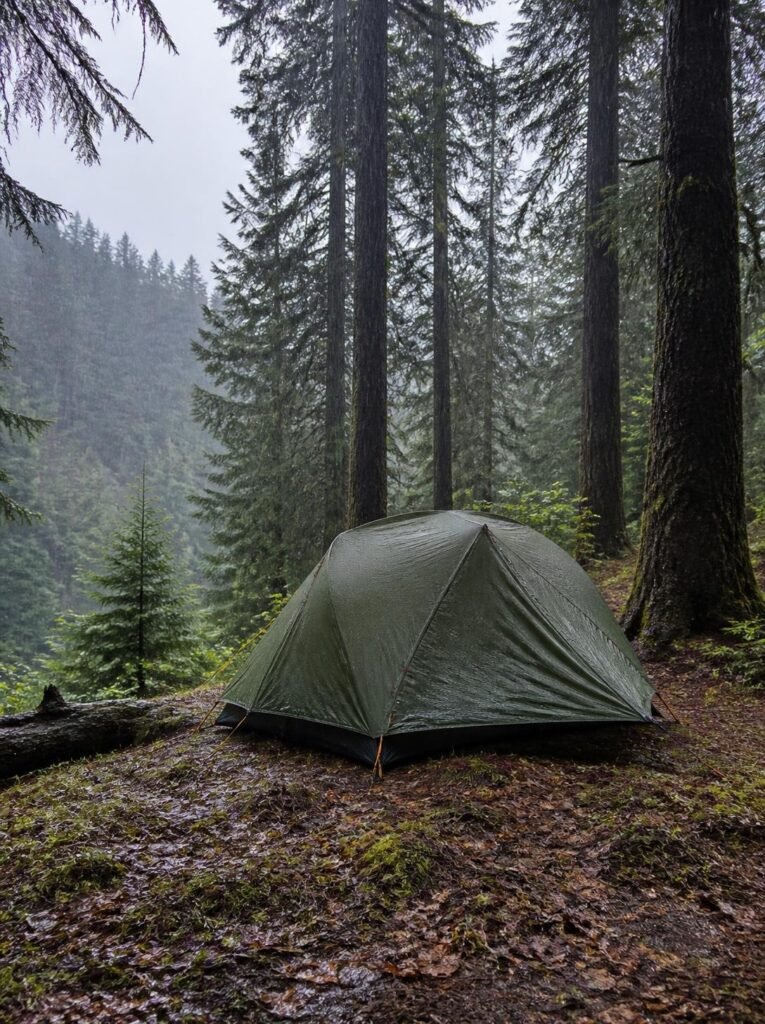
The first step to keeping your tent dry begins with the ground beneath it. Even a waterproof tent can become surrounded by water if you pitch it in the wrong location. When heavy rain continues for several hours, small depressions can fill quickly, and runoff can flow toward your sleeping area.
Before unpacking your tent, take a few minutes to inspect the campsite. Look for firm, stable ground with natural drainage and a slight elevation compared with the surrounding area. Avoid obvious depressions, low-lying areas, dry creek beds, and locations near rivers or streams that could rise during a storm.
Look for Signs of Poor Drainage
A campsite might look perfectly dry when you arrive but still collect water once the rain starts. Pay attention to the shape of the ground and the direction water could flow.
Look for these warning signs:
- Puddles or muddy patches already present on the ground.
- Small channels where rainwater has previously flowed.
- Flattened grass or exposed soil showing signs of repeated water runoff.
- Low spots between raised areas where water could accumulate.
- Nearby slopes that could direct runoff toward your tent.
Choose a suitable established campsite that drains well without disturbing the surrounding ground. Avoid setting up directly beneath dead branches or unstable trees, particularly when strong winds or thunderstorms are forecast.
Position Your Tent Away From Runoff
Once you find a suitable location, consider how water might move across the ground during prolonged rainfall. Your tent should not sit directly in the path of runoff from a nearby slope.
A slightly elevated, level-enough area is generally preferable to a low spot. Check that the ground is stable and comfortable for sleeping, and follow the campground’s designated pitching areas and rules.
Do not dig trenches around your tent unless the campsite specifically permits them. Trenches can damage the ground, contribute to erosion, and may violate campground regulations.
Use a Groundsheet Correctly
A groundsheet or tent footprint can help protect the tent floor from abrasion, dirt, and moisture coming from the ground. However, it must be used correctly.
Choose a footprint designed for your tent when possible. If you use a separate groundsheet, make sure it does not extend beyond the tent floor. Exposed edges can collect rainwater and allow it to run between the footprint and the tent floor.
A groundsheet cannot compensate for a flooded campsite or a damaged tent floor, so treat it as an additional protective layer rather than a complete waterproofing solution.
Practical tip: Before pitching your tent, walk around the selected area and imagine where the water would flow if the rain became heavier. Moving your tent a short distance before setup is much easier than relocating it after everything is wet.
Step 2: Set Up Your Rainfly and Tent Correctly
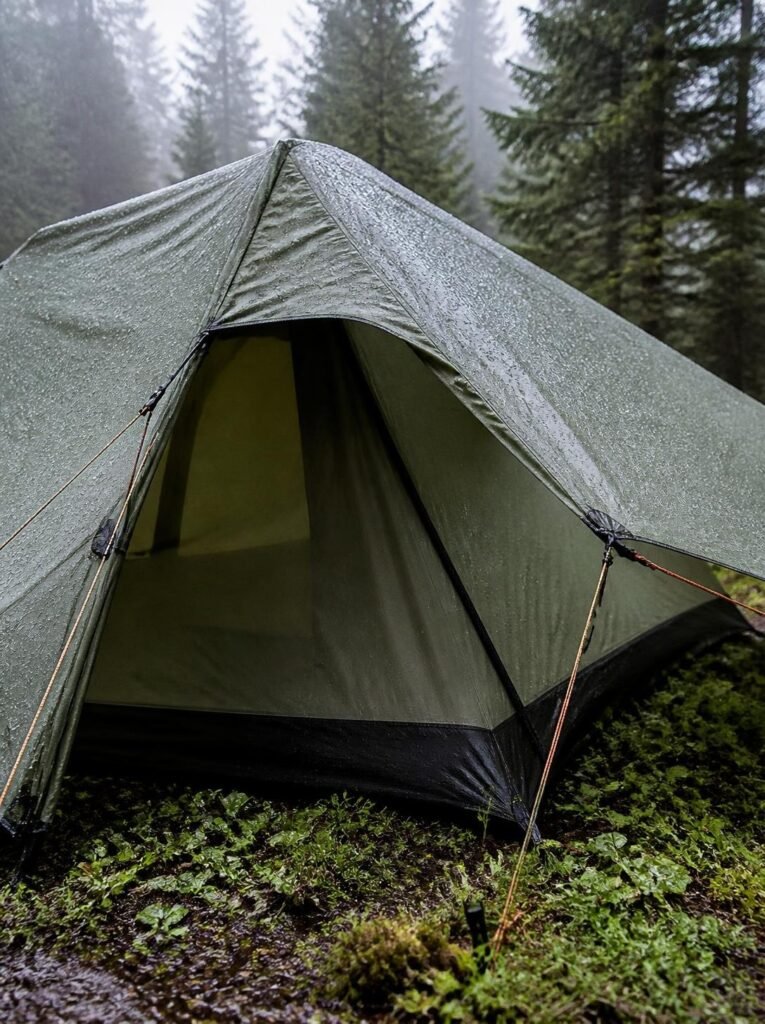
Choosing a good campsite is only part of the process. Your tent also needs to be assembled correctly so rain runs off the exterior rather than finding its way through gaps, loose fabric, or poorly protected openings.
A rainfly is designed to provide an outer barrier against rain. When it is fitted properly, it helps prevent water from reaching the inner tent while allowing the shelter’s ventilation system to function as intended.
Make Sure the Rainfly Is Properly Tensioned
After assembling your tent, fit the rainfly according to the manufacturer’s instructions. Secure the attachment points and adjust the guylines so the fabric is taut without being overstretched.
Loose sections can sag when they become wet, allowing water to pool on the fabric. Sagging fabric may also press against the inner tent, increasing the chance of moisture reaching the sleeping area.
Check that the rainfly covers the tent’s vulnerable areas, especially the doors, windows, and seams. The exact coverage will depend on your tent design.
Secure the Tent Before Heavy Rain Arrives
Use the appropriate stakes and guylines to secure your tent firmly. Make sure the stakes are suitable for the ground conditions and that the tension is distributed correctly.
In windy weather, poor anchoring can allow the tent to shift, loosen the rainfly, or place excessive strain on the poles. Check the manufacturer’s wind limitations and avoid relying on a lightweight tent in conditions beyond its intended use.
If strong winds or thunderstorms are expected, consider postponing the trip or moving to a safer shelter. Correct setup does not make a tent safe in every weather condition.
Check the Seams, Zippers, and Openings
Water can enter through more than the tent fabric itself. Worn seams, damaged waterproof coatings, poorly closed doors, and incorrectly positioned rainflies can all contribute to leaks.
Before leaving home, inspect the tent for damaged seams, holes, worn fabric, and faulty zippers. Use only repair products and seam sealants suitable for the specific tent material.
Close doors and windows according to the manufacturer’s instructions, but keep designated ventilation openings functioning whenever conditions allow. Completely sealing the tent can trap humid air inside and increase condensation.
Make Sure the Rainfly Does Not Touch the Inner Tent
On many double-wall tents, the space between the rainfly and the inner tent helps prevent exterior moisture from reaching the sleeping area.
Check that the rainfly has enough clearance and that the fabric is not pressing against the inner wall. Wind, sagging material, or incorrect tension can cause the two layers to touch.
If your tent uses a single-wall design, follow its ventilation and moisture-management instructions because the construction works differently.
Practical tip: Test your tent in your backyard or another safe location before your camping trip. A controlled water test can help reveal leaks and setup problems while you still have time to fix them.
Step 3: Keep the Sleeping Area Dry and Control Condensation
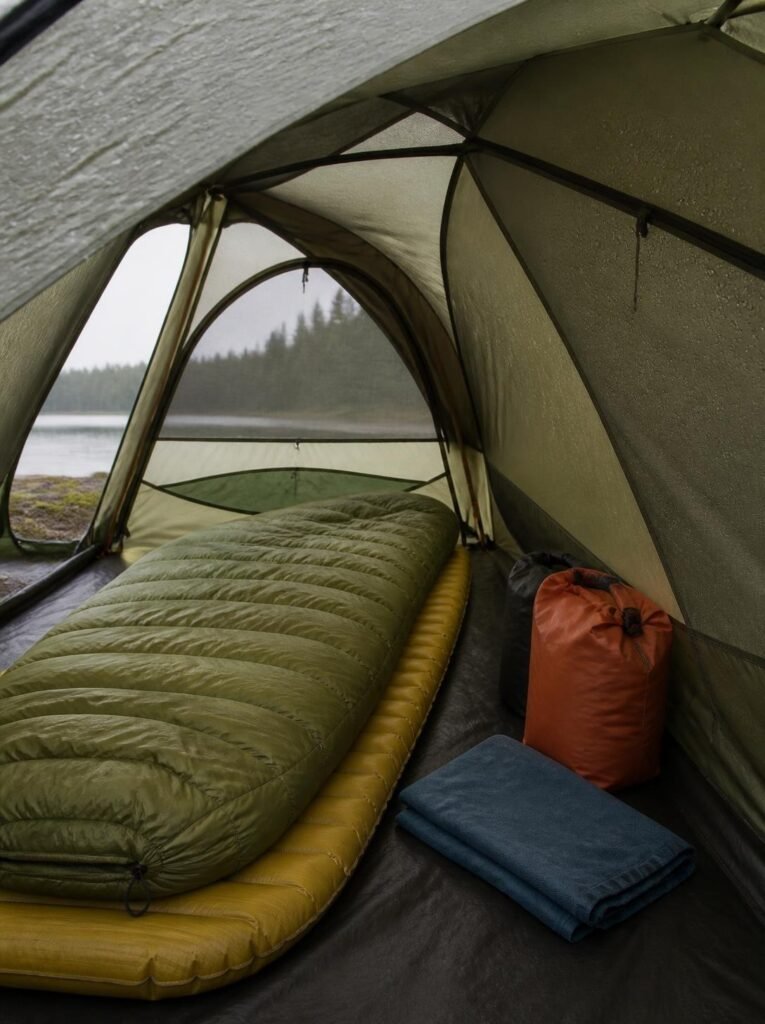
Even when the campsite drains well and the rainfly is properly secured, moisture can still develop inside the tent. Wet clothing, damp equipment, and the moisture released through breathing can contribute to condensation.
This is why the final step focuses on protecting your sleeping gear and managing moisture inside the shelter.
Keep Sleeping Bags and Clothing Away From Tent Walls
One common problem occurs when sleeping bags, pillows, or clothing press against damp tent walls. Moisture can transfer to the fabric, leaving bedding uncomfortable even when rain has not leaked through the tent.
Arrange your sleeping area so bedding stays clear of the walls whenever possible. Keep clothing in waterproof bags, and place wet jackets and footwear in a separate vestibule or suitable covered storage area.
Avoid bringing muddy boots and dripping rainwear into the sleeping space. A small mat near the entrance can help keep the tent floor cleaner and reduce the amount of moisture brought inside.
Use Waterproof Bags for Essential Gear
A rain cover can protect the outside of a backpack, but wind-driven rain may still reach exposed areas. Waterproof dry bags provide an additional layer of protection for items that must remain dry.
Store these essentials separately:
- Sleeping clothes and spare socks.
- Electronics, charging cables, and power banks.
- Important documents and medication.
- Bedding accessories and other moisture-sensitive items.
Keep the bags closed properly and store them off the wet ground whenever possible.
Ventilate the Tent to Reduce Condensation
Condensation forms when moisture in the air collects on cooler surfaces. During cold, rainy weather, this can leave droplets on the inside of the tent even if the rainfly is working correctly.
Use the tent’s designated vents and maintain airflow as conditions allow. Position doors and windows according to the tent’s design so you can reduce trapped moisture without allowing rain to enter.
Wipe away accumulated condensation with a microfiber towel when necessary. If the weather improves, air out damp clothing and sleeping equipment before moisture builds up further.
Protect Your Sleeping Setup From Ground Moisture
Use a suitable sleeping pad beneath your sleeping bag. Besides improving comfort, a pad provides insulation from the ground and helps reduce heat loss while you sleep.
Make sure the tent floor is intact and that any footprint is correctly positioned. If water begins entering from beneath the tent or the campsite starts flooding, do not assume extra bedding will solve the problem. Move to safer ground or another suitable shelter when necessary.
Practical tip: Keep one complete set of sleeping clothes sealed in a waterproof bag until bedtime. Changing into dry clothing helps you stay comfortable even when your daytime layers have become damp.
Extra Tricks to Keep Your Tent Dry During Heavy Rain
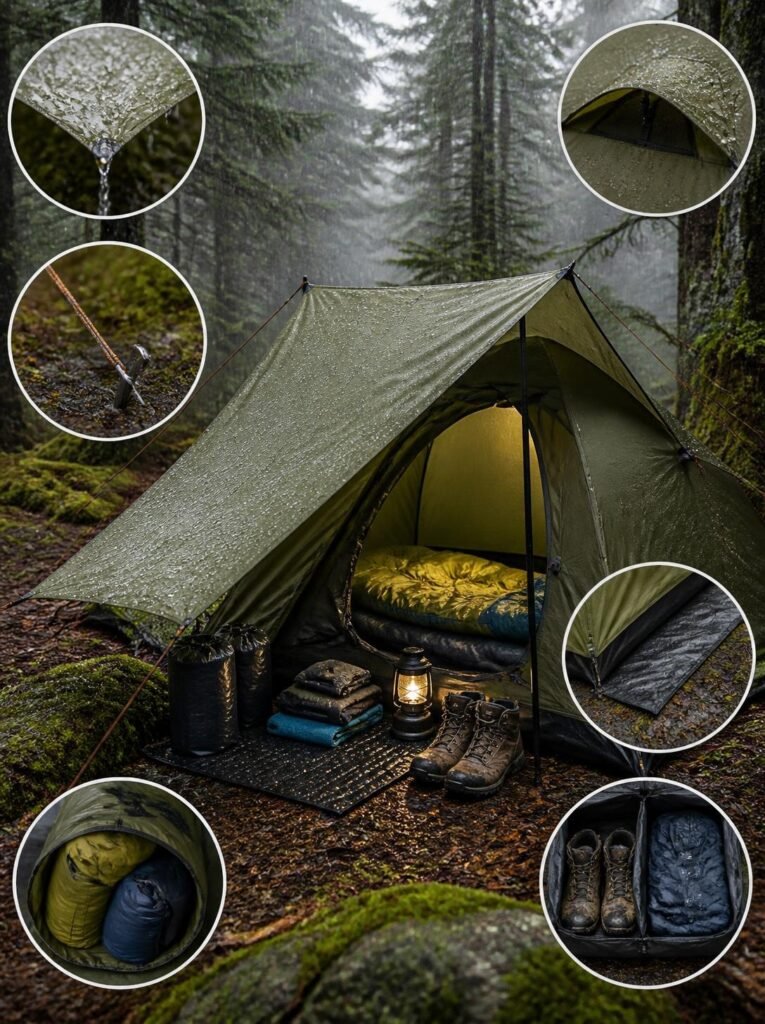
The three-step routine gives you a solid foundation, but a few additional habits can help you manage persistent rain more effectively. These tips focus on catching small problems early, protecting your equipment, and making your shelter easier to maintain throughout the trip.
1. Test Your Tent Before Leaving Home
Do not wait until you are miles from home to discover that your rainfly leaks or a seam has started to fail. Inspect your tent before every major camping trip, especially if it has been stored for several months.
Set it up in your yard or another suitable outdoor area and inspect the fabric, seams, zippers, poles, and attachment points. If you use water to test its rain protection, follow the manufacturer’s care instructions and avoid using high-pressure sprays that could damage the waterproof coating.
Allow the tent to dry completely before packing it away. Repair damaged seams or fabric with products approved for your tent material.
2. Carry a Small Emergency Waterproofing Kit
A compact repair kit can save you considerable frustration when something goes wrong during a rainy trip.
Consider packing a tent-compatible repair patch, suitable seam sealant, spare guylines, a few replacement stakes, and a microfiber towel. Store the kit in a waterproof pouch so the supplies remain usable when you need them.
Check the manufacturer’s recommendations before applying any sealant or repair product. Not every adhesive works with every tent fabric, and unsuitable products can damage waterproof coatings.
3. Keep Wet Equipment Separate From Dry Gear
A waterproof tent does not prevent moisture from entering every bag you bring into the campsite. Wet rain jackets, muddy boots, and damp towels can introduce moisture into the sleeping area.
Designate one bag for wet equipment and another for dry clothing and bedding. Keep the wet bag near the entrance or in a suitable vestibule, making sure it does not obstruct ventilation or interfere with safe access.
If your tent does not have a vestibule, use a separate covered storage area that is appropriate for the weather. Avoid placing dripping equipment directly beside your sleeping bag.
4. Check Your Tent After the First Heavy Shower
Once the rain begins, take a few minutes to inspect the setup from a safe position.
Look for sagging rainfly fabric, loose guylines, water collecting on the ground nearby, and droplets appearing around seams or openings. Correct small setup problems early if conditions are safe enough to do so.
If you notice moisture inside, determine whether it is coming from a leak or condensation. Rain entering at one particular seam or opening may indicate a setup or waterproofing issue. Moisture appearing more broadly on the inner walls is often consistent with condensation.
Avoid handling tent poles, guylines, or other exposed equipment during lightning or dangerous winds. Your safety comes before protecting camping gear.
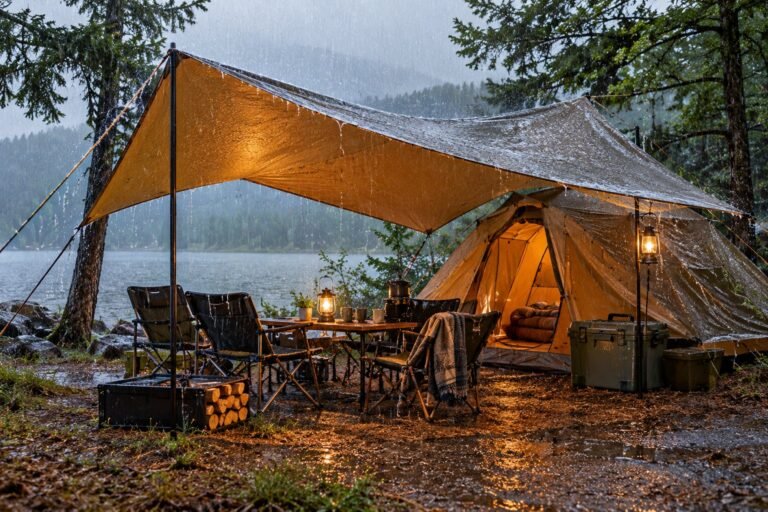
5. Use a Tarp Only When It Can Be Set Up Safely
A tarp can provide extra shelter over a suitable campsite entrance or outdoor gear area. It can also give you a dry place to organize supplies without bringing everything inside the tent.
However, the tarp must be secured correctly and positioned so rainwater drains away from the tent. Avoid creating low points where water can collect or attaching it to unstable branches.
Do not stretch a tarp so tightly that it places excessive strain on the supports, and never use an improvised shelter in conditions beyond its safe limits. Follow campground rules and keep the tarp clear of cooking flames and hot equipment.
6. Avoid Touching the Tent Walls When Sleeping
During heavy rain, the inner tent walls may become damp from condensation. Pressing your sleeping bag or clothing against them can transfer moisture to your bedding.
Leave a little space between your sleeping setup and the tent walls. If the tent is too small to provide much clearance, keep moisture-sensitive items in waterproof bags and use the ventilation options provided by the tent manufacturer.
This simple adjustment will not prevent every moisture problem, but it can help keep your sleeping gear more comfortable.
Common Mistakes That Make Tents Wet in Heavy Rain
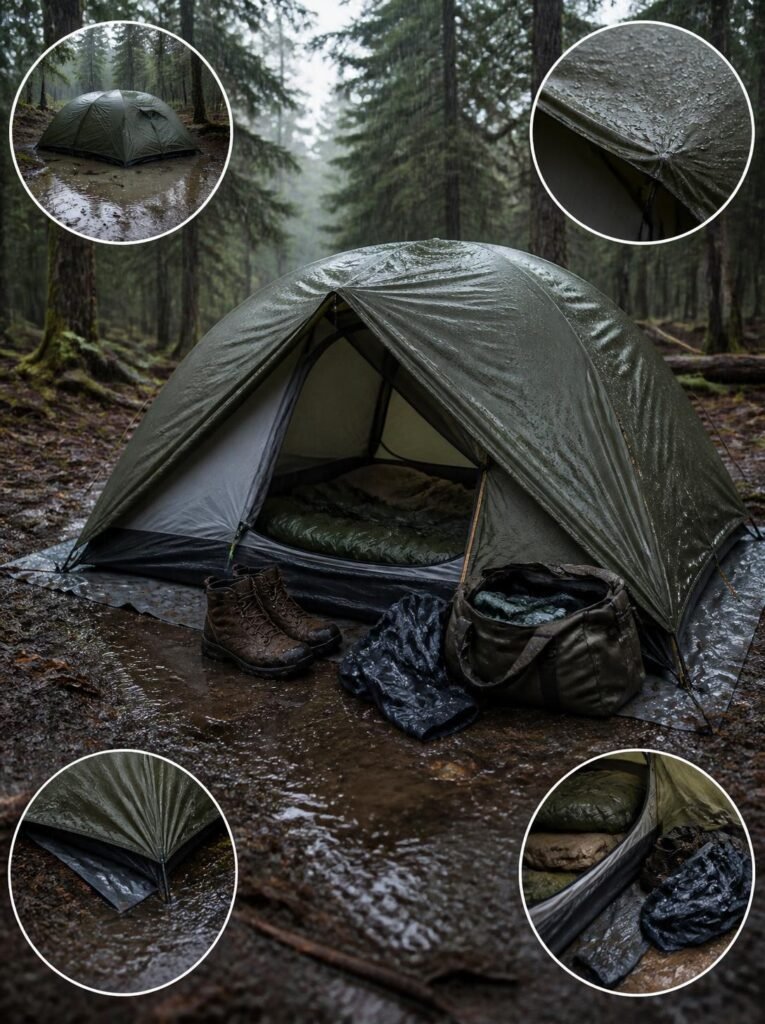
Even good camping equipment can perform poorly when it is set up incorrectly. Avoiding these mistakes can make your rain protection routine much more effective.
1. Pitching the Tent in a Natural Drainage Path
Water follows the landscape. If you place your tent where runoff naturally travels, heavy rain can carry water toward the floor or surround the shelter with puddles.
Choose an established, well-drained site away from low ground, drainage channels, and waterways that may rise. Do not rely on digging trenches to redirect water, as this can damage the campsite and may be prohibited.
2. Assuming Every Waterproof Tent Is Completely Leakproof
Waterproof materials can deteriorate, and seams can wear out. A tent that performed well last season may need maintenance before another trip.
Inspect the floor, rainfly, seams, and zippers. Check the manufacturer’s waterproofing specifications and repair damaged areas before heading into prolonged rain.
3. Letting the Rainfly Sag Against the Inner Tent
Loose fabric can collect water and press against the inner tent wall. This may allow moisture to transfer to the interior, particularly in double-wall designs.
Adjust the rainfly tension according to the manufacturer’s instructions and recheck it after the fabric becomes wet. Do not overstretch the material or force the tent beyond its intended setup.
4. Closing Every Vent to Keep Rain Out
Closing all ventilation openings may seem sensible, but trapped moisture can accumulate as you breathe and as wet equipment dries.
Use the tent’s designed ventilation system while protecting the interior from rain. The right balance depends on the tent construction and weather conditions.
5. Putting the Groundsheet Outside the Tent Floor
A groundsheet that extends beyond the tent footprint can collect rainwater and direct it underneath the floor.
Use a compatible footprint or position a separate groundsheet so its edges remain tucked beneath the tent floor. A groundsheet protects the floor, but it cannot make a poorly drained site safe.
6. Bringing Wet Clothes Into the Sleeping Area
Dripping clothing and wet boots add moisture, dirt, and discomfort to the tent.
Store wet equipment separately, use a mat at the entrance, and keep spare clothing sealed until it is needed. If your tent has a vestibule, use it according to the manufacturer’s guidance.
7. Ignoring Rising Water Because the Tent Is Still Dry
A dry tent is not proof that the campsite remains safe. Heavy rainfall can cause water levels to rise quickly, particularly near rivers, streams, and low-lying areas.
If flooding threatens the site, move to safer ground or evacuate as directed by local authorities or campground staff. Never walk or drive through floodwater to retrieve equipment.
The Quick Pre-Rain Tent Checklist
Before settling in for the evening, run through this short checklist.
- The tent is pitched on suitable, well-drained ground.
- The rainfly is fitted correctly and secured.
- Guylines and stakes are secure for the expected conditions.
- Doors and windows are protected from direct rain.
- Ventilation openings are being used appropriately.
- The groundsheet does not extend beyond the tent floor.
- Sleeping bags and dry clothing are protected in waterproof bags.
- Wet footwear and rainwear are stored separately.
- No obvious leaks, damaged seams, or sagging fabric are present.
- The weather forecast and any local warnings have been checked.
If the weather forecast indicates severe storms, dangerous winds, or flooding, reconsider the trip or move to a safer shelter. No tent setup can guarantee safety in extreme weather.
Frequently Asked Questions
How do I keep my tent completely dry in heavy rain?
You cannot guarantee that a tent will remain completely dry in every condition, but you can greatly reduce the risk. Choose well-drained ground, use a properly fitted rainfly, secure the tent correctly, protect bedding in waterproof bags, and maintain suitable ventilation. Inspect the setup during safe breaks in the rain.
Why is my tent wet inside when it has not leaked?
Condensation is a common explanation. Moisture from breathing, wet clothing, and damp equipment can collect on cool tent surfaces. Improve ventilation as conditions allow, keep wet gear away from the sleeping area, and wipe away accumulated moisture with a towel.
Should I put a tarp under my tent?
A footprint or groundsheet can protect the tent floor from abrasion and ground moisture. The important point is to use it correctly. If the groundsheet extends beyond the tent floor, rain can collect on it and run underneath. Choose a compatible footprint whenever possible.
Can I waterproof my tent with a spray?
Some tents can benefit from compatible waterproofing products, but the correct treatment depends on the fabric and the type of waterproof coating. Follow the manufacturer’s instructions and use products designed for that specific material. Spraying a tent with an unsuitable product may damage its coating or affect breathability.
Is it better to open or close tent vents when it rains?
Use the ventilation system as designed, while keeping rain out of the sleeping area. Ventilation helps reduce condensation, which can make the interior damp even when the rainfly is working properly. Some tents have protected vents that can remain open during rain; follow the manufacturer’s guidance for your model.
How can I tell whether the tent is leaking or developing condensation?
Condensation often appears as moisture across cooler inner surfaces, particularly after several people have slept inside. A leak may produce localized dripping near a seam, zipper, damaged area, or poorly protected opening. These signs are not definitive, so inspect the tent carefully and check for damage when conditions permit.
Can I sleep in a tent during a thunderstorm?
A tent does not provide reliable protection against lightning, strong winds, falling branches, or flooding. If severe weather is forecast, seek appropriate shelter before the storm arrives. Follow local emergency guidance and campground instructions, and do not remain in an exposed campsite simply because the tent is waterproof.
What should I do if water starts entering my tent?
First, determine whether it is safe to remain at the campsite. If water is rising, flooding is possible, or severe weather threatens the area, prioritize moving to safety rather than trying to save your equipment. If conditions are safe and the problem is a minor leak, protect bedding in waterproof bags and address the source when possible.
How do I dry my tent after camping in heavy rain?
Unpack it as soon as practical and spread the tent, rainfly, and other damp components in a well-ventilated area. Let everything dry thoroughly according to the manufacturer’s care instructions before long-term storage. Clean off mud gently and inspect the seams and waterproof coating before the next trip.
Final Thoughts
Keeping your tent dry during heavy rain comes down to three essentials: choose suitable ground, set up your rain protection correctly, and protect your sleeping area from moisture. These steps work best when combined with regular equipment checks and sensible weather planning.
Remember that waterproof gear has limits. If dangerous winds, thunderstorms, or flooding threaten your campsite, protecting yourself is more important than keeping your tent dry.
A little preparation before the rain begins can prevent many common camping problems and help you enjoy your trip with greater confidence.