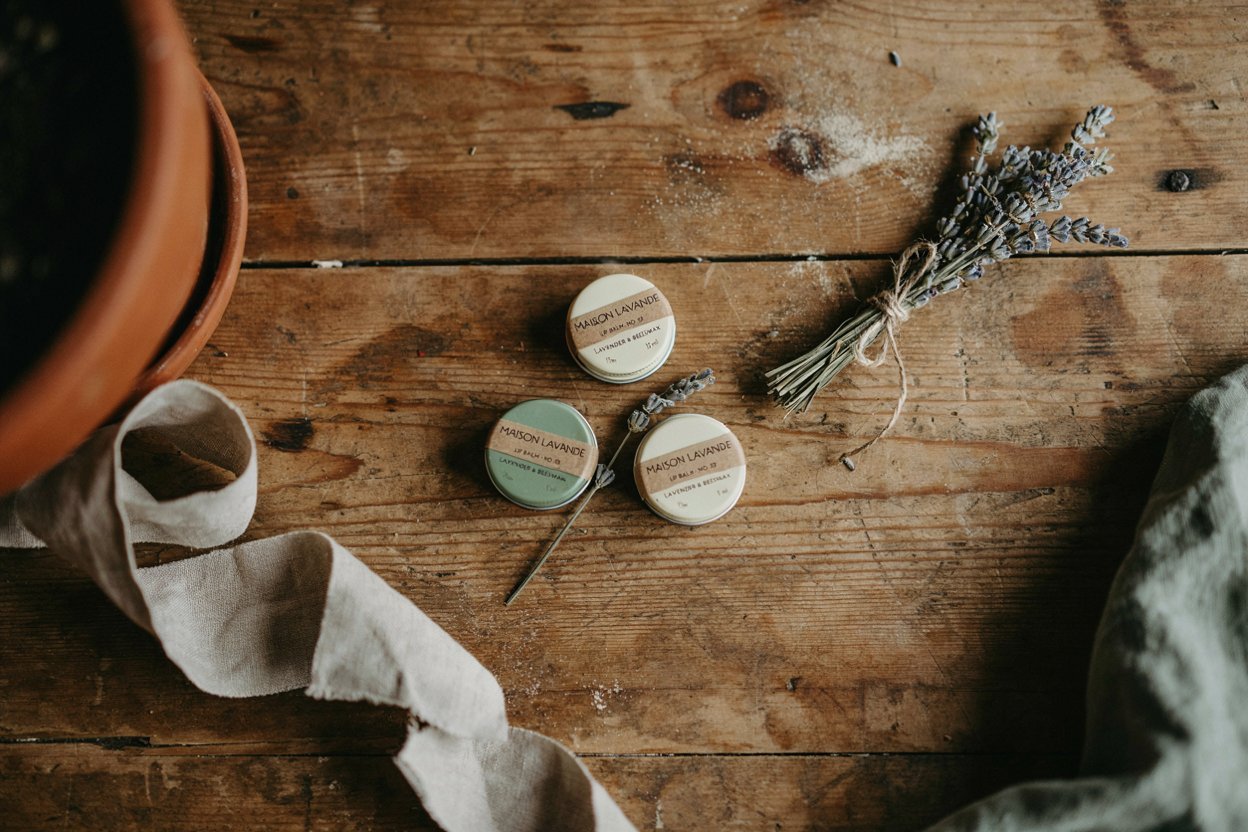
The first time I made lip balm at home, I did it because I wanted a thoughtful gift for my sister that did not feel like something grabbed off a store shelf at the last minute.
What started as a small kitchen experiment turned into a full blown hobby, and now I make batches of lip balm every few months to give away as gifts, stock in my own bathroom drawer, and share with friends who always ask for the recipe.
If you have ever wanted to create something personal, useful, and genuinely luxurious feeling, homemade lip balm gift sets are one of the easiest and most rewarding projects you can start today.
This guide walks you through everything you need to know, from understanding what each ingredient actually does for your skin, to the exact steps for melting, mixing, pouring, and packaging your balms so they look and feel like something from a boutique shop.
Whether you are making these for holiday gifts, birthdays, wedding favors, or simply for your own self care routine, this post will give you the confidence and knowledge to get started right away.
Why Make Your Own Lip Balm Gift Sets
Store bought lip balms often contain synthetic fragrances, mineral oil derivatives, and preservatives that some people prefer to avoid.
When you make your own, you control exactly what goes into every tube or tin.
You also get to choose the scent, the tint, the texture, and the packaging, which means every gift set feels personal and intentional rather than generic.
There is also something deeply satisfying about handing someone a gift you made with your own hands. It shows thought and care in a way that store bought items rarely can.
Homemade lip balm sets are inexpensive to produce in bulk, which makes them perfect for holiday gifting, party favors, bridal shower giveaways, or small business side projects.
A single batch of ingredients can produce dozens of balms, so the cost per unit ends up being far lower than what you would pay retail.
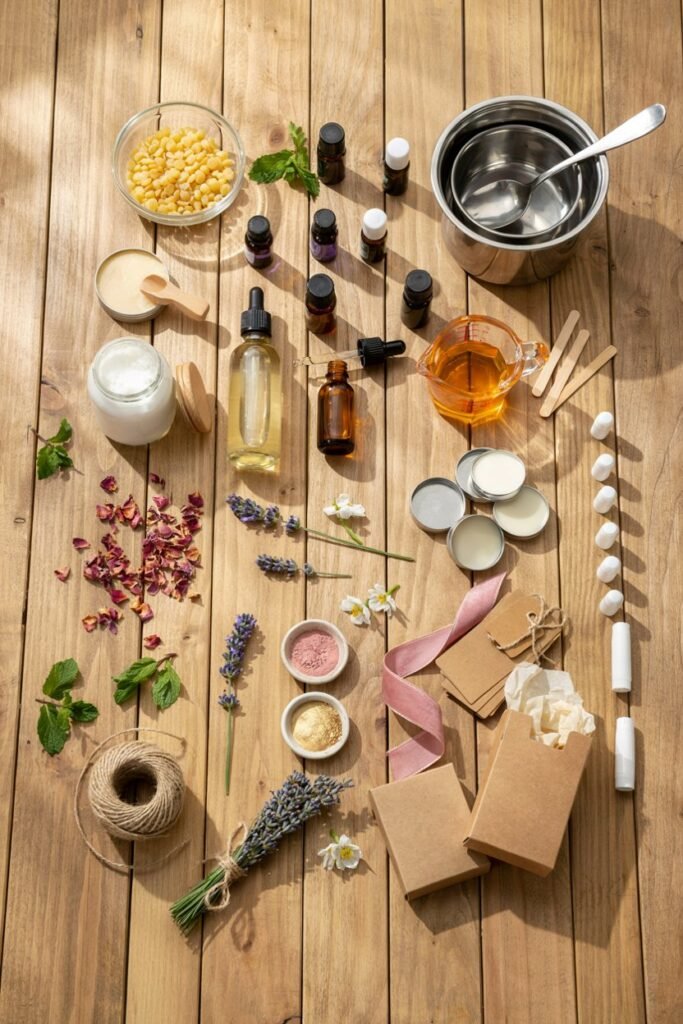
What You Will Need Before You Start
Before diving into the ingredients themselves, it helps to gather your tools so the process goes smoothly.
You do not need anything fancy or expensive.
Most of these items can be found in your kitchen already, and the rest are available cheaply online or at a craft store.
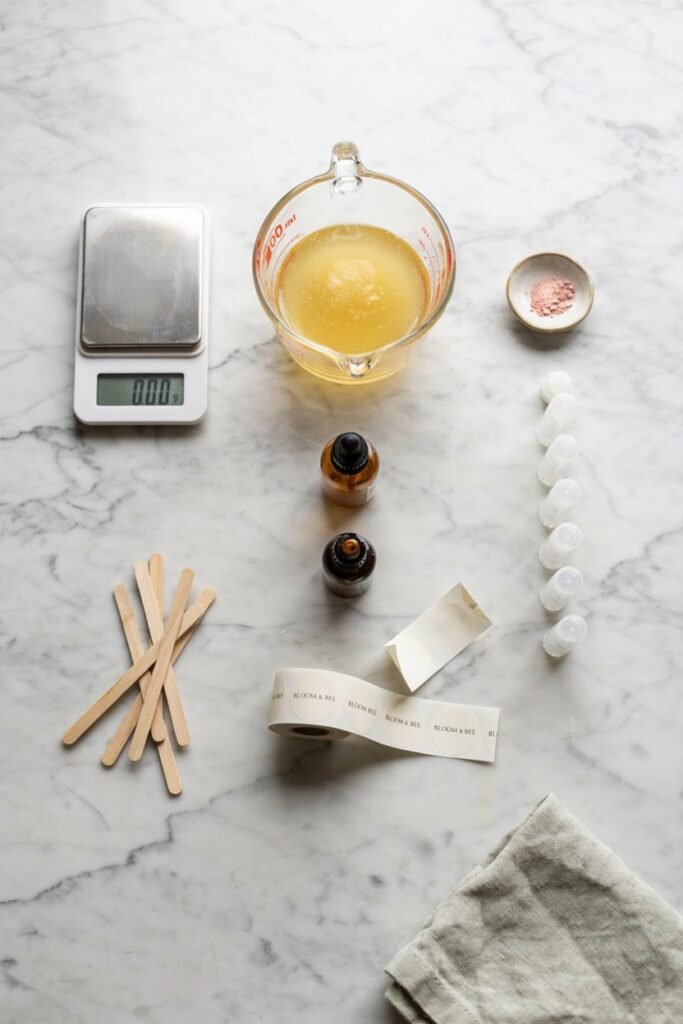
You will want a heat safe glass measuring cup or a small double boiler for melting your ingredients gently without scorching them.
A kitchen scale is helpful for measuring precise ratios, though measuring spoons work fine for smaller batches.
You will also need lip balm tubes, small tins, or pots to pour your finished balm into, along with a dropper or small pitcher to help with pouring cleanly.
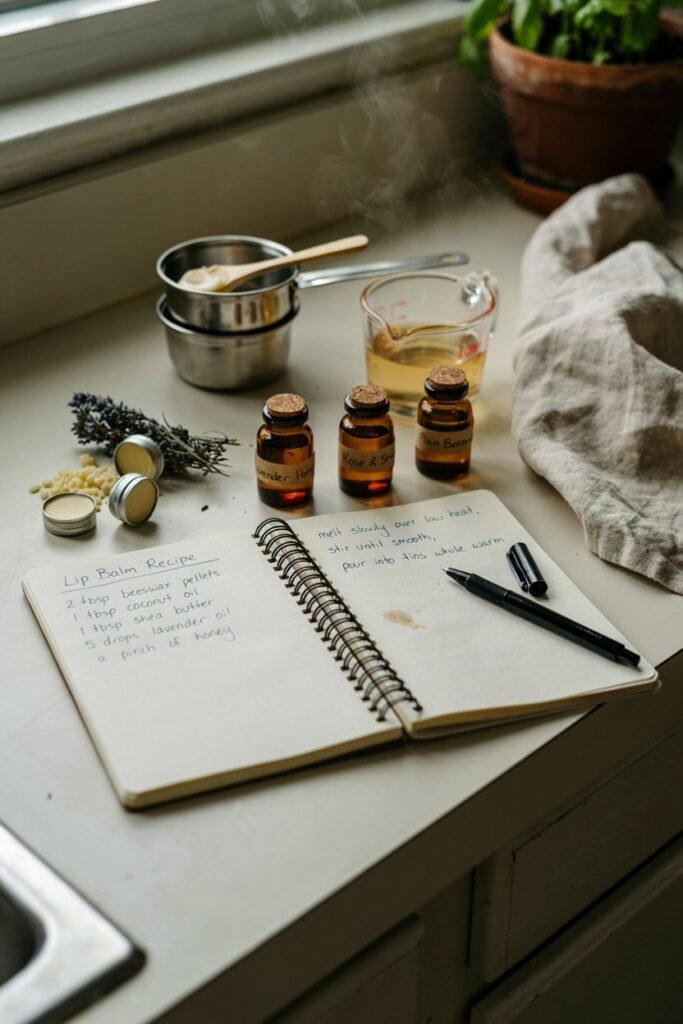
Stir sticks, a notepad for recording your recipe ratios, and labels for your finished containers round out the essential supplies.
Understanding Your Ingredients
Every great lip balm starts with a handful of core ingredients, each playing a specific role in the final texture, feel, and benefit of the balm.
Below is a breakdown of the most common ingredients used in homemade lip balm, along with a short explanation of what each one contributes.
Beeswax Gives structure and firmness while sealing moisture onto chapped lips naturally.
Coconut oil Deeply moisturizes and softens lips while adding a light tropical scent.
Shea butter Rich, creamy texture that heals and repairs dry cracked winter lips.
Cocoa butter Adds a smooth glide and a subtle chocolate aroma lips love.
Sweet almond oil Lightweight oil packed with vitamin E for gentle daily lip nourishment.
Vitamin E oil Natural preservative that extends shelf life and protects against oxidation damage.
Jojoba oil Mimics natural skin oils, absorbing quickly without leaving a greasy residue.
Castor oil Adds glossy shine and helps other oils spread evenly across lips.
Essential oils Provide gentle scent and flavor while offering calming aromatherapy benefits too.
Honey Natural humectant that draws moisture into lips and soothes irritation gently.
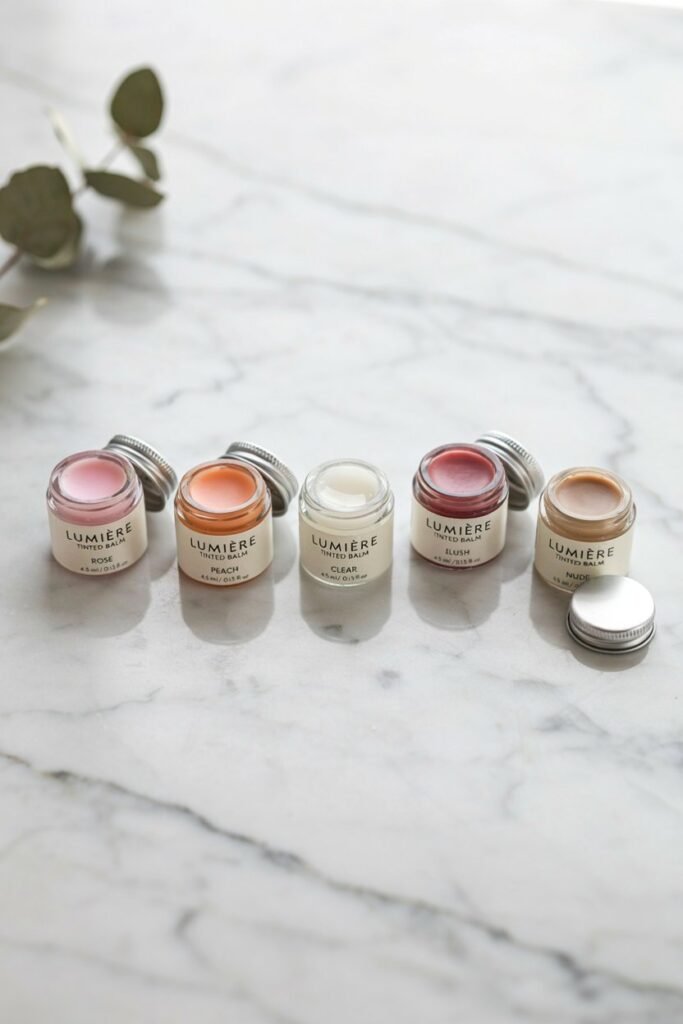
Mica powder Adds subtle shimmer or tint, turning plain balm into tinted lip gloss.
Peppermint extract Delivers a cooling tingle sensation that many people find refreshing and invigorating.
Once you understand what each ingredient does, you can start experimenting with your own ratios and combinations to create a balm that suits your personal preference, whether that means something ultra moisturizing, something with a glossy shine, or something with a soft tint of color.
Step by Step Instructions for Making Lip Balm
Now that you know what goes into a great lip balm, let us walk through the actual process.
This recipe makes roughly fifteen to twenty standard lip balm tubes, depending on the size of your containers, so feel free to scale it up or down based on how many gift sets you plan to create.
Step One: Prepare Your Work Space
Lay down parchment paper or a clean towel on your counter to catch any spills. Set out your lip balm tubes or tins upright and ready to fill.
Have your stir sticks, dropper, and labels within reach so you are not scrambling once your mixture is melted and needs to be poured quickly.
Step Two: Measure Your Base Ingredients
In your heat safe measuring cup or double boiler, combine one tablespoon of beeswax, one tablespoon of coconut oil, one tablespoon of shea butter, and one teaspoon of castor oil.
These proportions create a balanced balm that is firm enough to hold its shape in a tube but soft enough to glide smoothly onto lips.
Step Three: Melt Everything Gently
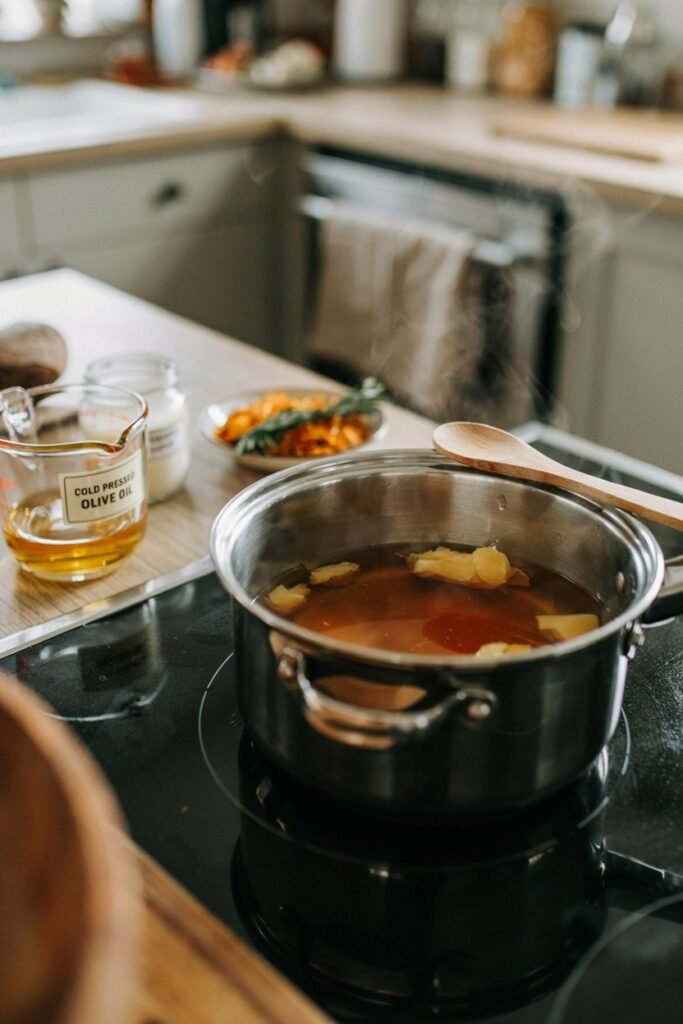
Place your mixture over low heat, either using a double boiler on the stove or short bursts in the microwave at thirty second intervals. Stir frequently so nothing scorches.
The beeswax will take the longest to melt fully, so be patient and keep the heat low rather than rushing the process with high heat.
Step Four: Add Your Nourishing Oils
Once everything is fully melted and combined into a smooth liquid, remove it from the heat and stir in one teaspoon of sweet almond oil or jojoba oil, along with a few drops of vitamin E oil.
These lighter oils are added after melting so their beneficial properties are not degraded by prolonged heat exposure.
Step Five: Add Scent, Flavor, or Tint
While the mixture is still liquid but no longer piping hot, stir in three to five drops of your chosen essential oil for scent, or a few drops of peppermint extract if you want that classic cooling effect.
If you are making tinted balms, this is also the moment to whisk in a small pinch of mica powder until the color is evenly distributed throughout the liquid.
Step Six: Pour Into Containers
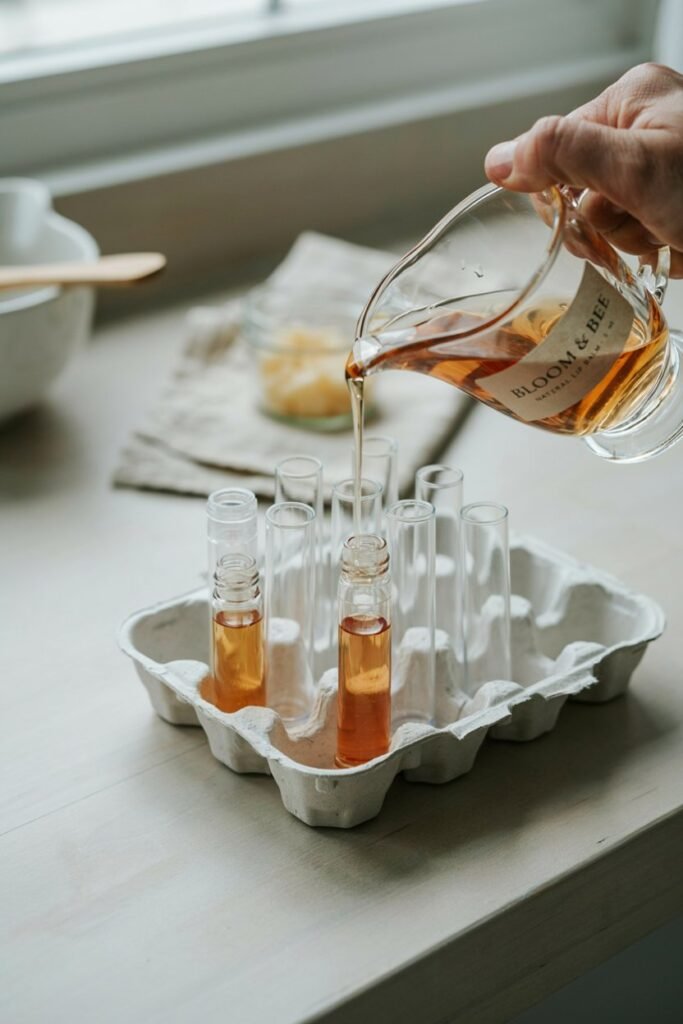
Working quickly before the mixture begins to set, use your dropper or small pitcher to pour the liquid balm into your prepared tubes or tins.
Fill them close to the top, leaving just a small gap at the very edge.
If you are using tubes, keep them standing upright in a small cup or an egg carton so they do not tip over while cooling.
Step Seven: Let It Cool and Set
Allow your filled containers to sit undisturbed at room temperature for about one hour, or place them in the refrigerator for fifteen to twenty minutes if you want to speed up the process.
The balm should turn from clear liquid to a solid, slightly opaque texture once fully set.
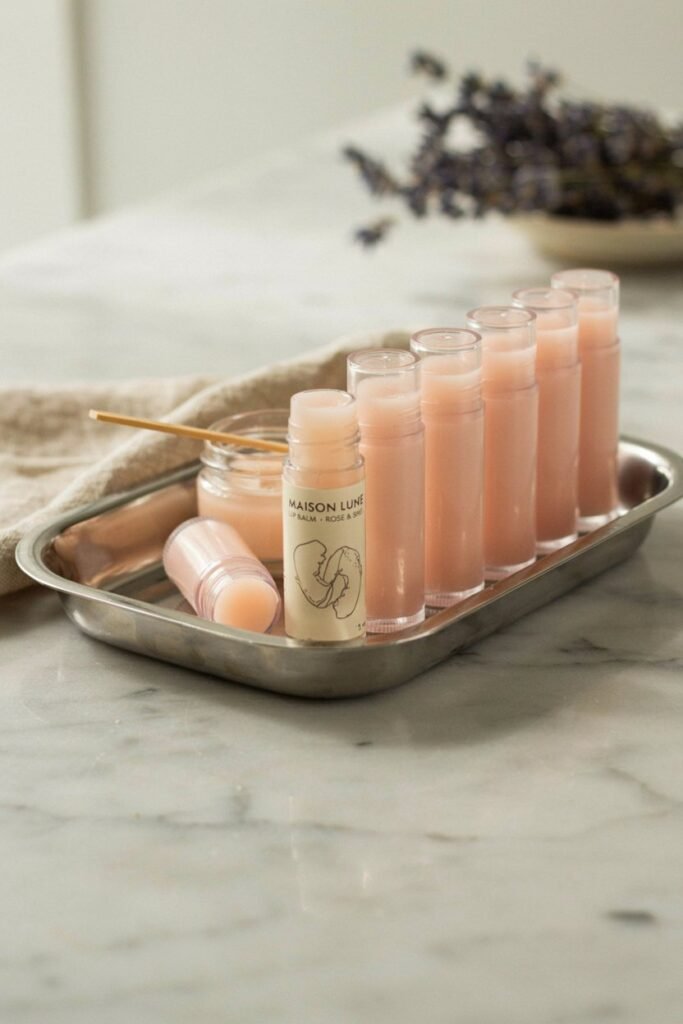
Step Eight: Cap, Label, and Package
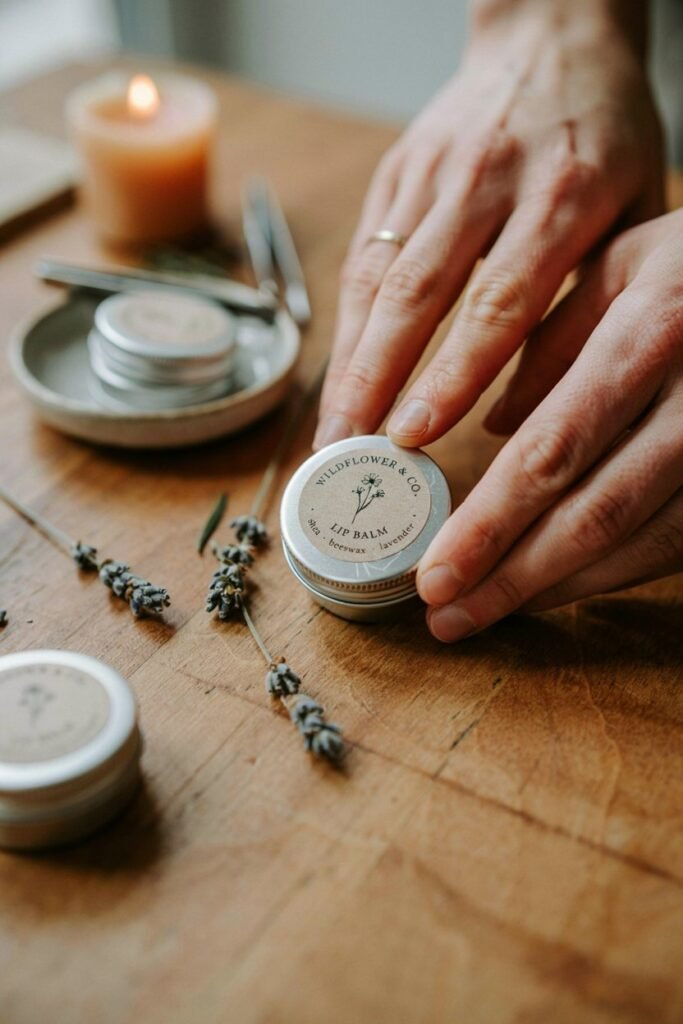
Once your balms have fully hardened, cap each tube or close each tin securely. Wipe away any excess balm from the rim using a paper towel.
Apply a small custom label to each container listing the scent or flavor, and if you are giving these as gifts, consider adding the date they were made along with a simple note about the natural ingredients used inside.
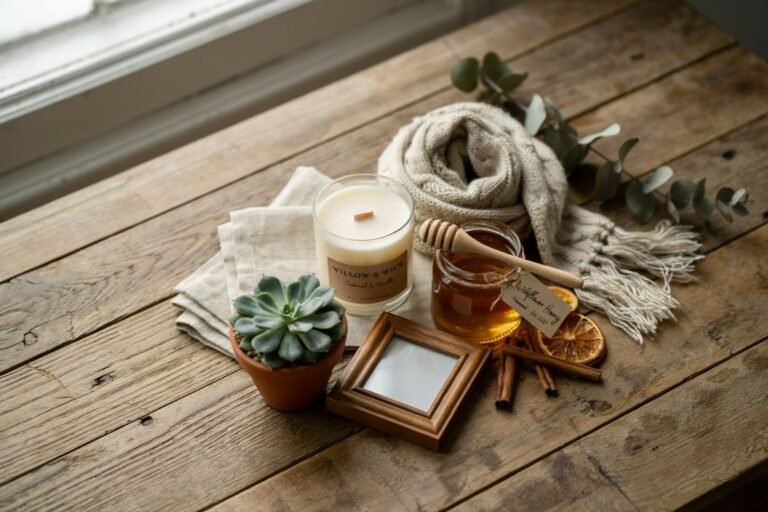
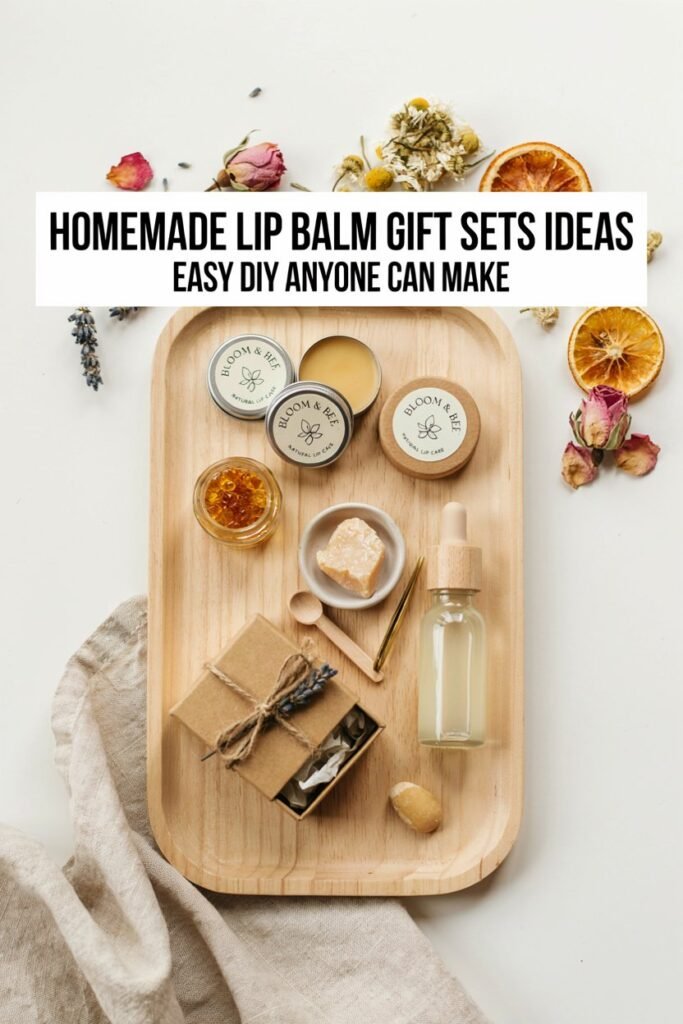
Creating a Beautiful Gift Set Presentation
Making the lip balm is only half the fun.
Presentation is what turns a simple homemade product into a gift that feels special and thoughtful.
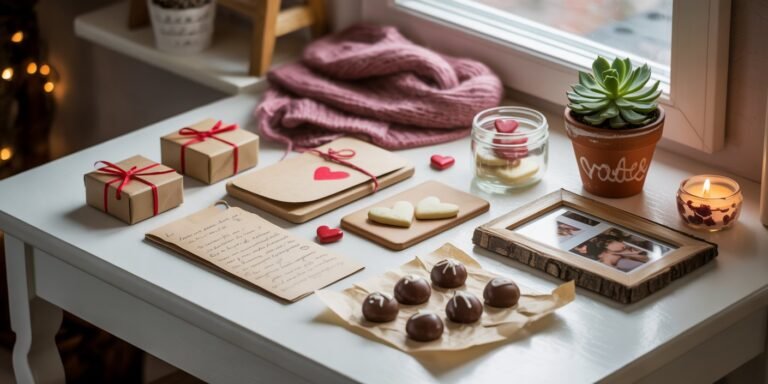
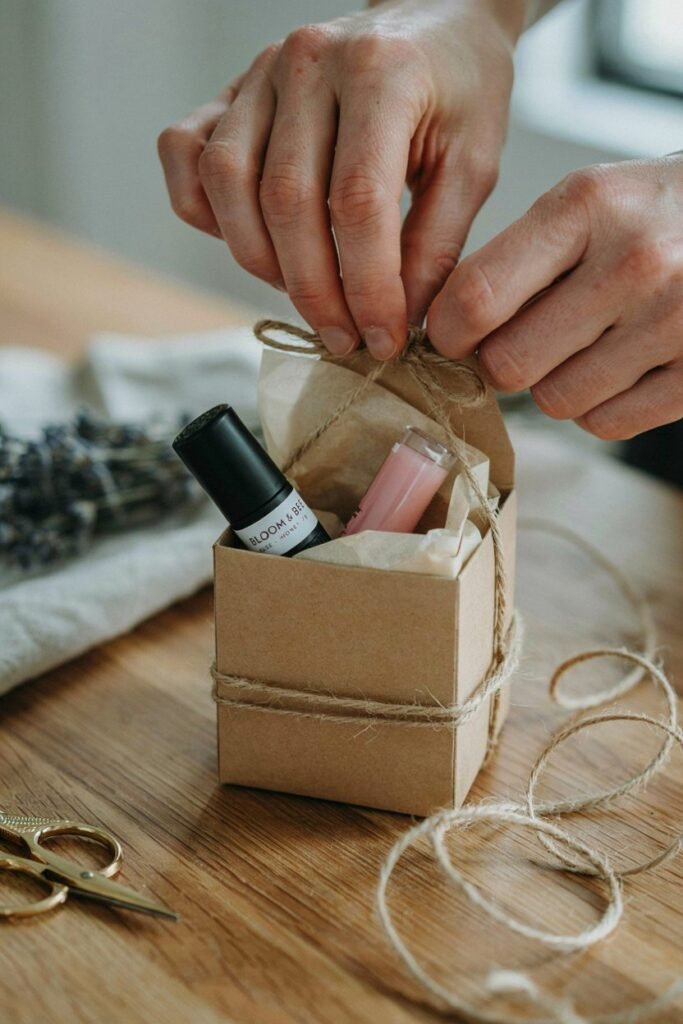
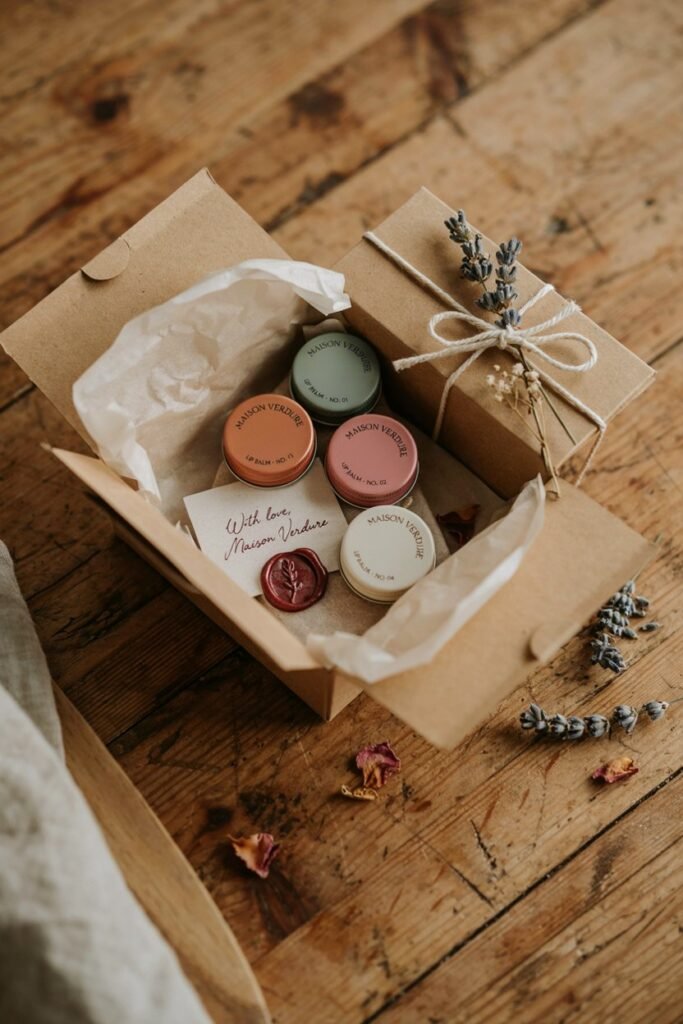
A small kraft paper box lined with tissue paper or shredded paper filler makes an excellent base for arranging three or four lip balms together.
You can tie the box shut with twine or ribbon and attach a handwritten tag with the recipient’s name.
For a slightly more elevated look, consider using small glass jars instead of plastic tubes, paired with a matching set of tiny wooden spoons for scooping the balm out.
Grouping balms by scent family, such as a citrus trio, a minty trio, or a floral trio, gives your gift set a cohesive and intentional feel rather than a random assortment.
If you plan to give these as gifts for a specific occasion like a wedding, baby shower, or holiday party, you can customize your labels and packaging colors to match the event theme.
Simple things like a wax seal stamp on the box, a sprig of dried lavender tucked into the ribbon, or a small printed card explaining the benefits of each ingredient add a thoughtful, personal touch that recipients will remember.
Tips for Getting the Best Results
Through many batches of trial and error, I have picked up a few tricks that consistently make the process smoother and the final product better.
Always melt your beeswax first before adding your other oils, since it has the highest melting point and needs the most time.
If your balm turns out too soft once it sets, simply remelt it and add a bit more beeswax.
If it turns out too hard or waxy, remelt it and add a touch more oil until you reach the texture you prefer.
Test your scent strength on a small batch before committing to a full one, since essential oils can smell quite different once diluted into a solid balm compared to how they smell straight from the bottle.
Store your finished lip balms away from direct sunlight and heat, since natural oils and butters can soften or melt if left in a hot car or on a sunny windowsill.
Keep a small notebook of your recipe ratios and any adjustments you make along the way.
This makes it much easier to recreate a favorite batch later or to make small tweaks the next time you want a slightly different texture or scent profile.
How Long Does Homemade Lip Balm Last
When made with the ingredients listed above, homemade lip balm typically stays fresh for about one year when stored properly in a cool, dry place.
Adding vitamin E oil helps extend this shelf life further by slowing down oxidation.
If you notice any change in smell, color, or texture over time, it is best to discard that batch and make a fresh one, since natural oils can eventually turn rancid without synthetic preservatives.
Customization Ideas to Try
Once you feel comfortable with the basic recipe, there are endless ways to customize your lip balm gift sets.
Try swapping coconut oil for mango butter for a slightly different texture and scent.
Experiment with combining lavender and vanilla essential oils for a calming, cozy blend perfect for winter gifting.
Add a tiny bit of cinnamon or clove extract for a warm, spicy balm that feels festive during the holiday season.
For a fun summer twist, combine lime and coconut for a tropical feeling balm, or try strawberry flavor oil paired with a touch of pink mica powder for a playful tinted gloss that younger recipients will love.
The possibilities are nearly endless once you understand the basic ratios and technique.
Final Thoughts
Making homemade lip balm gift sets is one of those projects that feels far more impressive than it actually is to execute.
With just a handful of simple, nourishing ingredients and about an hour of your time, you can create beautiful, personalized gifts that your friends and family will genuinely use and appreciate.
Every batch teaches you something new, whether it is a better ratio, a favorite scent combination, or a packaging idea you had not thought of before.
I hope this guide gives you everything you need to start your own lip balm making journey.
Gather your ingredients, set aside an afternoon, and enjoy the process of creating something warm, thoughtful, and entirely your own.