

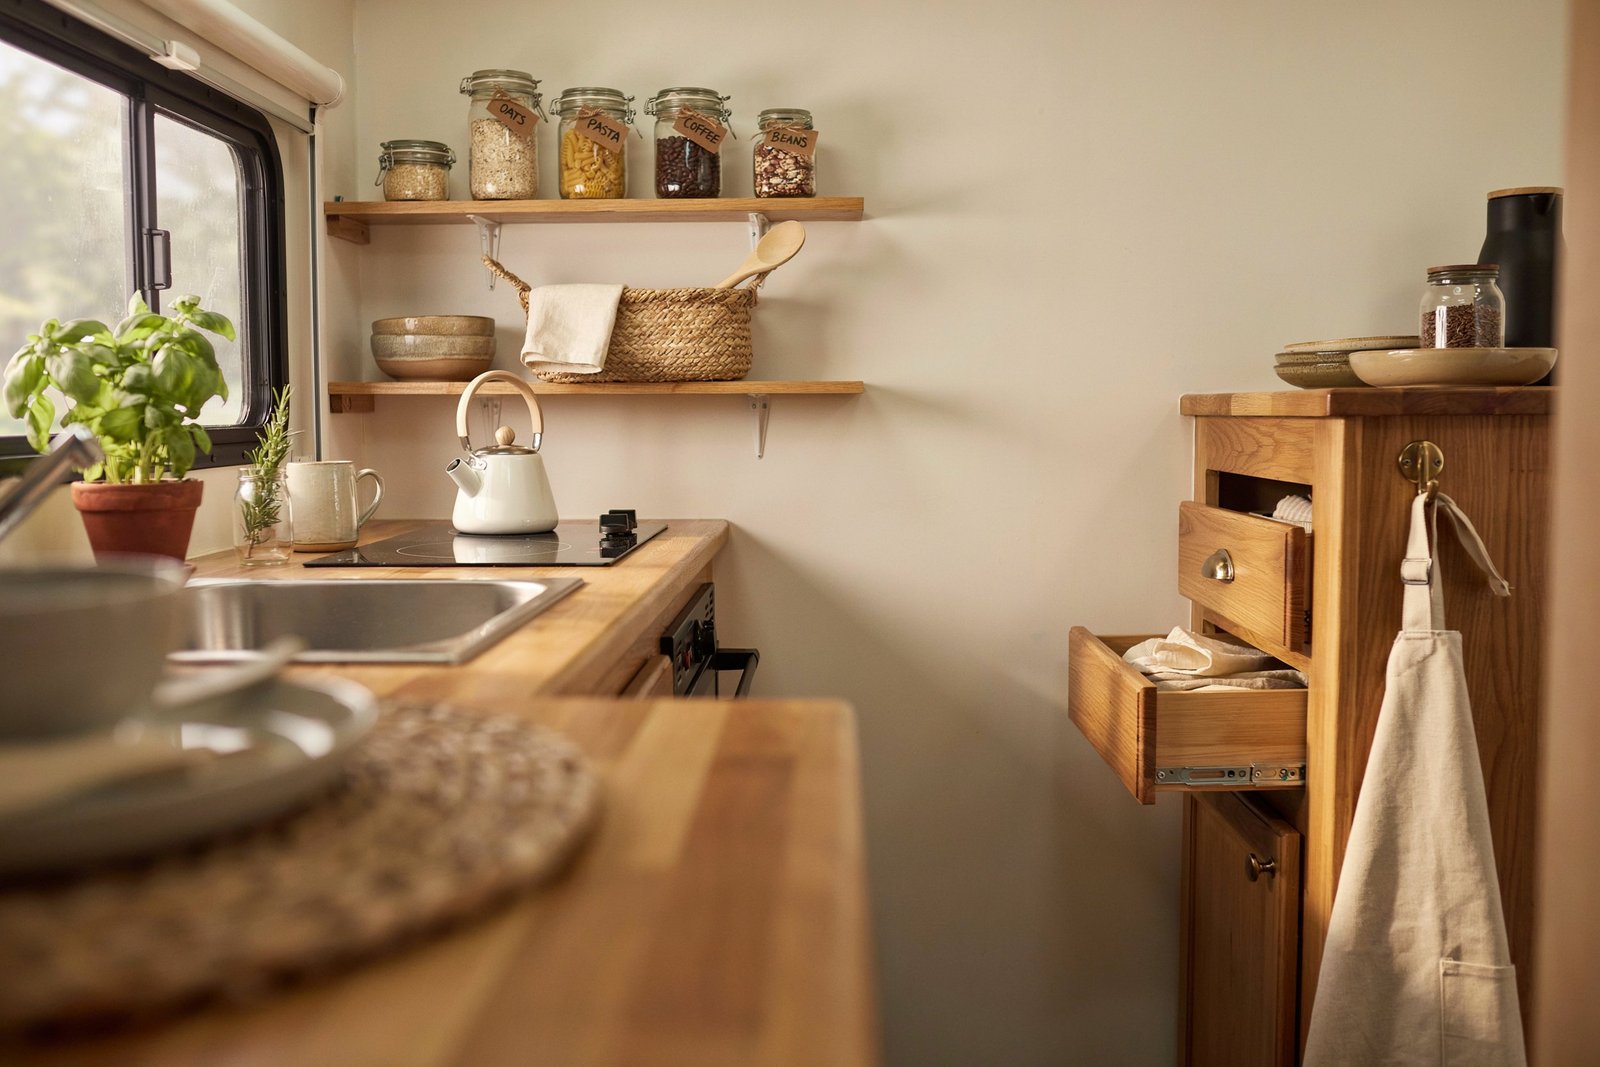
If you have ever tried to find your favorite mug buried under three days of dirty laundry in an RV the size of a walk in closet, you already know the struggle.
I spent my first full season on the road convinced that RV living meant permanent clutter.
Cabinets that would not close. A junk drawer that somehow multiplied into three junk drawers. A pantry where the crackers and the bug spray lived on the same shelf.
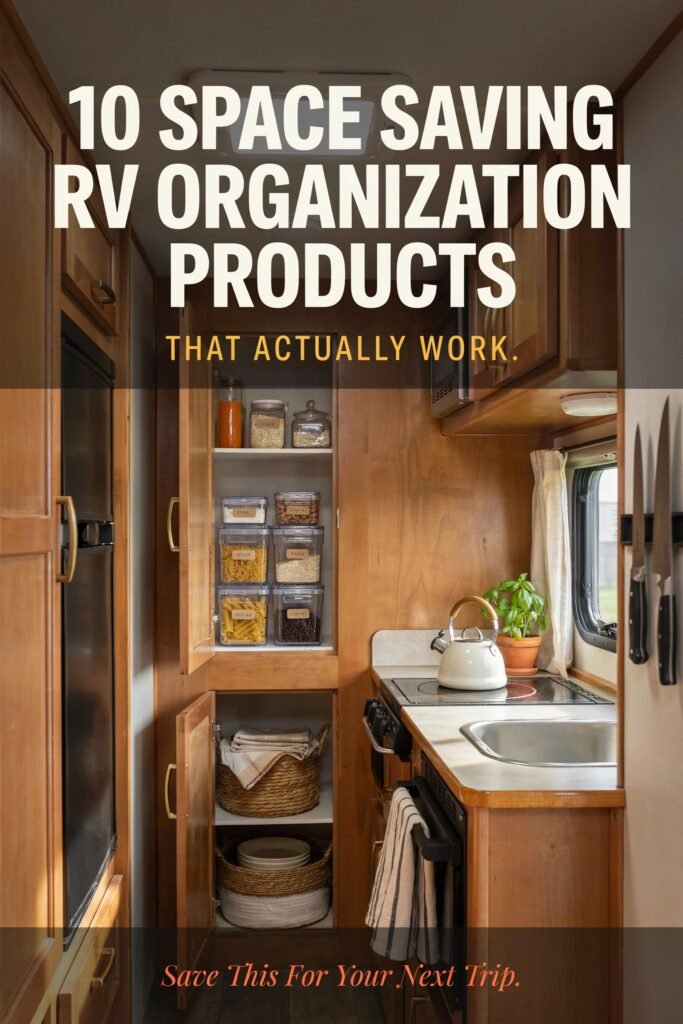
Everything changed once I stopped buying random bins from the dollar store and started choosing organization products that were actually designed for the way RVs move, shake, and shrink.
Below are the ten products that made the biggest difference in my rig, along with exactly what comes with each one and how I set it up, so you can skip the trial and error and go straight to a tidy home on wheels.
Disclaimer
This post may contain affiliate links. As an Amazon Associate, I earn from qualifying purchases at no additional cost to you. I only recommend RV organization products that I genuinely believe help save space and make life on the road easier. The information in this article is for general informational purposes only. Always measure your RV storage areas before purchasing organization products.
Amazon Shopping List You Need
- Stackable Storage Bins – I use these to make the most of every cabinet.
- BAGAIL Compression Packing Cubes – I always use these to keep clothes neat and save space.
- Command Utility Hooks – I love adding extra storage without drilling into the walls.
- Expandable Drawer Organizers – I use these to keep small items from becoming clutter.
- Non Slip Shelf Liner – I never travel without it because it keeps everything in place.
- Over the Cabinet Door Organizer – One of my favorite ways to create extra storage.
- Collapsible Storage Baskets – I like these because they fold flat when I’m not using them.
Why RV Organization Is Different From Home Organization
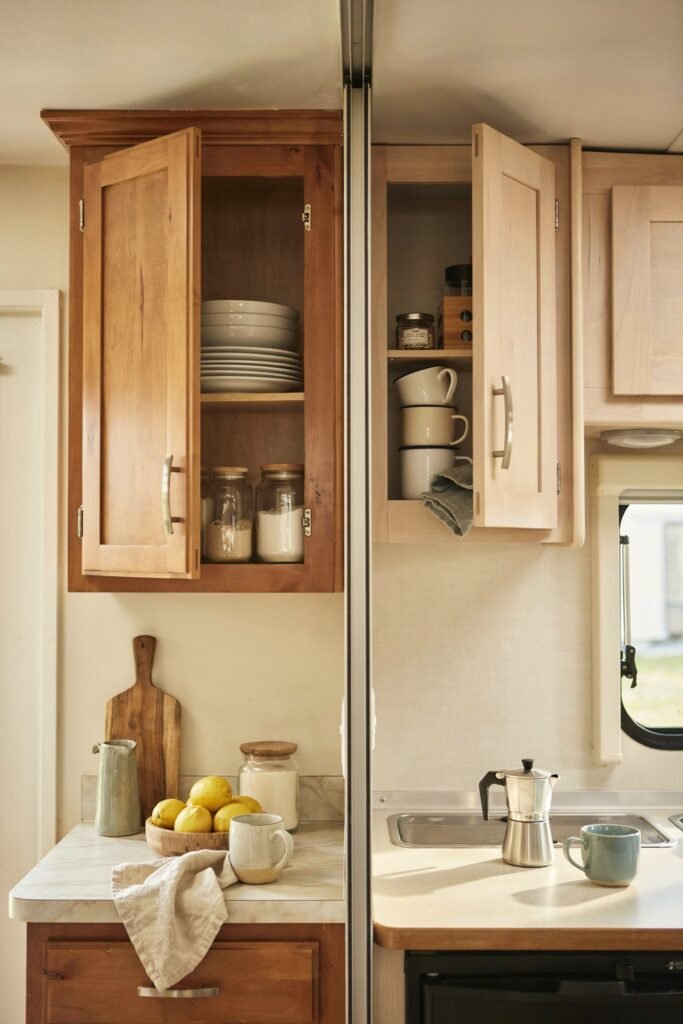
Before we get into the list, it helps to understand why the organizing hacks that work in a sticks and bricks house often fail in an RV.
Homes do not bounce down the highway at sixty five miles an hour.
Everything in your rig needs to survive vibration, sudden stops, and sharp turns without turning into a pile on the floor.
That means the best RV products usually have some kind of locking mechanism, non slip material, or a way to secure them directly to a wall, cabinet, or drawer.
Keep that in mind as you shop, because a beautiful woven basket that is not secured to anything will become a projectile the first time you hit the brakes.
1. Stackable Airtight Pantry Containers
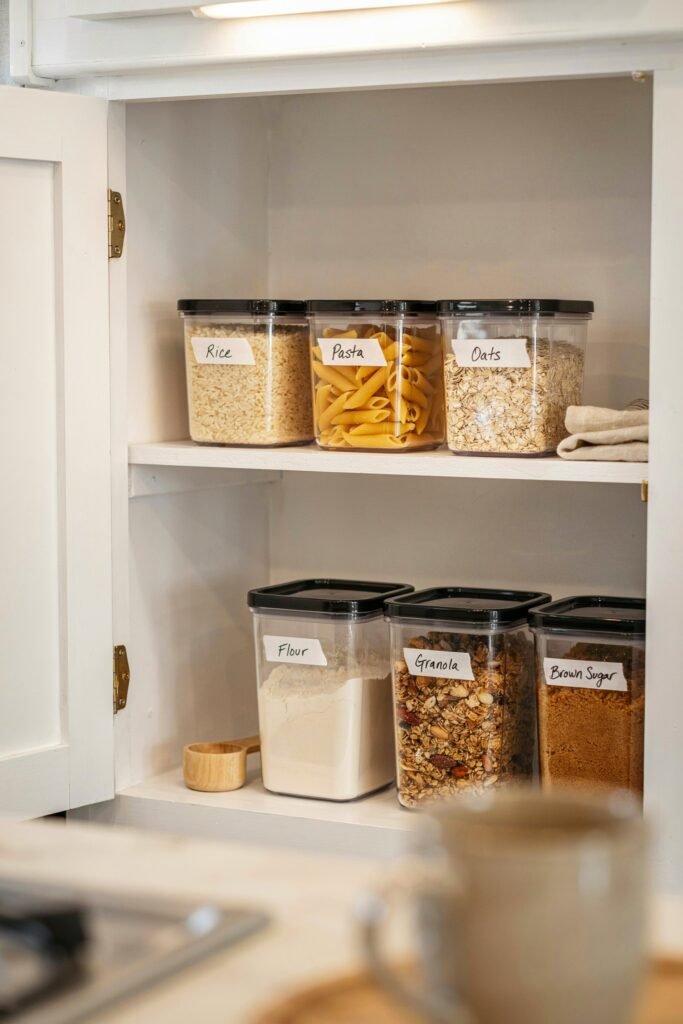
Pantry chaos is usually the first problem new RVers run into, and it was mine too.
Cardboard cereal boxes and half open bags of flour take up an enormous amount of space and mold to nothing efficiently.
Switching to a matching set of stackable airtight containers solved this almost overnight.
What Is Included
A typical set includes anywhere from ten to twenty four containers in varying sizes, from small spice sized jars up to large rectangular bins made for rice, flour, pasta, or cereal.
Most sets also include a dry erase marker, reusable labels, and pour spouts on the larger containers.
How To Set It Up
Start by pulling everything out of your pantry and sorting it into categories such as grains, snacks, baking, and pasta.
Wash and completely dry each container before filling it, since any leftover moisture will cause condensation once the lid is sealed.
Fill the largest containers first, working from the back of the cabinet forward, and place the containers you use daily at eye level or in the front.
Use the included marker to label the lid or side of each container with both the contents and the date you filled it, since airtight containers hide expiration clues that you would normally see on a box.
Because the square and rectangular shapes stack flush against each other, you will typically reclaim thirty to forty percent more usable pantry space compared to keeping food in its original packaging.
2. Non Slip Drawer and Shelf Liner
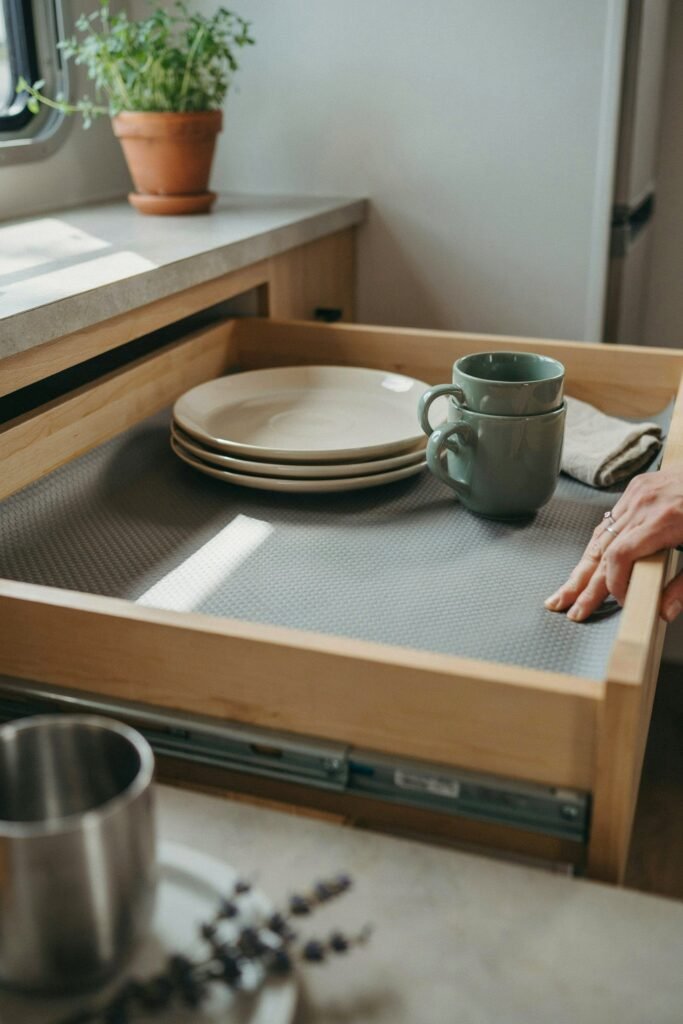
This one sounds almost too simple to matter, but it might be the single most useful two dollar an hour fix in this entire list.
Without liner, everything in a drawer or on a shelf slides around every time you drive, which leads to broken dishes, spilled spices, and constant re-organizing.
What Is Included
A roll of shelf liner typically comes in lengths between five and twenty five feet, in a grippy rubber or foam material that can be cut to size with ordinary scissors.
Many rolls are washable and can simply be wiped down with a damp cloth.
How To Set It Up
Measure each shelf or drawer bottom before cutting, and always cut your liner about half an inch smaller than the actual space so it lies flat without curling up at the edges.
Clean the surface first, since liner sticks and grips better on a surface free of dust and crumbs.
Lay the liner flat, press down firmly especially around the corners, and then place your dishes, cups, or pantry items directly on top.
For deep drawers, consider layering a second piece of liner between stacked plates so each one has its own grip point.
This one step alone will noticeably cut down on rattling noises while driving, which is a nice bonus for your sanity on long travel days.
3. Over The Door Clear Pocket Organizer
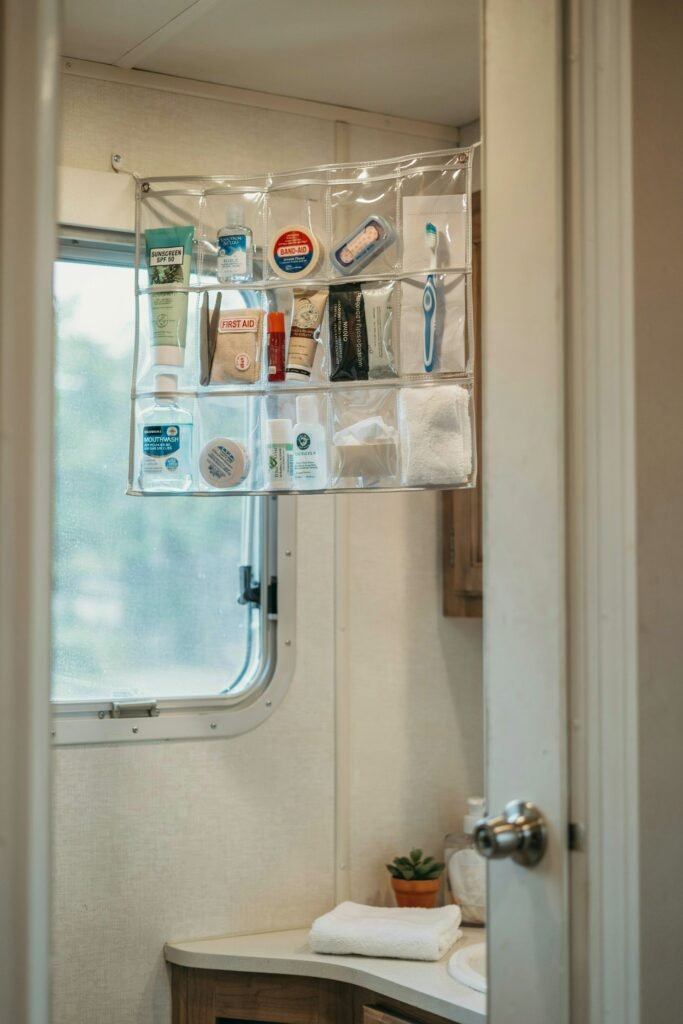
Bathroom and closet doors in an RV are almost always wasted space.
An over the door organizer with clear vinyl pockets turns that flat surface into genuinely useful storage for toiletries, cleaning supplies, or kids toys.
What Is Included
Most organizers include a metal or plastic frame that hooks over a standard door, along with twenty four to thirty individual clear pockets sewn or heat sealed into rows.
How To Set It Up
Hang the frame over your door and check that it does not interfere with the door closing or with any nearby light switches.
Group similar items into the same row, for example all first aid supplies in one row and all hair and skin products in another.
Because the pockets are clear, you will be able to see what is inside without unzipping or digging, which saves real time during your morning routine.
If you are worried about swinging or noise while driving, add a strip of hook and loop tape between the top of the organizer and the door itself for extra stability.
4. Collapsible Silicone Storage Bins
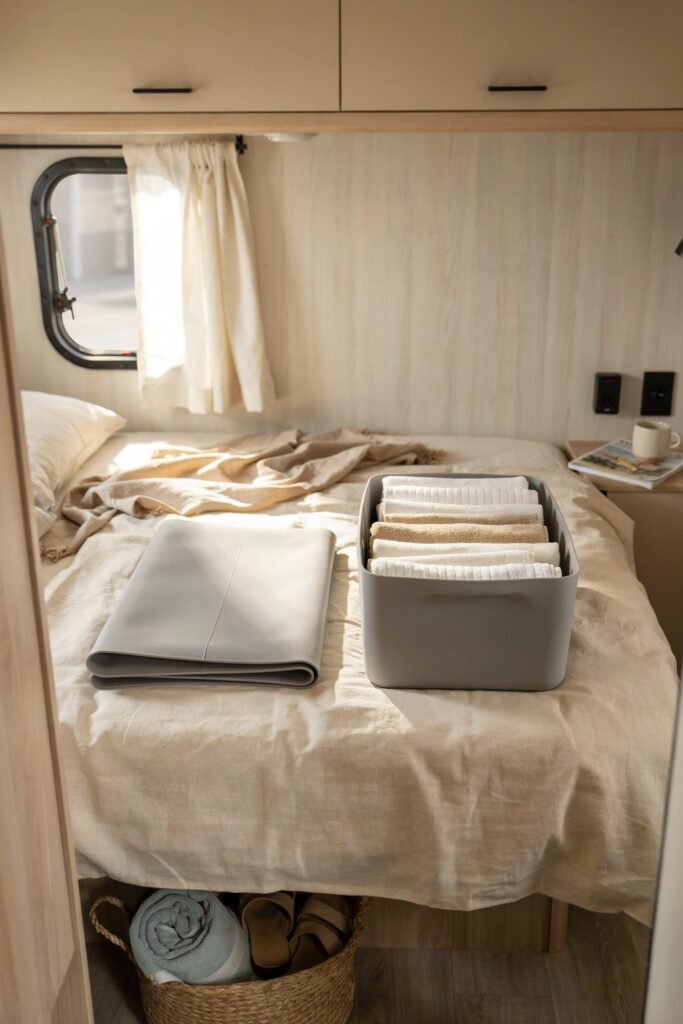
Rigid bins take up their full size whether they are full or empty, which is a real problem in a space where every cubic inch counts.
Collapsible silicone bins solve that by folding almost completely flat when they are not in use.
What Is Included
A set usually includes three to six bins in different sizes, made of food grade silicone with a reinforced plastic rim to keep the top edge from folding in on itself.
How To Set It Up
Use the larger bins for towels, extra bedding, or off season clothing, and the smaller ones for snacks or toiletries you want to keep grouped together.
When you need extra storage during a longer trip, simply pop the bin open by pulling up on the rim until it locks into shape.
When you are ready to head home or downsize for a shorter trip, press down evenly around the rim to collapse it flat again.
I keep two collapsed under my bed year round just in case I come home with extra farmers market produce or last minute souvenirs.
5. Tension Rods For Cabinets
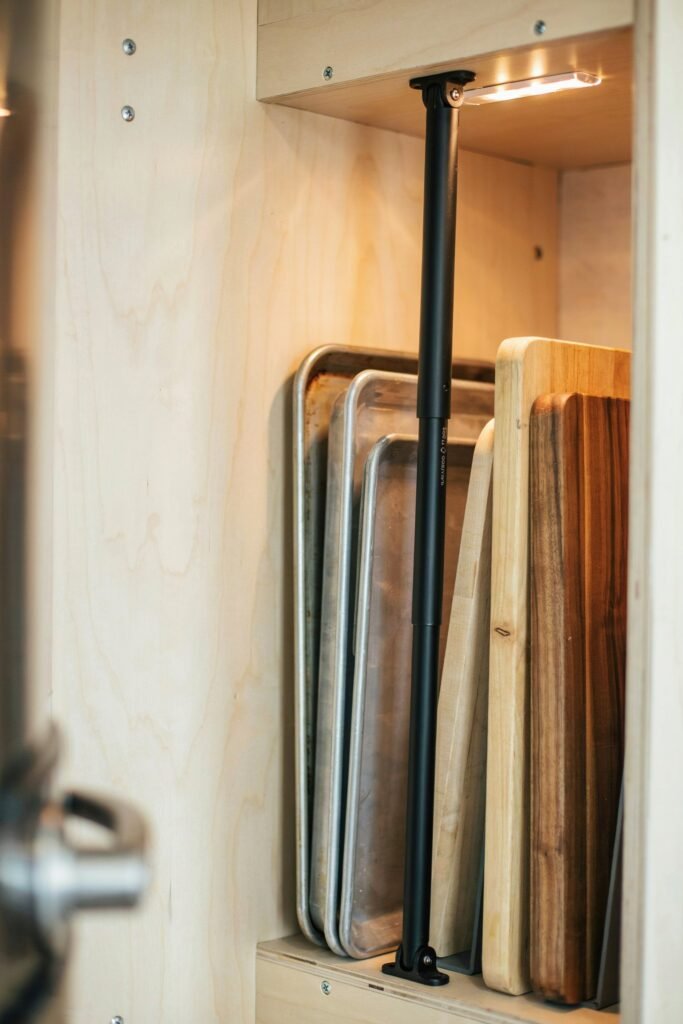
A simple spring loaded tension rod, the same kind you might use for a curtain, is one of the cheapest and most effective tools for keeping cabinet contents from sliding into a pile.
What Is Included
Tension rods usually come in sets of two or four, adjustable within a length range, most commonly somewhere between twelve and twenty inches, with rubber grip ends that prevent scratching.
How To Set It Up
Measure the inside width of your cabinet, then twist the rod to extend it about an inch longer than that measurement so it presses firmly against both walls.
Install one rod horizontally to keep cleaning sprays or bottles from tipping over, or install two rods vertically to create a divider that keeps cutting boards, trays, or baking sheets standing upright instead of sliding flat.
Because there is no drilling or hardware involved, you can reposition these in minutes if you rearrange your kitchen setup later in the season.
6. Magnetic Spice Rack
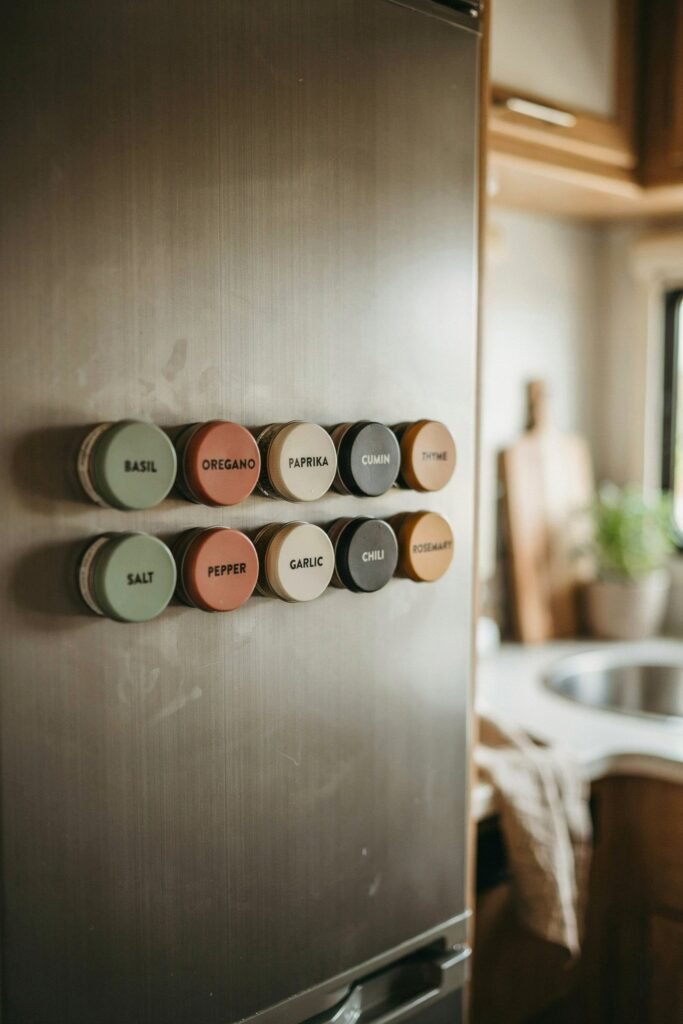
Spice bottles are notorious for rolling around loose in a drawer, and standard spice racks take up precious counter space you do not have.
A magnetic spice rack solves both problems by sticking flat to any metal surface, including the side of your refrigerator or range hood.
What Is Included
A set typically includes a wall mounted magnetic strip or plate, along with twelve to twenty four small magnetic tin containers and a set of blank labels.
How To Set It Up
Attach the magnetic strip to a clean, dry section of metal, such as the side of your fridge, using the included adhesive backing.
Fill each small tin with your most used spices, label the lid, and press each one onto the magnetic strip.
Arrange them alphabetically or by how frequently you use them, with your everyday staples like salt, pepper, and garlic powder placed at eye level.
This setup keeps your countertop completely clear while making every spice visible and instantly accessible while you are cooking.
7. Vacuum Storage Bags For Bedding And Clothing
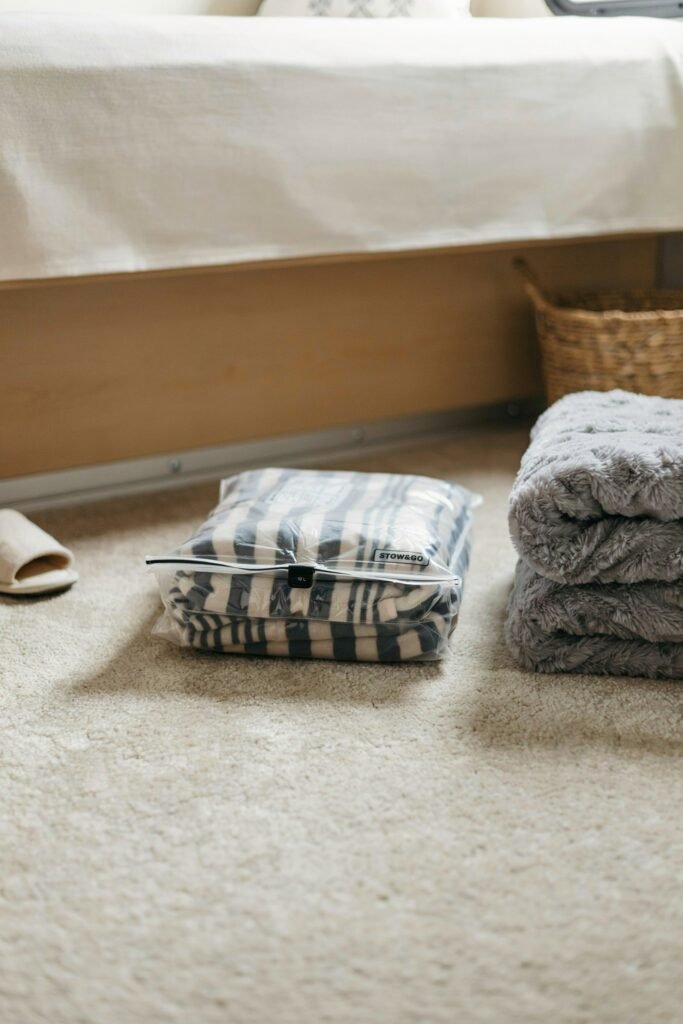
If you travel with extra bedding, jackets, or off season clothing, vacuum storage bags can be a genuine space saver, sometimes compressing bulky items down to a quarter of their original size.
What Is Included
A typical pack includes several bags in different sizes, from small bags meant for a few sweaters up to large bags built for comforters or sleeping bags, along with a hand pump for situations where you do not have access to a vacuum cleaner.
How To Set It Up
Lay the bag flat, load in your clothing or bedding, and seal the zip top completely before rolling out any excess air by hand.
Attach the valve to your vacuum hose or the included hand pump and remove the air slowly and evenly so the fabric compresses without bunching in one corner.
Once compressed, store the flattened bag under a bed, inside a closet, or in any narrow gap you were not able to use before.
Keep in mind that these bags work best for soft goods only, and they are not the right choice for anything you need quick daily access to, since re-inflating and resealing takes a few extra minutes each time.
8. Under Sink Sliding Organizer
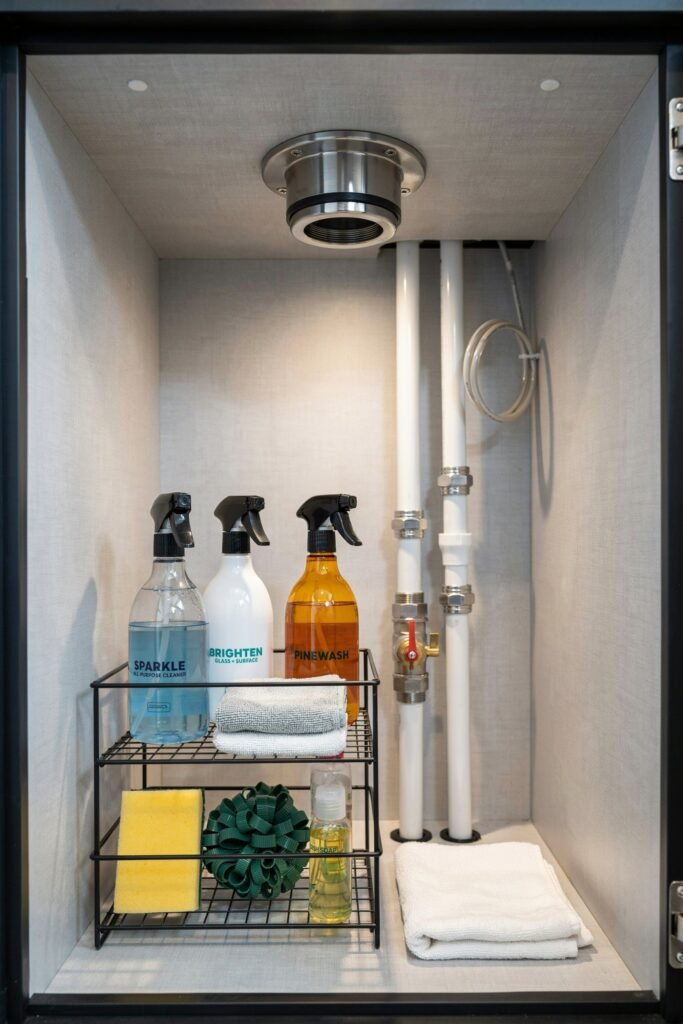
The area under an RV sink is often an awkward, deep, dark space interrupted by plumbing, which makes it one of the most poorly used areas in the entire rig.
A sliding two tier organizer designed specifically for under sink cabinets fixes this by working around the pipes instead of against them.
What Is Included
Most organizers include two stacked sliding trays connected by an adjustable frame, along with rubber grip feet to keep the whole unit from shifting on the cabinet floor.
How To Set It Up
Measure the width and depth of your under sink cabinet, including the space around your plumbing, before purchasing, since these organizers come in several adjustable width ranges.
Place the frame on the cabinet floor, positioning the legs around the pipes rather than trying to fit the unit in front of them.
Load cleaning supplies, trash bags, or extra sponges onto the trays, and use the sliding feature to access the back tray without having to remove everything stacked in front of it.
This product alone turned my most frustrating cabinet into the most organized one in my kitchen.
9. Hanging Mesh Produce And Snack Baskets
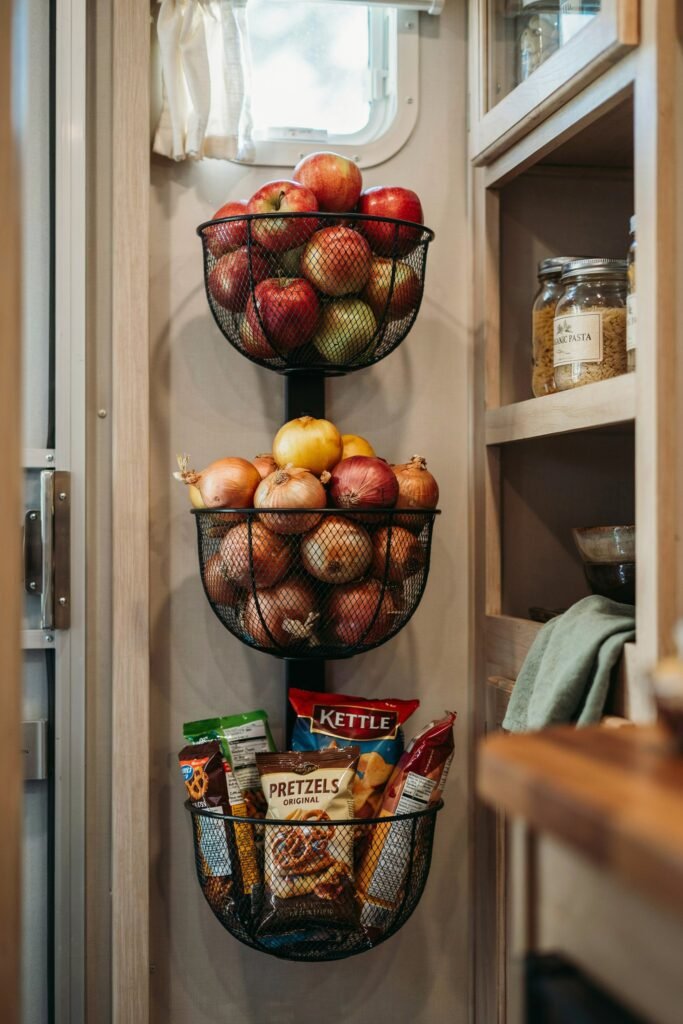
Countertop fruit bowls are lovely in a house and completely impractical in a moving vehicle.
A set of hanging mesh baskets keeps produce and snacks off the counter while still allowing airflow, which helps fruit last longer.
What Is Included
A set usually includes three tiered mesh baskets connected by a chain, along with an S hook or a ceiling mount bracket.
How To Set It Up
Choose a mounting spot with enough clearance below it, such as inside a pantry cabinet or in a corner near your kitchen that will not interfere with walking paths.
Secure the top hook firmly, keeping in mind that a fully loaded basket set can be heavier than it looks once filled with produce.
Load heavier items like potatoes and onions in the bottom basket for better balance, and lighter items like snack bags or citrus fruit toward the top.
The mesh design allows air to circulate around your produce, which noticeably slows down spoilage compared to sealing fruit inside a plastic bin.
10. Adhesive Wall Storage Pockets
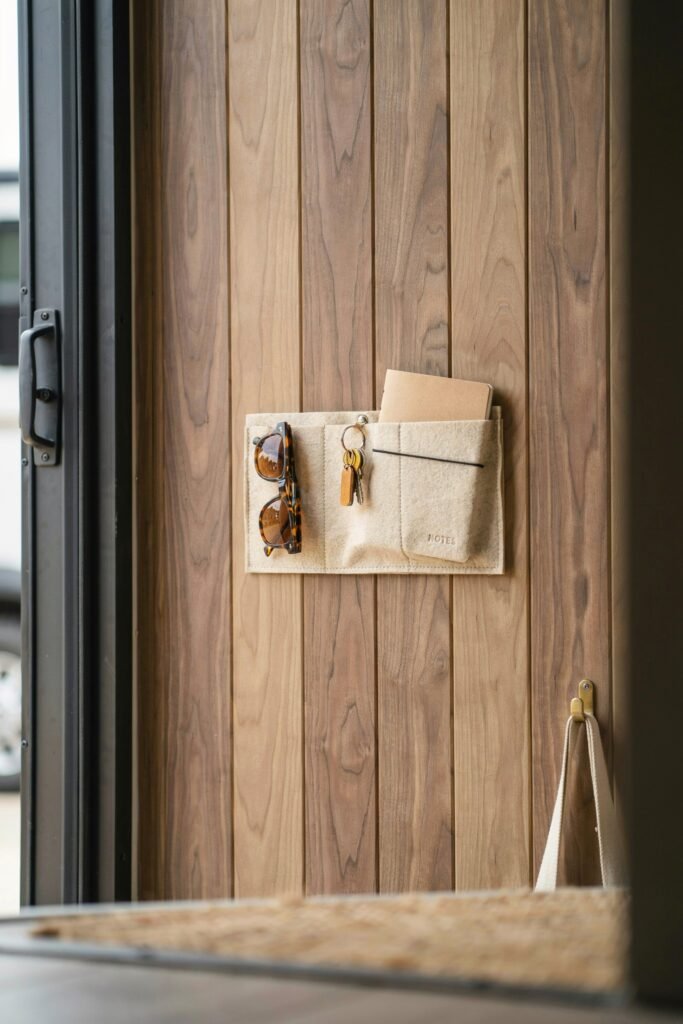
Small flat wall pockets that stick on with strong adhesive strips are perfect for the tiny, easily lost items every RV seems to collect, such as remotes, sunglasses, chargers, or your travel journal.
What Is Included
A set generally includes two to four fabric or felt pockets in different shapes, along with heavy duty adhesive strips or hooks rated to hold a few pounds each.
How To Set It Up
Clean the wall surface thoroughly with rubbing alcohol before sticking anything on, since dust or grease will shorten the life of the adhesive significantly.
Press the pocket firmly against the wall and hold for the amount of time listed on the packaging instructions, then wait the full recommended cure time, often twenty four hours, before loading it with anything heavy.
Place pockets near the areas where you actually use these items, such as one by the door for sunglasses and keys, and another by the couch for remotes.
Because these pockets are lightweight and easy to remove without damaging most RV wall surfaces, they are one of the easiest upgrades to test out before committing to anything more permanent.
A Few Extra Tips Before You Shop
A little planning goes a long way here.
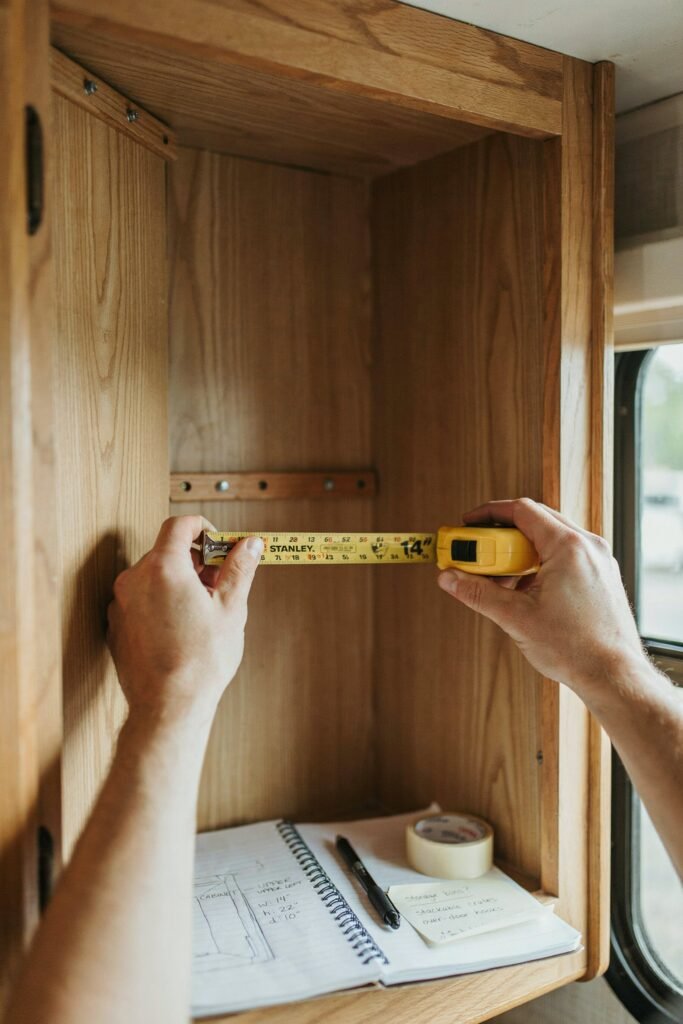
Measure your actual cabinets, drawers, and wall space before ordering anything, since RV dimensions vary a surprising amount between makes and models.
Whenever possible, choose products with a locking or non slip element built in, since anything that relies purely on gravity is likely to end up on your floor during your first sharp turn.
Finally, resist the urge to buy everything on this list at once.
Start with the one or two problem areas that bother you the most, such as the pantry or the under sink cabinet, and build out from there.
Organization that grows naturally with how you actually live in your rig tends to stick, while a rig that gets reorganized all in one weekend often slides back into clutter within a month.
Frequently Asked Questions
What is the best way to organize a small RV kitchen?
Start with airtight containers for your pantry, non slip liner for drawers, and a magnetic spice rack to clear counter space.
Can I use regular home organizers in my RV?
You can, but they often shift or fall while driving.
Look for products with rubber grips, tension mounting, or adhesive backing built to handle motion.
How do I stop dishes from rattling while driving?
Non slip shelf liner is the easiest fix.
Adding liner between stacked plates helps too.
Are vacuum storage bags worth it?
Yes, especially for bedding and off season clothing.
They compress items down significantly but are not ideal for things you need daily.
How much space can these products actually save?
Airtight containers alone typically free up thirty to forty percent more pantry space compared to original packaging.
Where should I start if I’m on a budget?
Focus on whichever area bothers you most daily, usually the pantry or the space under the sink.
Final Thoughts
RV living comes with real space constraints, but it does not have to mean constant clutter.
The ten products above cover the areas that give most RVers the biggest headaches, the pantry, the cabinets, the under sink space, and all those small odds and ends that never seem to have a home.
Pick the ones that match your biggest pain points first, take the time to set them up properly, and you will notice the difference the very next time you pull into a campsite and do not have to dig through three drawers just to find a spatula.


