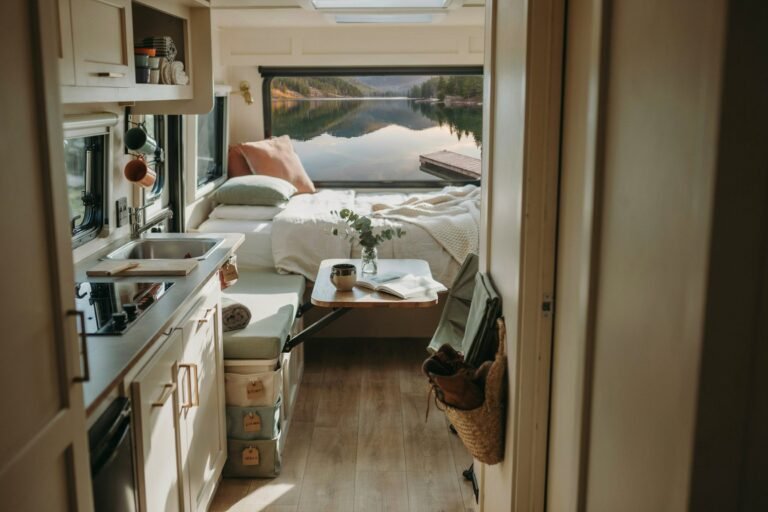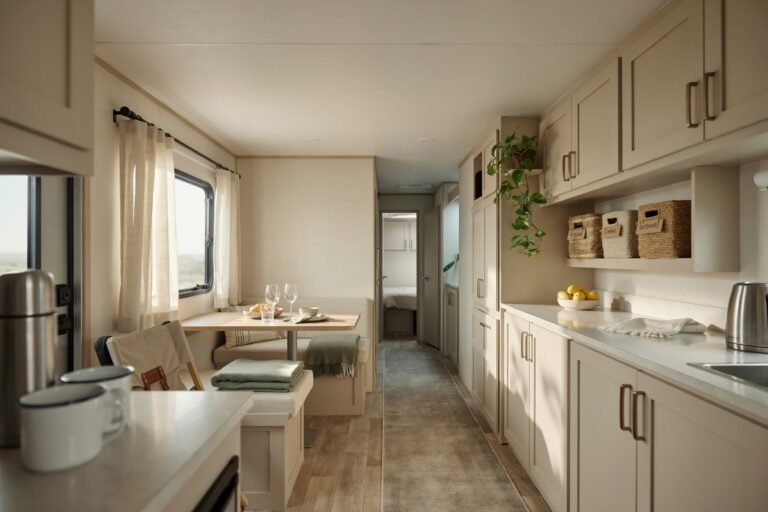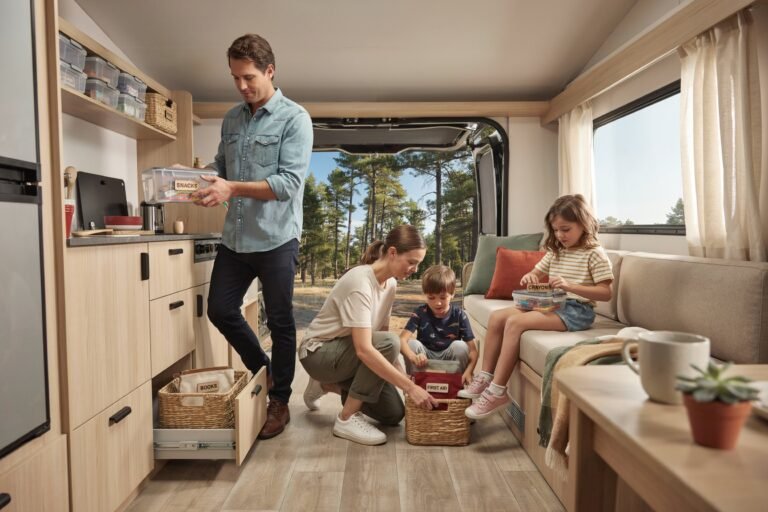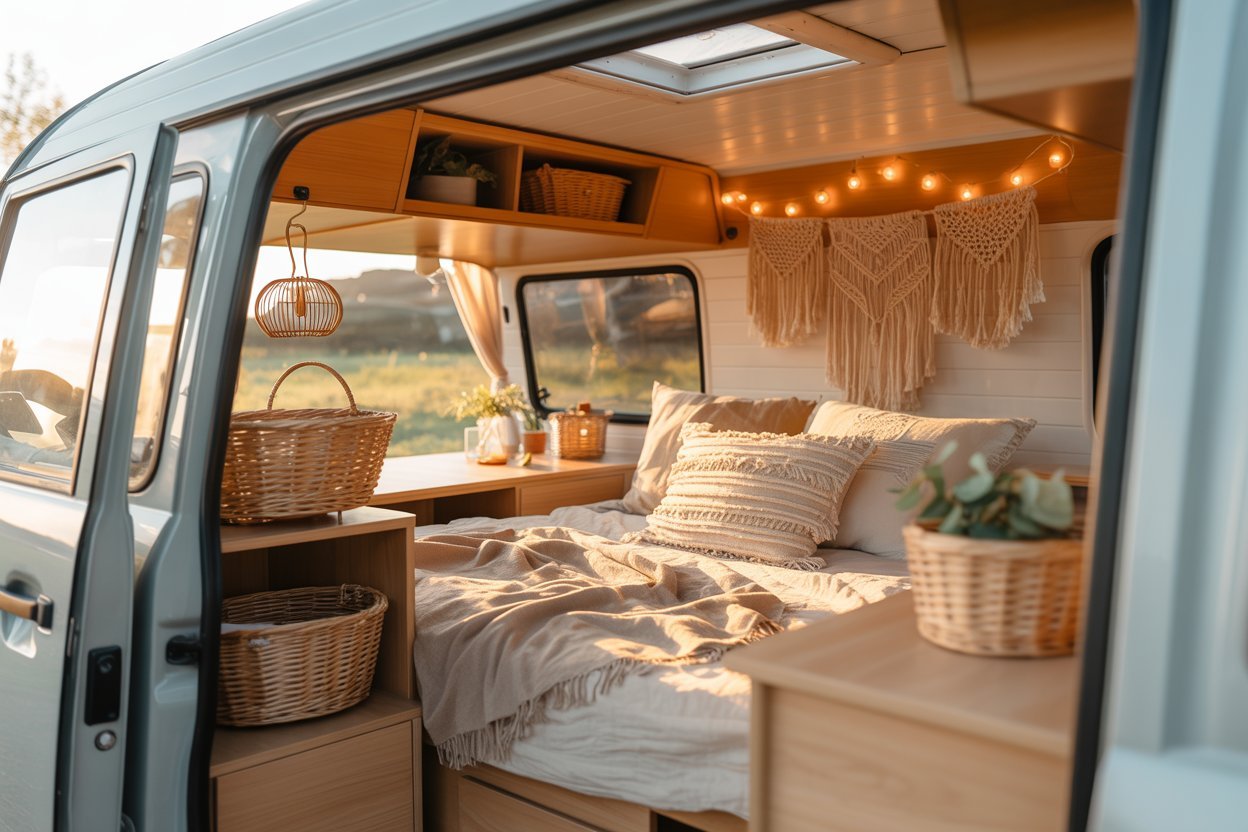
There’s something so inspiring about transforming a small camper into a cozy, beautiful space that feels like home.
Boho camper remodels, in particular, have this effortless charm soft textures, warm tones, and creative details that make even the tiniest spaces feel inviting and personal.
When I started looking into camper makeovers, I realized you don’t need a huge budget or a massive space to create something stunning.
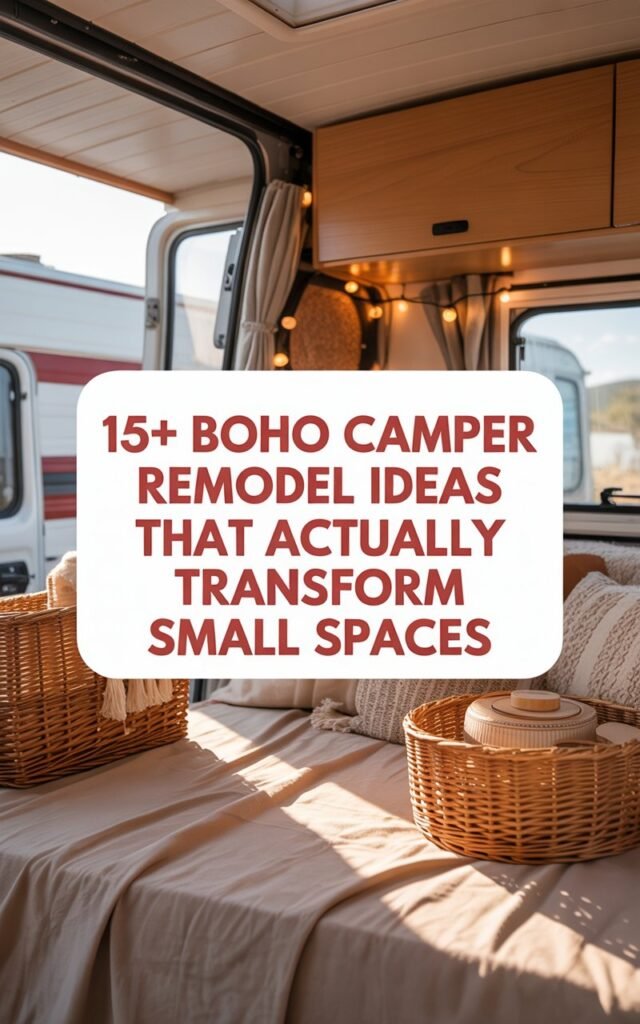
With the right ideas and a bit of creativity, a small camper can turn into a stylish retreat you actually love spending time in.
This post is all about simple, realistic boho camper remodel ideas that prove small spaces can be both functional and beautiful.
Disclaimer: This post may contain affiliate links, which means I may earn a small commission at no extra cost to you. Always ensure all camper modifications are safely installed and suitable for mobile or RV use.

Amazon Shopping List: Boho Camper Remodel Ideas
- Boho Macrame Wall Hanging Decor
- LED String Fairy Lights (Warm White)
- Peel and Stick Wood Wallpaper for RV Walls
- Woven Storage Baskets Set (Boho Style)
- Boho Throw Pillows (Neutral Earth Tones)
- Compact Folding Camping Table (Wood Finish)
- Rattan or Wicker Storage Organizer Set
Why Boho Style Works So Well in Small Campers
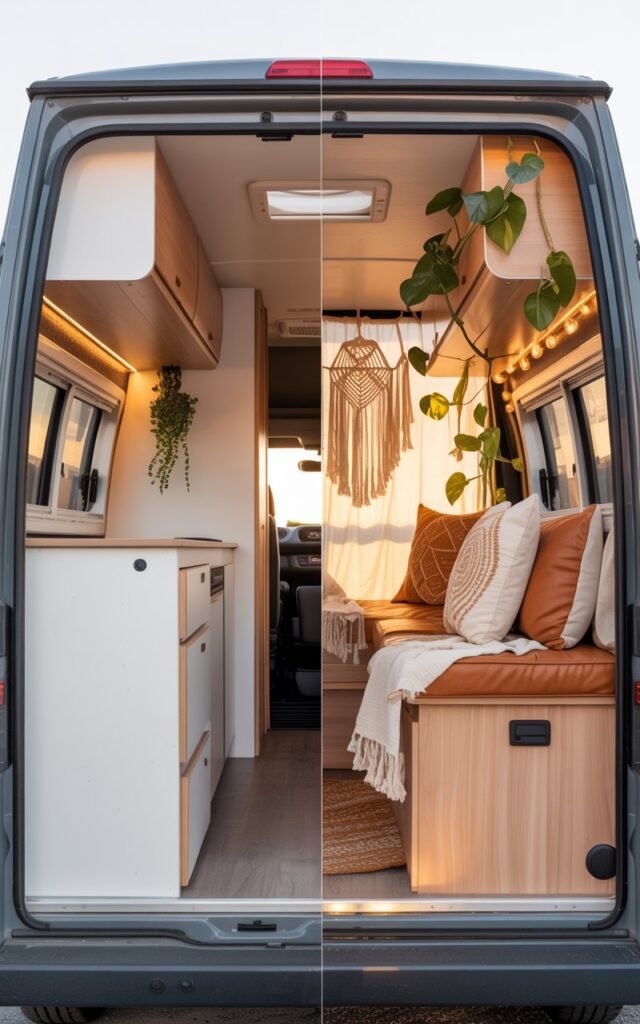
- Focuses on warmth, comfort, and layered textures
- Uses light, neutral tones that make spaces feel bigger
- Encourages creative, personalized decor
- Works well with natural materials like wood and linen
- Doesn’t require perfect symmetry relaxed and effortless
- Makes small spaces feel cozy instead of cramped
- Easy to achieve on a budget with simple pieces
- Blends style and function without overcomplicating design
15+ Boho Camper Remodel Ideas That Actually Transform Small Spaces
1. Layered Neutral Bedding
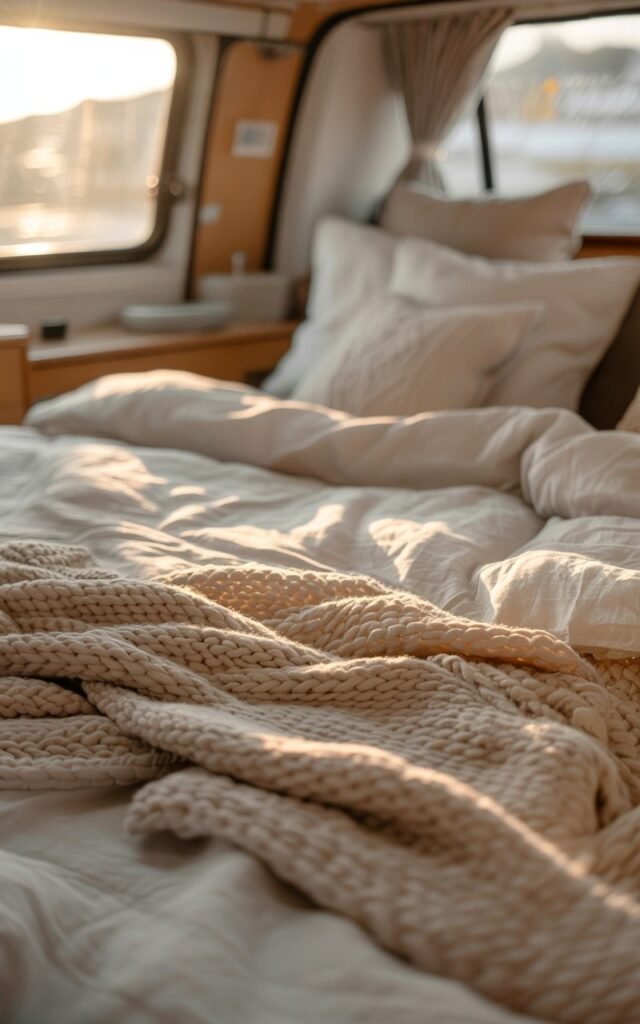
- Use soft neutral tones like white, cream, beige, and light taupe
- Start with a simple lightweight base sheet
- Add a comfortable duvet or comforter for structure
- Layer with a textured throw blanket for depth
- Mix materials like cotton, linen, and knits for a boho feel
- Keep patterns minimal or very subtle
- Focus on texture instead of bold colors
- Choose breathable fabrics for comfort in small spaces
- Use slightly oversized blankets for a relaxed, cozy look
- Keep everything soft, light, and easy to swap or wash
2. Add Macramé Wall Decor
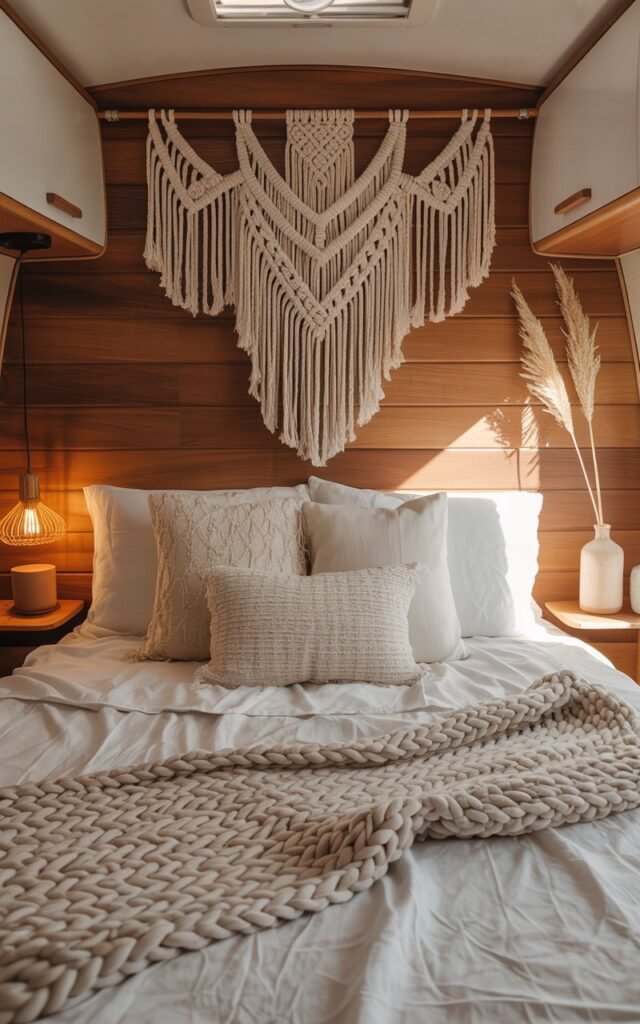
- Brings instant boho texture and warmth to small camper spaces
- Works well as a lightweight, space-saving wall accent
- Creates a cozy, handcrafted aesthetic without clutter
- Perfect for above beds, seating areas, or small empty walls
- Adds visual interest without using shelves or bulky decor
- Complements neutral tones and natural materials
- Easy to install and remove without damaging walls
- Available in different styles like hanging wall art or plant holders
- Helps soften plain or plain-painted camper walls
- Enhances the overall relaxed, earthy boho vibe
3. Use Peel-and-Stick Wallpaper
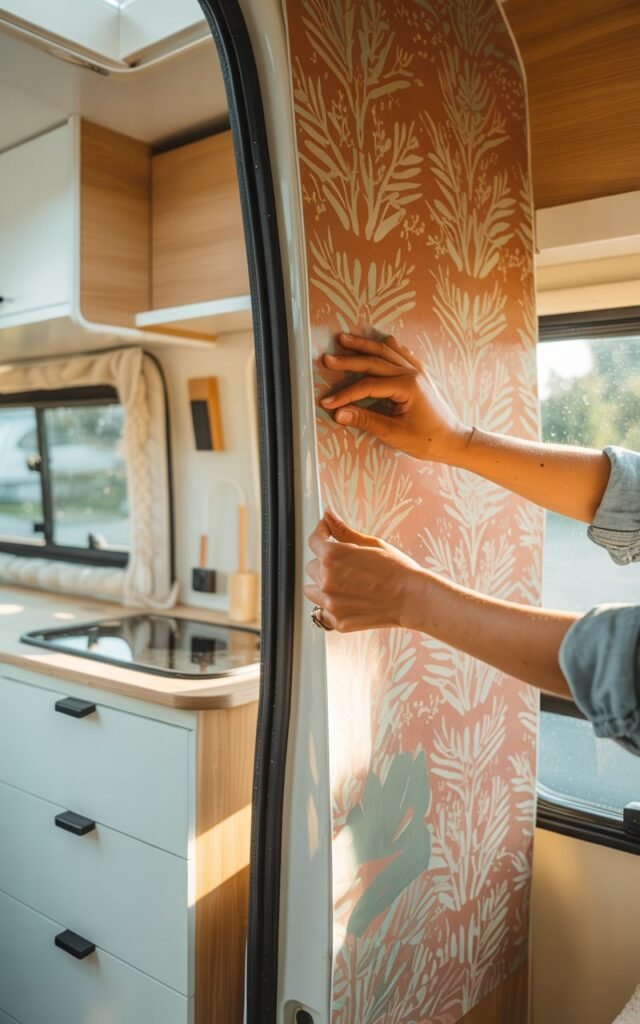
- Easy way to completely transform camper walls without permanent changes
- Adds personality and style without needing paint or heavy renovation
- Comes in boho patterns like florals, arches, and earthy textures
- Helps make plain walls feel more warm and designed
- Perfect for renters or temporary camper setups
- Easy to apply and remove without damaging surfaces
- Works well for accent walls behind beds or seating areas
- Can visually enlarge small spaces with light, airy patterns
- Budget-friendly way to upgrade the interior look
- Instantly makes the camper feel more styled and intentional

4. Install Warm String Lights
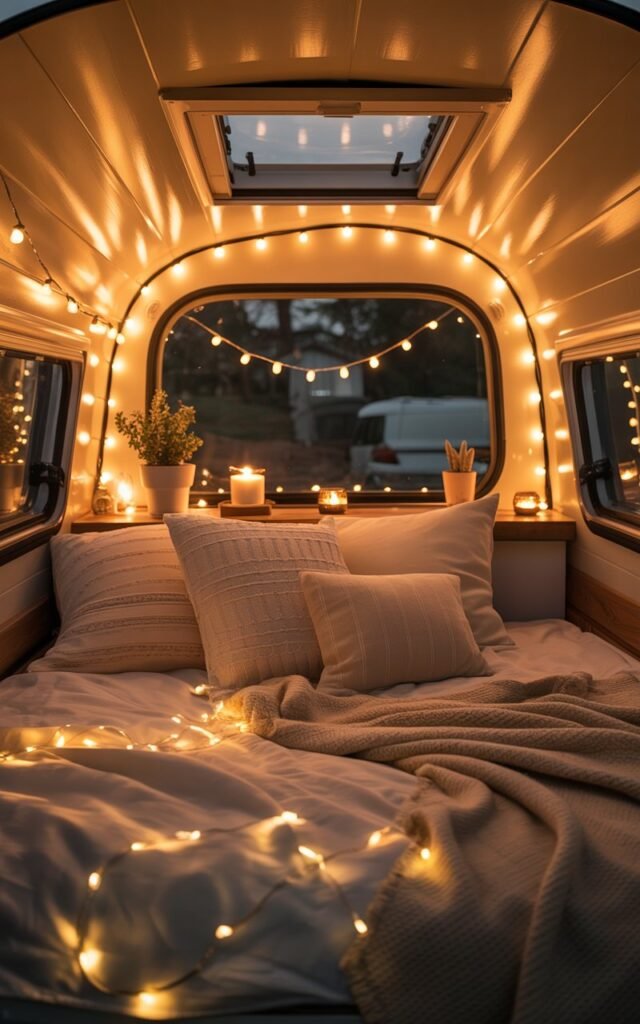
- Creates a soft, cozy glow that instantly warms up the camper space
- Adds a relaxed, boho atmosphere especially in the evenings
- Works well in small spaces without taking up any room
- Easy to hang along walls, ceilings, or bed frames
- Helps replace harsh lighting with a calmer, more inviting feel
- Complements neutral tones and natural textures perfectly
- Battery-powered or USB options make installation flexible and simple
- Can be styled loosely for a casual, effortless look
- Makes the space feel more like a cozy retreat than a vehicle
- Enhances the overall mood and aesthetic without major effort
5. Swap Cabinet Handles
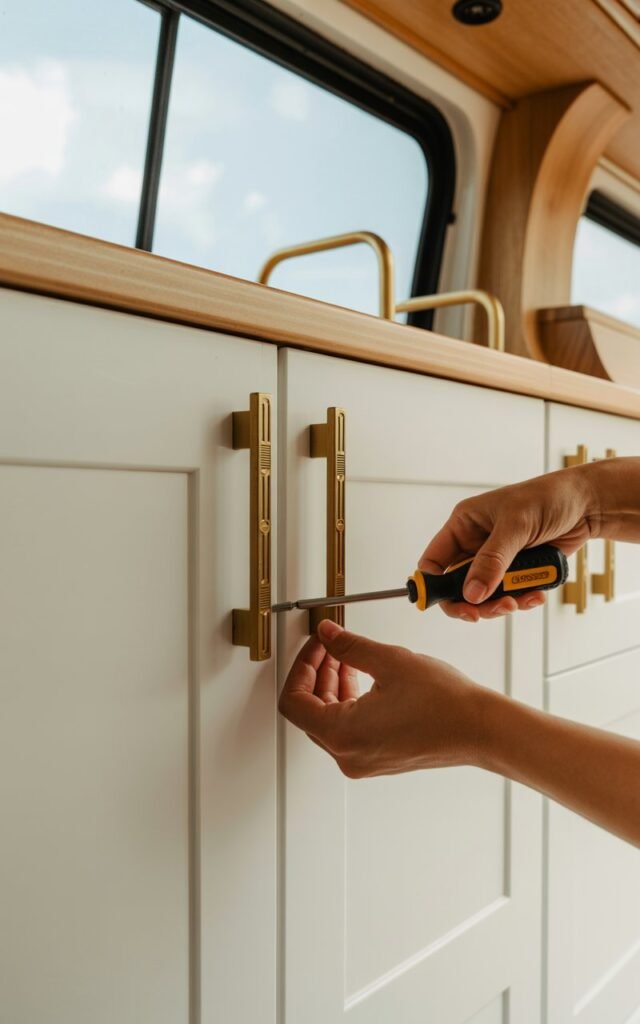
- Instantly upgrades the look of old camper cabinets with minimal effort
- Adds a custom, styled feel without a full renovation
- Works well with boho materials like wood, brass, or matte black finishes
- Helps tie the whole interior design together
- A quick DIY change that makes a big visual impact
- Perfect for small budgets with high design payoff
- Can be mixed with different handle styles for a more unique look
- Easy to install with basic tools in minutes
- Helps refresh outdated or plain cabinetry
- Subtle detail that elevates the overall camper aesthetic
6. Add a Small Indoor Plant Corner
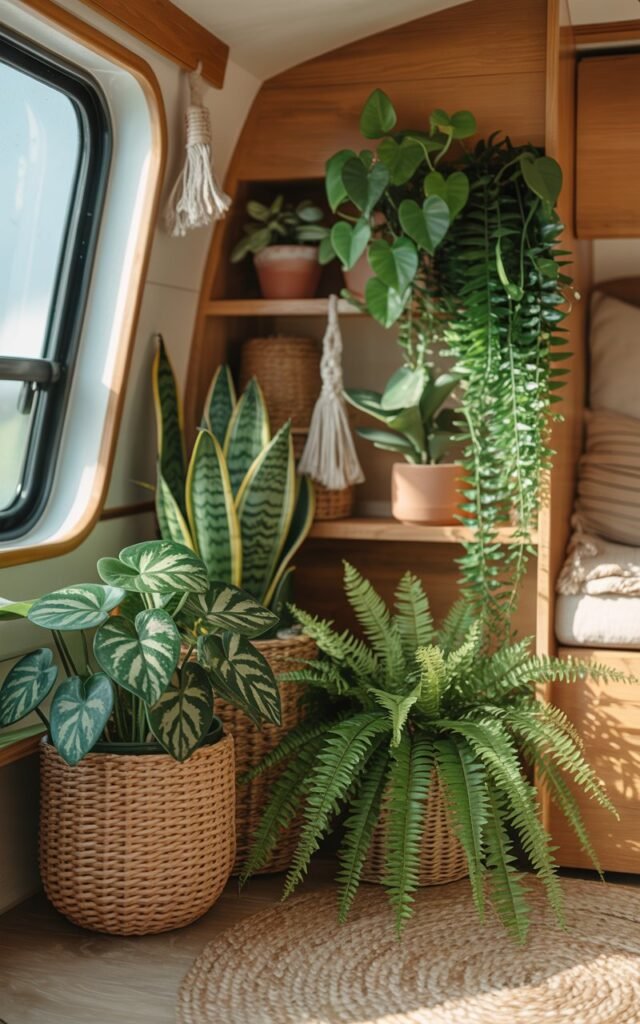
- Brings a fresh, natural feel into the camper space
- Adds life and color without overwhelming small interiors
- Works well with boho style’s earthy, relaxed aesthetic
- Can be created using just a small shelf, basket, or corner table
- Combines beautifully with woven textures and neutral tones
- Helps soften hard edges inside the camper
- Low-maintenance plants or quality faux plants both work well
- Creates a calming, cozy atmosphere inside a compact space
- Easy way to personalize the interior with minimal effort
- Makes the camper feel more like a home than a vehicle

7. Use Light Wood Finishes
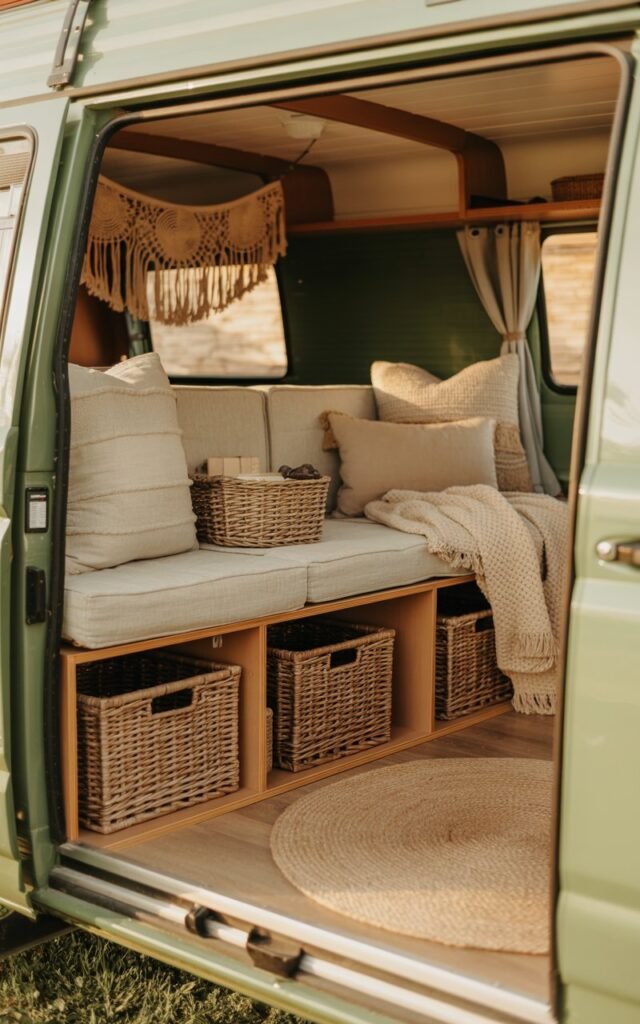
- Creates a bright, airy feel that makes small camper spaces look larger
- Adds a natural, warm tone that fits perfectly with boho style
- Works well for cabinets, tabletops, or wall accents
- Reflects light better than dark finishes, helping open up the space
- Blends beautifully with neutral bedding and soft decor
- Gives the interior a clean, modern yet cozy look
- Can be achieved with wood panels, contact paper, or staining
- Easy way to refresh outdated or dark interiors
- Pairs well with plants, macramé, and woven textures
- Adds a timeless, natural aesthetic without overpowering the design
8. Incorporate Woven Baskets
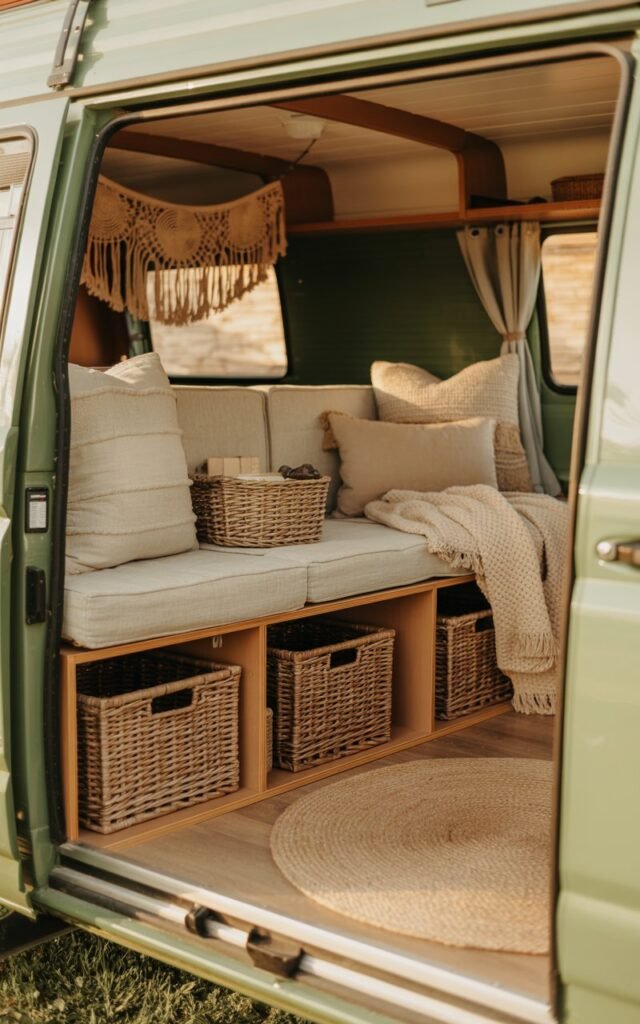
- I use woven baskets to add that natural boho texture I love
- I keep blankets, toiletries, and small items in them
- I tuck them under benches or place them in corners to save space
- I like mixing sizes so storage still looks styled
- They help me keep everything neat without losing the cozy feel
- I match them with neutral tones and wood finishes for a clean look
9. Hang Lightweight Curtains
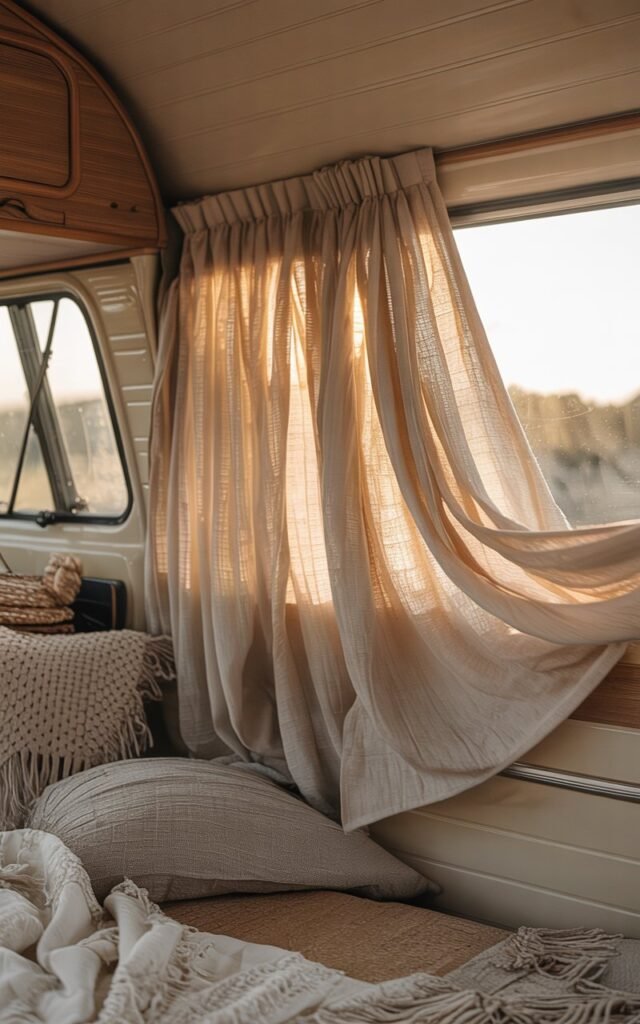
- I like using soft, lightweight curtains to instantly make the camper feel more homey
- They help soften the space and make it feel less rigid and more relaxed
- I usually go for neutral colors like white, cream, or beige to keep things airy
- They let in natural light while still giving a bit of privacy
- I prefer flowy fabrics because they move nicely and add that boho feel
- They’re an easy upgrade that changes the whole mood of the space
- I match them with the bedding and other soft decor for a cohesive look
10. Create a Cozy Seating Nook
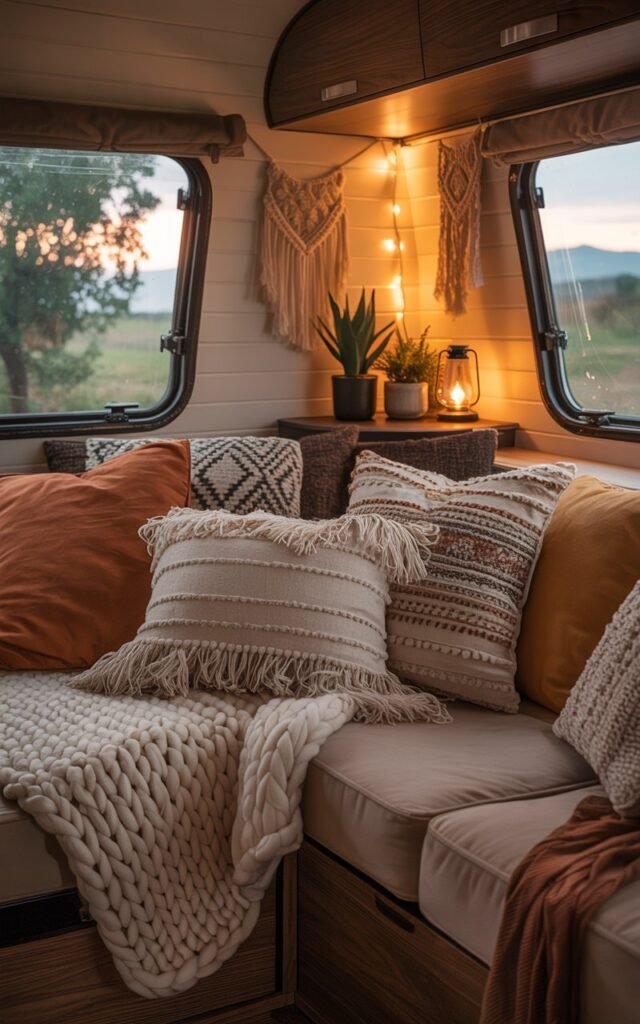
- I love turning a small corner into a cozy seating spot where I can relax
- I use soft cushions, throw pillows, and a warm blanket to make it inviting
- I keep the setup low and simple so it doesn’t overcrowd the space
- I usually place it near a window so it feels bright and calming
- I mix neutral tones and textures to keep that boho feel consistent
- It becomes my little reading or coffee corner inside the camper
- I try to make it functional but still soft and comfortable
- It’s one of the easiest ways to make a small space feel more lived-in and cozy
11. Add a Statement Rug
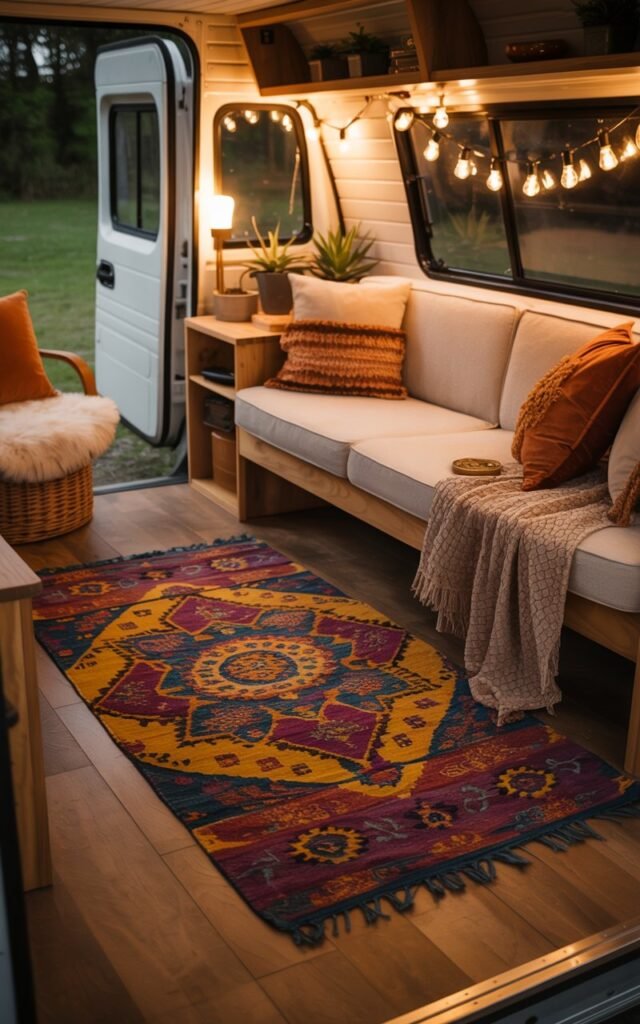
- I use a statement rug to instantly bring color and personality into the space
- It helps define the area and makes the camper feel more put together
- I usually go for boho patterns or earthy tones that match the overall vibe
- It softens the floor and makes the space feel warmer and more comfortable
- I like choosing one that stands out but still blends with my neutral decor
- It’s an easy way to upgrade the look without changing anything major
- I always make sure it fits well so the space doesn’t feel crowded
12. Use Open Shelving
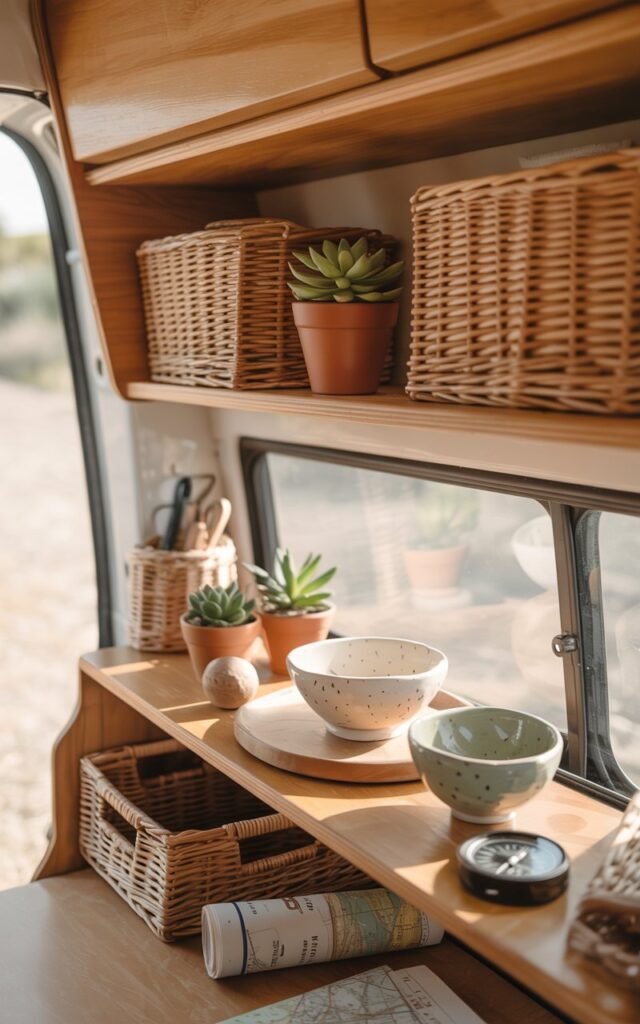
- I love using open shelves because they make my camper feel more spacious and airy
- I use them to display small decor pieces, plants, and everyday essentials
- I keep things minimal so it doesn’t look cluttered or overwhelming
- I mix practical items with a few styled pieces to keep it functional and pretty
- I usually stick to neutral tones so everything feels cohesive
- It helps me reach things easily without digging through cabinets
- I like how it adds a light, open feel instead of heavy storage units
13. Mix Textures, Not Colors
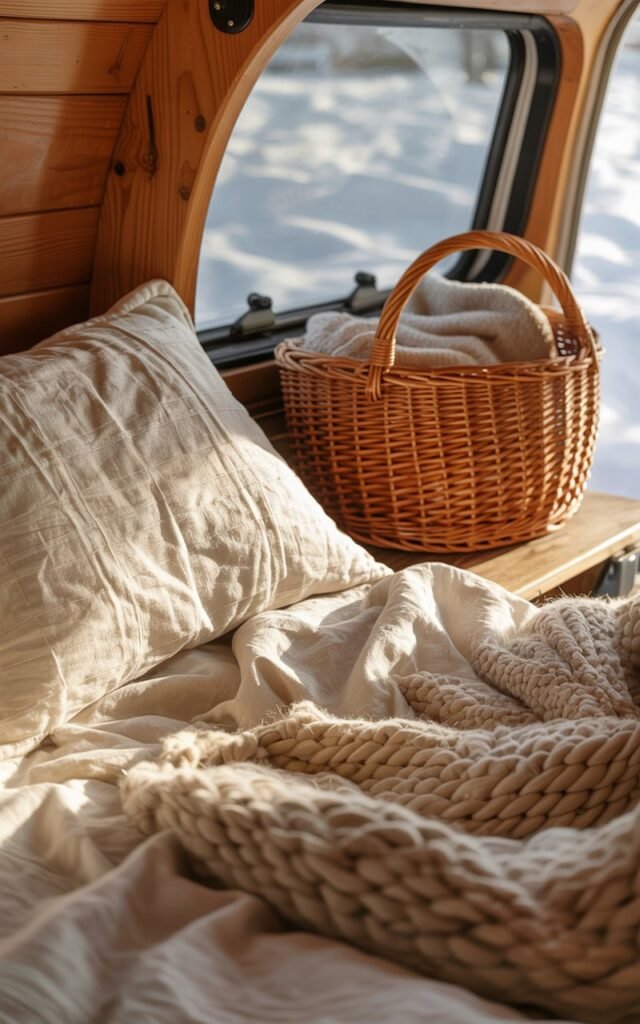
- I keep my color palette simple and neutral so everything feels calm and open
- I focus on mixing textures instead of adding too many colors
- I combine linen, cotton, wood, woven baskets, and soft knits for depth
- I like how different textures make the space feel rich without looking busy
- It helps my camper stay cohesive and visually clean
- I avoid overloading the space with bold colors to keep that relaxed boho feel
- For me, texture is what makes the space feel warm, layered, and cozy
14. Add a Small Mirror
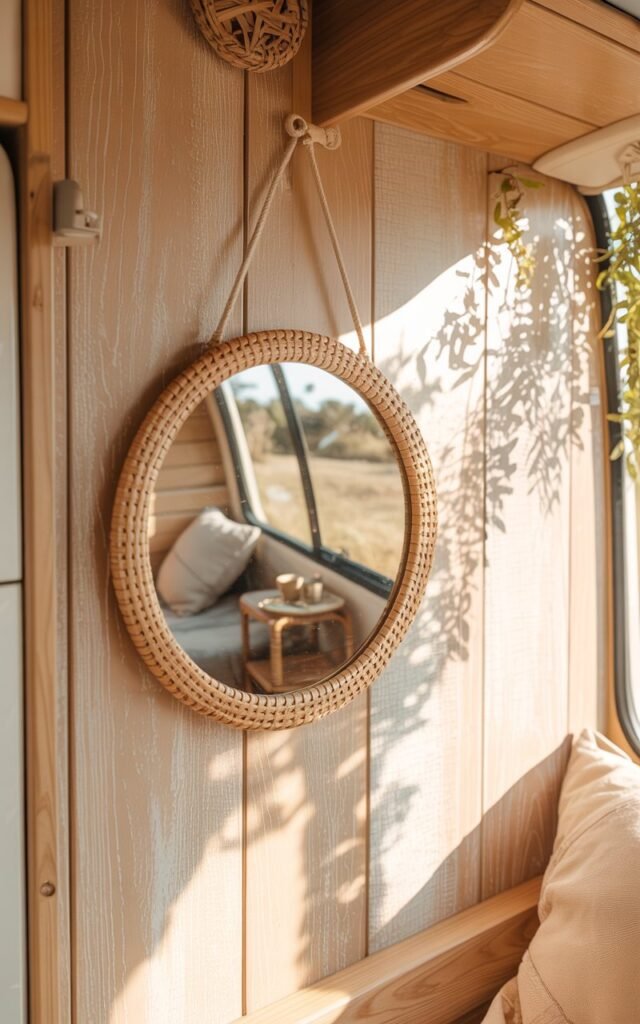
- I like adding a small mirror because it instantly makes my camper feel brighter
- It reflects natural light and helps the space look bigger than it is
- I usually place it opposite a window for the best effect
- I go for simple boho frames like wood or rattan to match the style
- It doubles as a functional piece while still being decorative
- I keep it minimal so it blends naturally into the space
- It’s one of those small touches that makes a big visual difference
15. Keep It Minimal but Styled
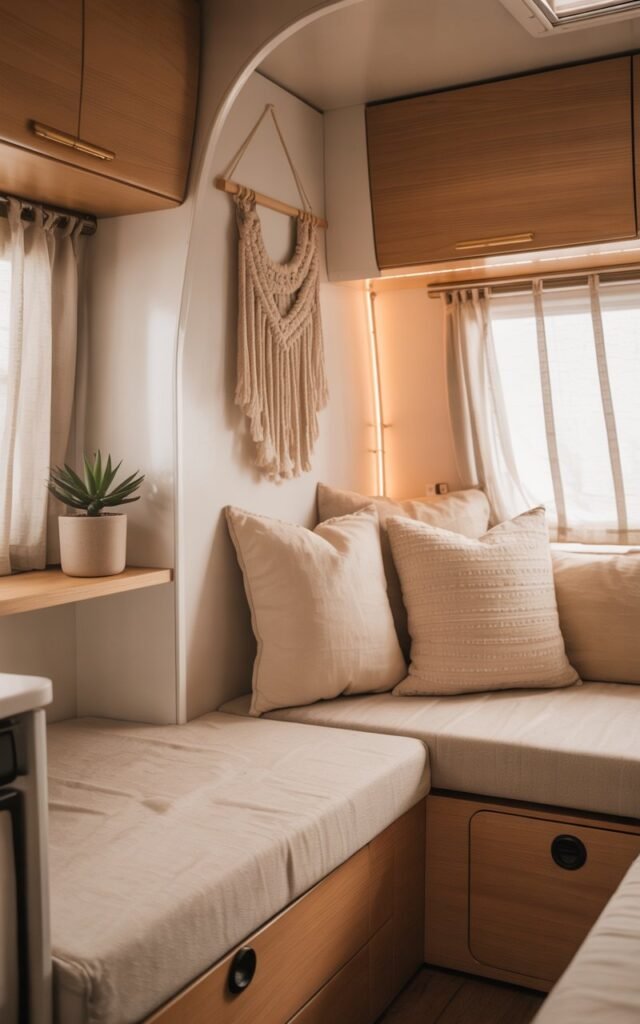
- I always try to keep my camper simple so it doesn’t feel crowded
- I focus on a few key decor pieces instead of filling every corner
- I make sure everything I add has a purpose or adds visual warmth
- I stick to a calm, neutral palette to keep the space feeling open
- I like letting textures and small details do the styling work
- I avoid over-decorating so the space still feels easy to live in
- For me, it’s all about balance—cozy, functional, and not overwhelming
16. Personal Touches
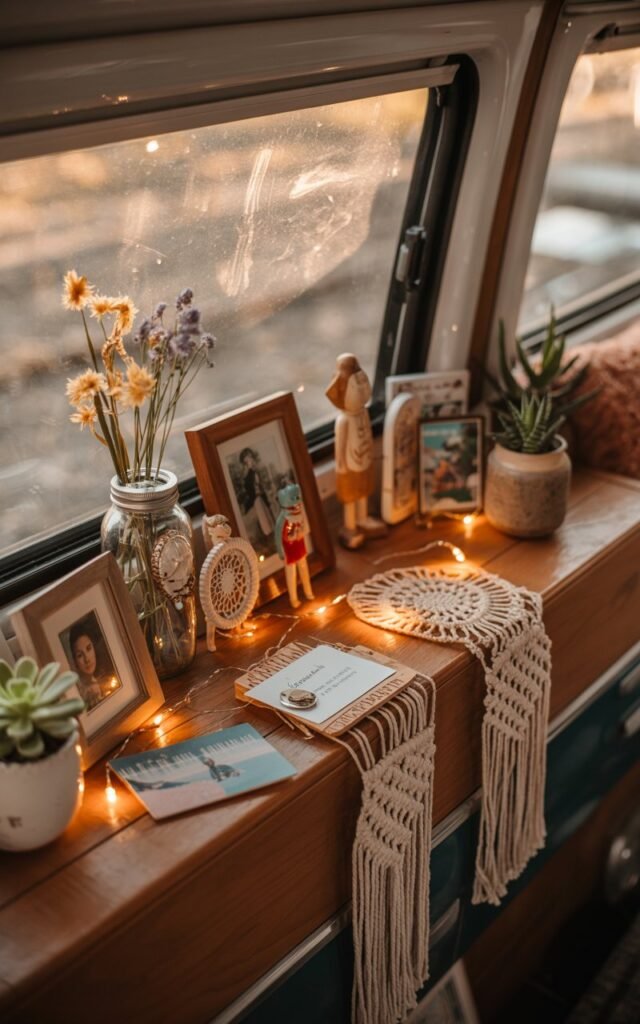
- I like adding small things that actually feel like me, not just decor
- I use photos, travel memories, or simple keepsakes to make the space feel personal
- I keep it minimal so it doesn’t feel cluttered, just meaningful
- I mix in a few handmade or sentimental pieces for that warm boho feel
- I like placing them in small corners, shelves, or bedside areas
- These little touches make the camper feel like home, not just a space
- For me, this is what really brings the whole design to life
Small Space Layout Tips
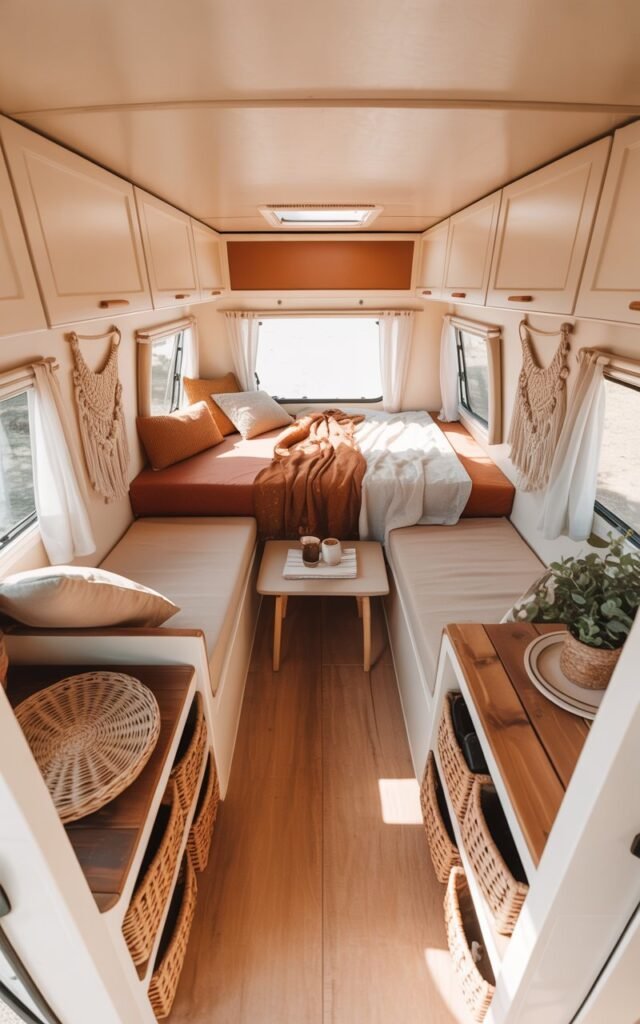
- I divide the camper into simple zones: sleeping, seating, and storage
- I keep the largest items close to the walls to open up the center space
- I avoid blocking windows so natural light flows freely
- I use vertical space (shelves, hooks, hanging storage) instead of floor clutter
- I keep walkways clear so the space feels easy to move around in
- I choose multipurpose furniture whenever possible
- I stick to a simple layout so everything feels intentional, not crowded
6. Maintenance & Long-Term Tips
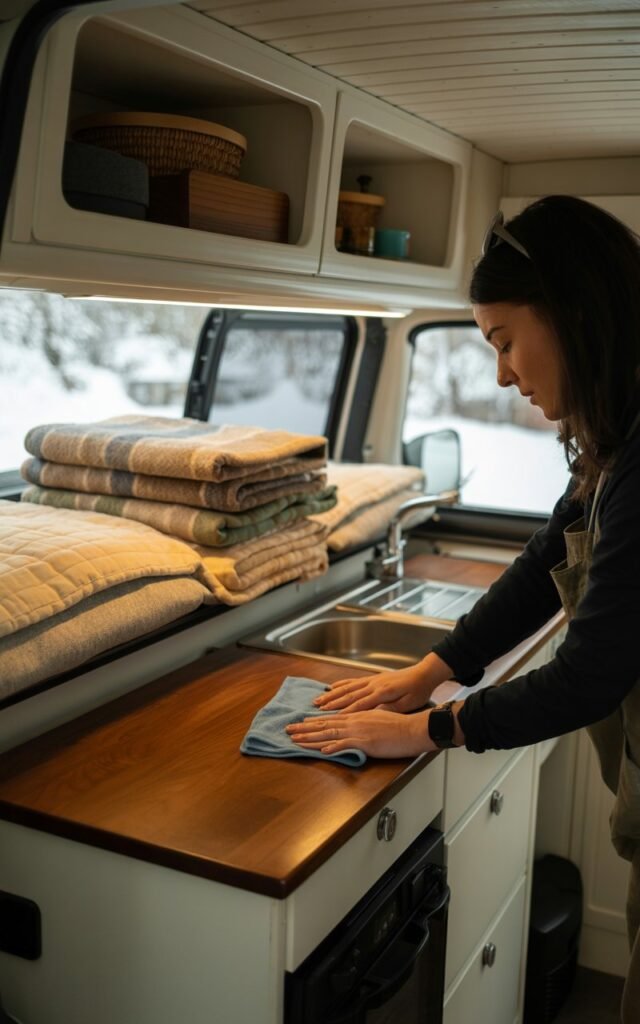
- I keep surfaces clear and only display a few styled pieces at a time
- I regularly declutter so the space doesn’t feel crowded over time
- I refresh textiles like bedding and curtains every few months for a new feel
- I use washable materials wherever possible for easy cleaning
- I rotate decor seasonally to keep the space feeling fresh
- I always check storage areas so everything stays organized and functional
- I clean in small sections to avoid overwhelming upkeep
Mistakes to Avoid (Boho Camper Remodel)
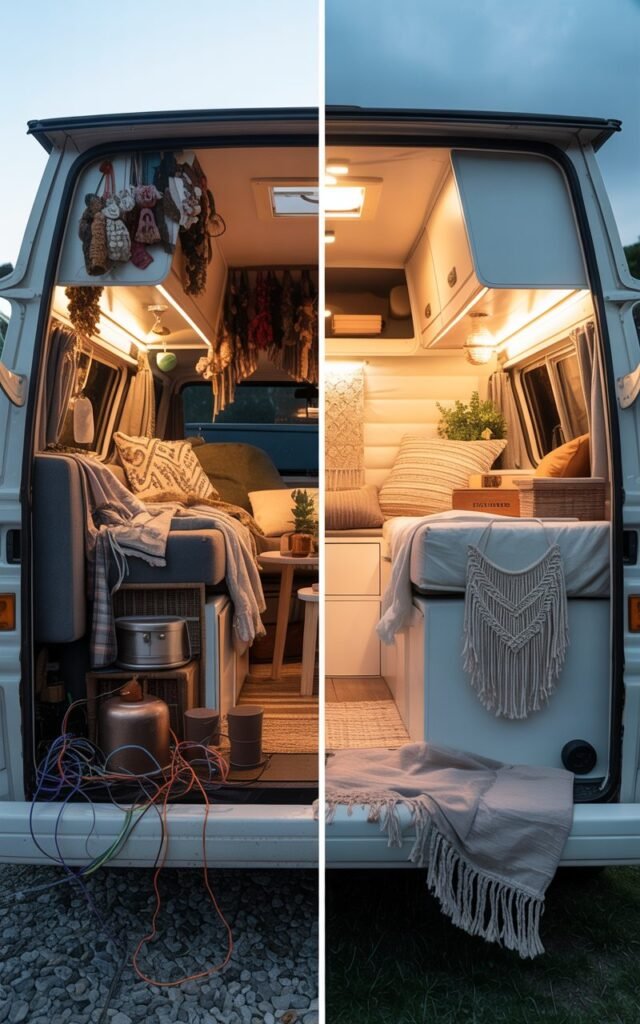
- Over-decorating every surface instead of keeping open space
- Mixing too many bold colors that break the calm boho feel
- Choosing bulky furniture that makes the camper feel cramped
- Ignoring storage planning from the start
- Using dark finishes everywhere, which can make the space feel smaller
- Forgetting about lighting and relying on harsh overhead lights
- Adding decor without a clear style direction
- Not measuring space before buying furniture or accessories
Before & After Camper Transformation
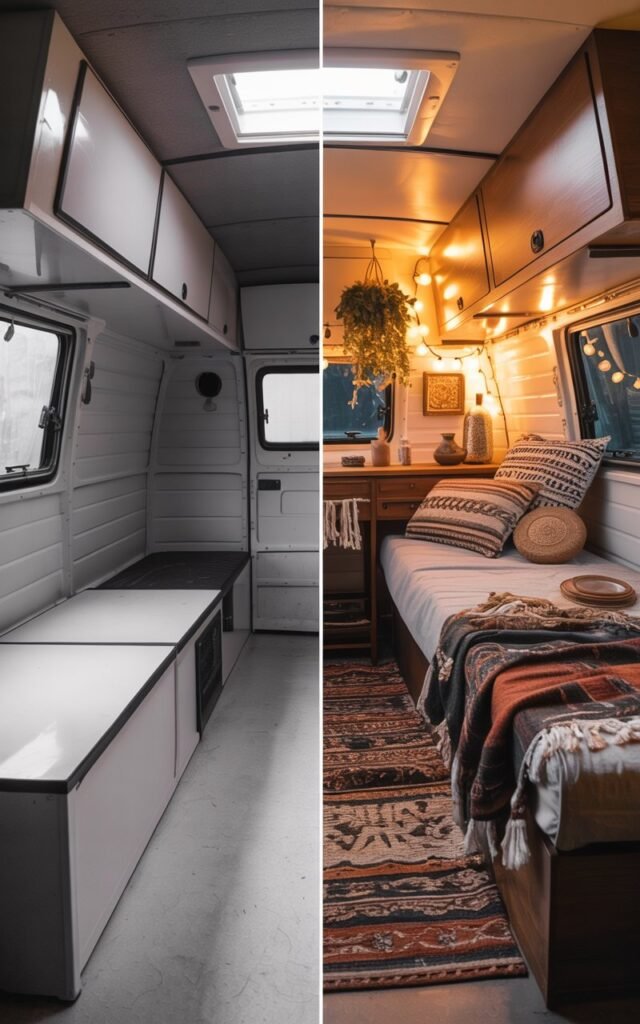
Before:
A plain, basic camper interior with minimal color, empty surfaces, and no clear design direction. Functional but not inviting or personalized.
After:
A warm, cozy boho-inspired space filled with layered neutrals, soft textiles, woven baskets, warm lighting, and natural textures.
Every corner feels intentional, styled, and lived-in while still staying minimal and uncluttered.
The transformation shows how small design choices—like lighting, textiles, and textures—can completely change the feel of a compact space without needing a full renovation.
Budget Breakdown / Cost Guide
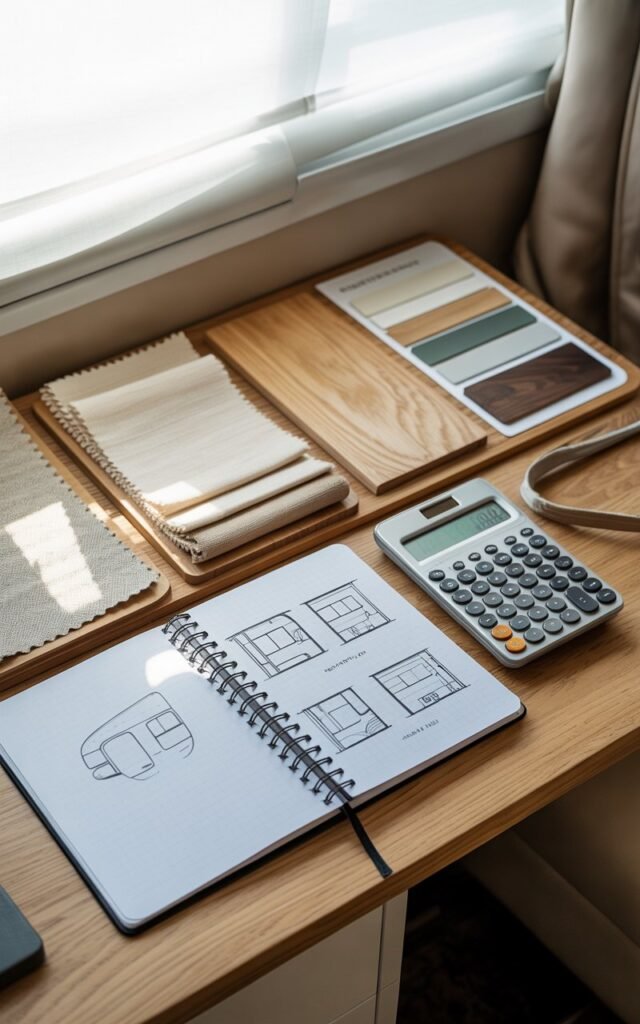
- Low Budget ($100–$500): DIY decor, peel-and-stick wallpaper, thrifted items, simple textiles
- Mid Budget ($500–$2,000): New bedding, lighting upgrades, rugs, small furniture changes, storage upgrades
- Full Remodel ($2,000+): Custom cabinets, full flooring changes, built-in furniture, complete interior redesign
Most boho camper looks can be achieved on a low to mid budget with smart styling choices.
FAQ: Boho Camper Remodel Ideas
What makes a camper “boho style”?
It’s all about natural textures, earthy colors, layered fabrics, and a relaxed, lived-in feel.
Can I remodel a camper on a budget?
Yes, many boho ideas use affordable materials like fabric, paint, and DIY decor.
How do I make a small camper feel bigger?
Use light colors, mirrors, and keep the layout simple and uncluttered.
Do I need to fully renovate the camper?
Not at all—small updates like textiles, lighting, and decor can make a big difference.
What colors work best for a boho camper?
Neutral tones like white, beige, cream, and soft browns with a few warm accent colors.
Final Thoughts
At the end of the day, a boho camper remodel isn’t about making a small space look perfect—it’s about making it feel like yours.
Every texture, light, and small detail adds up to create a space that feels calm, functional, and personal.
What I love most about this style is how flexible it is. You don’t need a big budget or a full renovation to make a real difference.
Even small changes—like soft lighting, neutral bedding, or woven storage—can completely shift the atmosphere of the space.
A camper should feel like a place you actually want to spend time in, not just something practical. With the right touches, even the smallest space can feel warm, intentional, and beautifully lived in.